
 Save
Save
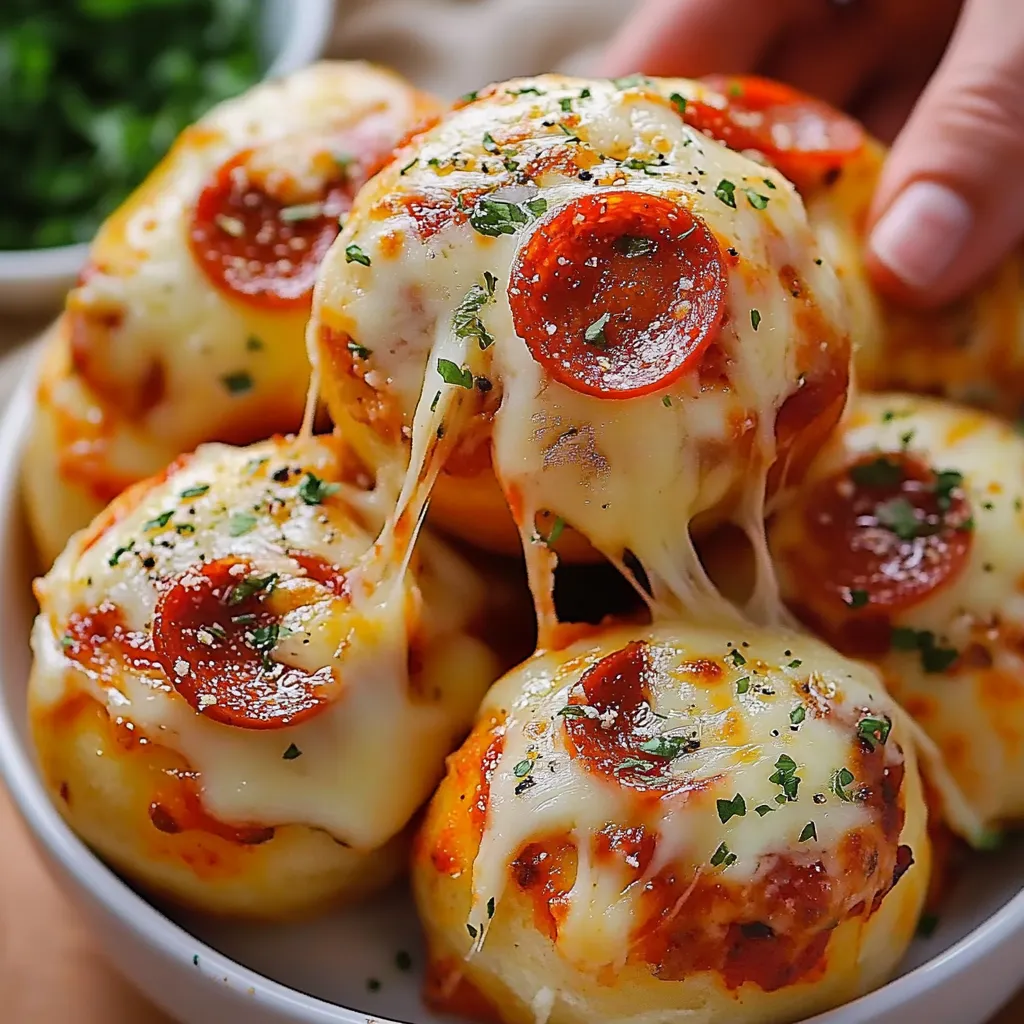
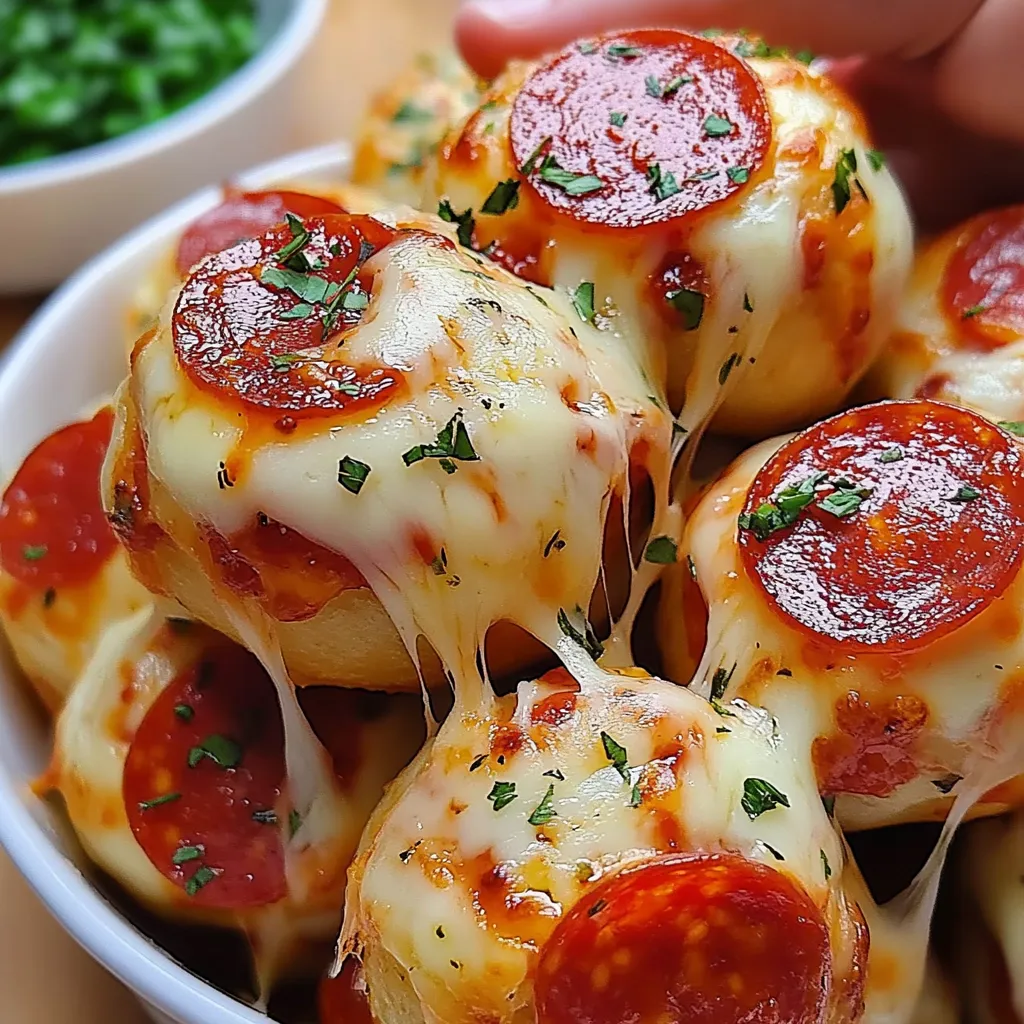
Little pizza pockets pack all the yummy pizza flavors in one small bite. This fun twist wraps fluffy biscuit dough around melty mozzarella, tangy marinara, and tasty pepperoni, all baked till golden. The garlicky butter on top makes these tiny treasures completely habit-forming.
I threw these pizza pockets together for a block party when I needed something fast that even the fussiest eaters would enjoy. They were gone in seconds, and I've been tweaking how I make them ever since. Now my high schoolers beg for them whenever we have movie time.
Key Components Breakdown
- Canned biscuits: They make the soft puffy outside that turns nice and brown; grab the bigger 16.5 oz containers
- Whole mozzarella: Melts way better than the bagged kind; chop it into tiny blocks for maximum gooey goodness
- Chunky marinara: Brings that pizza taste we all crave; pick one without added sugar for the real deal
- Mini pepperoni rounds: Gives that familiar pizza kick with a bit of heat; go for smaller pieces that tuck in nicely
- Real butter: Creates that amazing golden coating; don't try using margarine or spreads
- Whole garlic bulbs: Gives the butter that amazing smell; chop it super tiny so it spreads out well
- Herb blend: Combines all your favorite pizza spices in one; try to find one with oregano, basil and thyme mixed in
- Block Parmesan: Makes a tasty, crunchy outer layer; always shred it yourself from a chunk for best taste
Building Your Tasty Pockets
- Getting Started:
- Warm your oven to 375°F and put parchment on a cookie sheet. Smear 3 tablespoons of butter all over the parchment so nothing sticks and to add extra flavor underneath.
- Working With Dough:
- Cut each biscuit from the package in half through the middle. Push each half flat with your fingers to make a thin round base for your fillings.
- Adding The Good Stuff:
- Drop a tiny bit of marinara right in the middle of each flattened dough. Put one pepperoni slice on top, then add a little chunk of mozzarella, making sure not to overstuff.
- Wrapping It Up:
- Pull the edges of each dough circle up and around the fillings, squeezing firmly to make sure it's completely closed. Good sealing keeps the cheese from bursting out while cooking.
- Making Them Tasty:
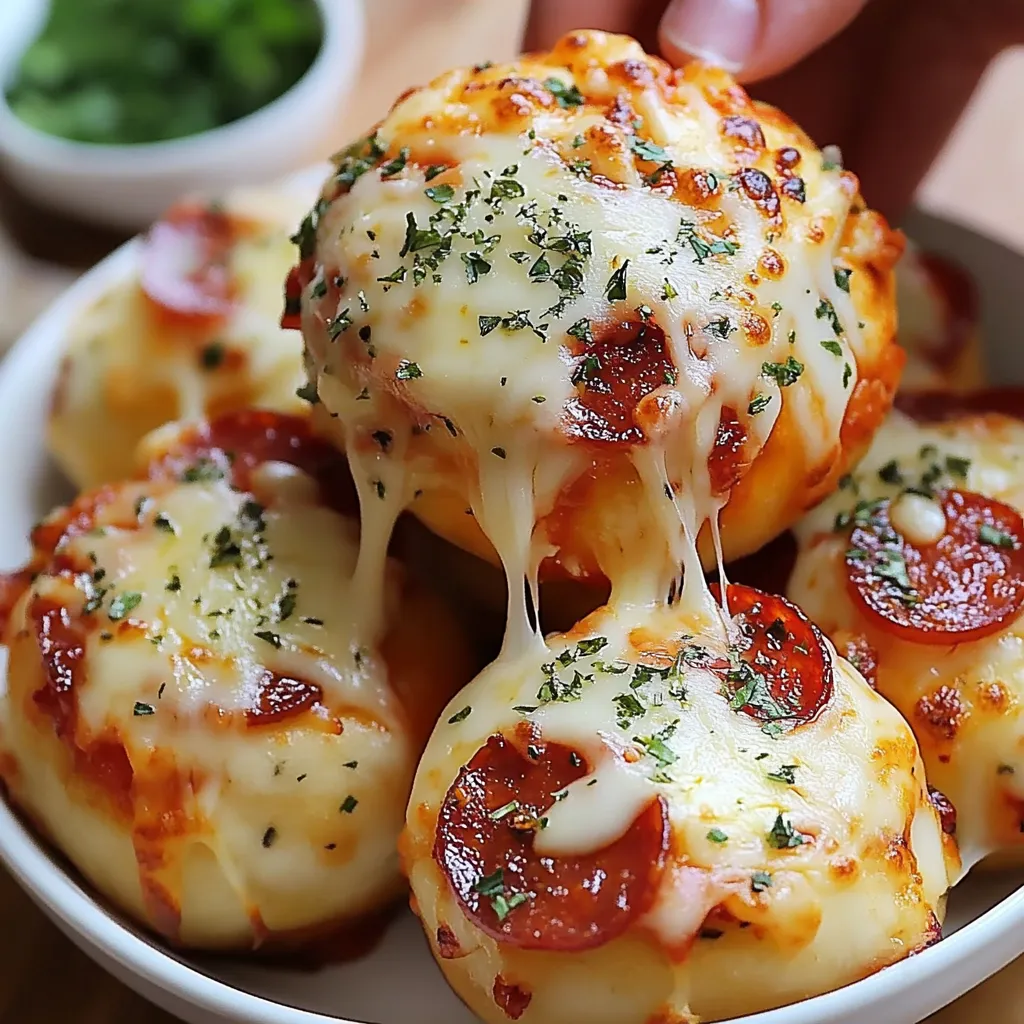
- Mix melted butter with tiny chopped garlic, Italian herbs, salt and pepper in a cup. Brush this yummy mixture all over each sealed pocket, then sprinkle fresh Parmesan on top.
- Cooking Time:
- Put your prepared pockets in the hot oven for 15-20 minutes. Look for them to turn golden brown and puff up a bit, showing they're crispy outside but gooey inside.
- Ready To Eat:
- Let them cool just a little, about 3-5 minutes. Put them on a nice plate with some warm marinara in a bowl for dipping.
 Save
Save
Everyone at my house loves the combo of gooey cheese and pepperoni in these pockets. Even my hubby, who usually stays away from packaged foods, can't resist grabbing more. Watching that cheese stretch when you pull them apart always brings smiles to our dinner table.
Foods That Go Well Together
Make it a whole meal by adding a simple green salad with Italian dressing. The cool, crisp veggies balance out the rich pockets perfectly. If you want something heartier, try serving with tomato soup for dunking instead of marina. During backyard cookouts, I've noticed that veggies from the grill with a touch of balsamic make these pockets feel fancy enough for the grown-ups.
Switch It Up
Change the basic recipe by trying different fillings inside. Maybe buffalo chicken with blue cheese crumbles, or spinach mixed with feta for a Greek twist, or even ham with pineapple bits for that Hawaiian vibe. For folks who don't eat meat, try stuffing with roasted bell peppers, mushrooms, and onions for a filling that's just as satisfying. My brother's wife makes a morning version filled with eggs, cheese, and bacon bits that we now have every holiday breakfast.
Storing What's Left
Put any extra pockets in a sealed container in your fridge for up to three days. When you want to eat them again, warm them in a 350°F oven for 5-7 minutes instead of zapping them, which makes the dough tough. They freeze really well too, lasting about two months - just cool them completely, freeze them on a tray until hard, then put them in freezer bags. When reheating from frozen, just add 5-7 minutes to your normal baking time.
I've cooked these pizza pockets so many times now, and they always hit the spot. Seeing folks' reactions when they bite in and find that stretchy cheese inside makes all the work worth it. They might seem basic, but something about the mix of textures and flavors creates real magic that brings everyone closer. That's what I love about cooking - making little moments of joy through good food.
 Save
Save
Recipe FAQs
- → Can I prepare them in advance?
- Yep, you can prep them the day before. Keep them in the fridge and brush the butter on just before baking.
- → How do I make them veggie-friendly?
- Replace pepperoni with mushrooms, peppers, spinach, or olives for a great veggie-friendly twist.
- → Can these be frozen?
- Definitely! Lay them on a tray to freeze, then pop them into a freezer bag. Bake straight from frozen, adding 5-7 extra minutes.
- → What kind of dough should I use?
- Regular canned dough works fine. If you want something richer, go for the buttery or flaky versions.
- → Is shredded mozzarella okay instead of cubes?
- Sure! Shredded works, but cubed cheese melts into a gooey center that’s super satisfying.