
 Save
Save
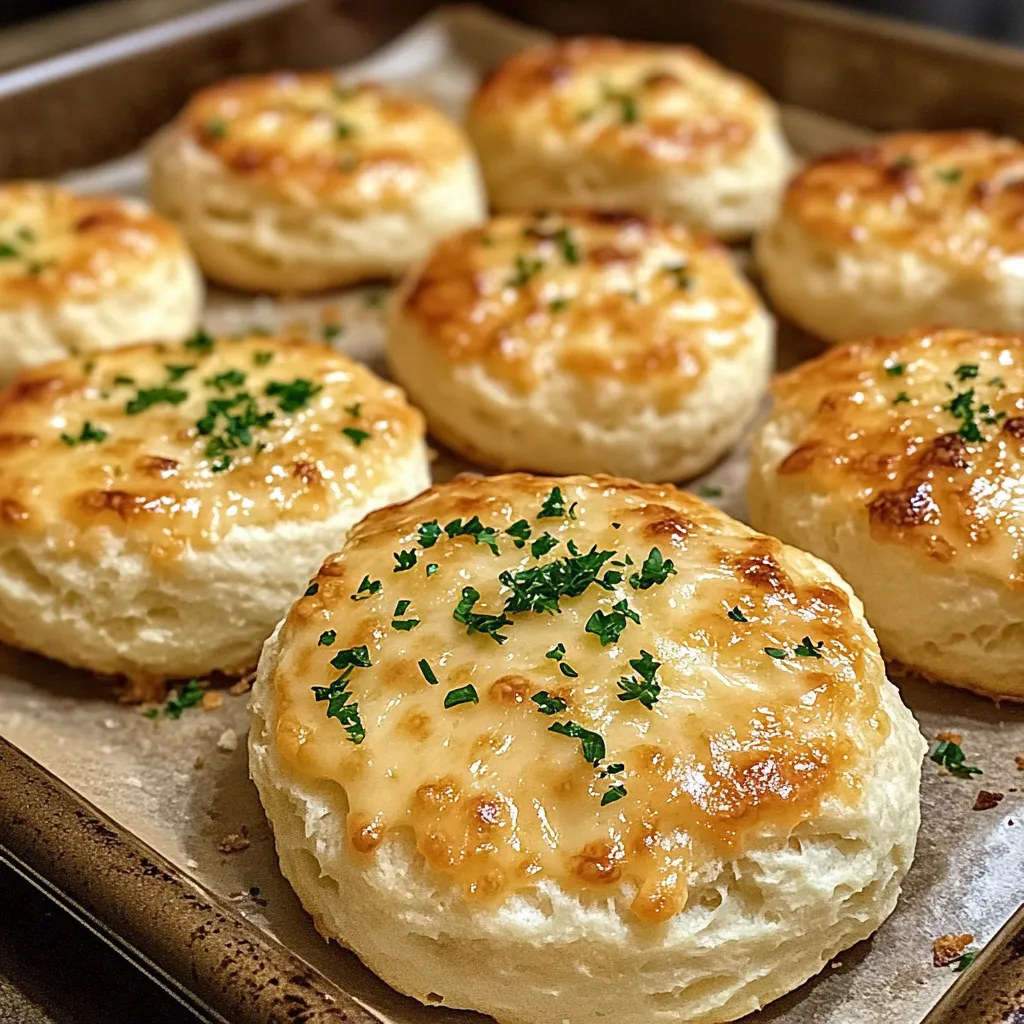
Turn your regular biscuits into ooey-gooey cheese pockets packed with garlicky goodness. The soft biscuit dough wraps around loads of cheese, and a swipe of garlic butter gives it that extra kick before it all gets baked up until golden and gooey inside. They’re super snackable and hit every comfort food craving—just try to stop at one!
The first time I whipped these up was for a night of board games, and they vanished in minutes. Even my nephew, who usually won’t touch anything unfamiliar, came back for seconds… and thirds!
Mouthwatering Ingredients
- Pillsbury Grands! Buttermilk Biscuits: The flaky dough is perfect to tuck that cheesy filling inside
- Cheddar and Mozzarella Cheese: Cheddar for sharpness and mozzarella for that epic cheese stretch
- Butter (Unsalted): Lets you handle the salt levels and makes the outside nice and crisp
- Fresh Parsley: Toss on for fresh flavor and a pop of color
- Dried Oregano: Adds a little Italian flair that pairs so well with cheese
- Fresh Garlic: Packs in big, bold flavor and smell you can't ignore
- Salt and Pepper: Brings the whole thing together
Step-By-Step How-To
- Get Baking Ready
- Heat your oven up to 375°F
- Lay some parchment paper on your baking pan so the bombs don’t stick
- Let your biscuits chill on the counter for about 5 minutes to soften them up
- Mix Up the Cheese
- Throw 1 cup cheddar and 1 cup mozzarella in a bowl
- Toss in 4 garlic cloves (minced) and a teaspoon of oregano
- Season with half a teaspoon each of salt and pepper
- Stir it all together gently
- Stuff ‘Em and Roll
- Push each biscuit into a flat circle, about 4 inches wide
- Spoon 2 tablespoons of the cheese filling in the center
- Fold all the dough up and over the cheese
- Pinch it closed real good so nothing escapes
- Roll it into a smooth ball with your hands
- Slather Garlic Butter
- Melt half a cup of butter with 2 minced garlic cloves
- Brush the tops of each ball till they’re buttery and shiny
- If you want more oomph, sprinkle a bit more oregano on top
- Bake ‘Til Gorgeous
- Set the bombs a couple inches apart on your pan
- Bake for about 15-20 minutes until the tops are nicely golden
- Let them sit for a few minutes after they come out so you don’t burn your mouth
- Cheese inside will be lava-hot, so be careful!
 Save
Save
My grandma always told me cheese and garlic are a match made in heaven. After years of popping these out of the oven, I think she had it right. The way the butter carries all that garlicky flavor into every bite really makes these little cheese bombs unforgettable.
Easy Prep Ahead
Like to plan ahead? You can get these bombs built up to 4 hours before you want to bake. Just assemble, throw them on a pan, cover with some plastic, and refrigerate. When you’re ready, brush on the butter and bake. Coming out of the fridge, they might need another minute or two to finish baking.
Tasty Combinations
They're killer alone, but dip them in some marinara, and wow—the tangy tomato is just what all that cheese richness needs. If you want to turn it into a meal, toss these with a green salad dressed with light vinaigrette. It really helps balance out the cheesy, buttery flavors.
Storing Extras
If you’re lucky enough to have a few leftover, stick them in a tightly closed container in the fridge for up to 3 days. To warm them back up, use the oven (350°F for about 5 to 7 minutes) so they stay soft and not rubbery. Skip the microwave if you can—it makes the texture weird.
Fun Twists
Want to mix things up? Toss in some chopped pepperoni, red pepper flakes, or even a touch of pesto into the cheese blend. It’s fun to play around; every change brings a new flavor but keeps that delicious cheese pull inside.
 Save
Save
I’ve lost count how many times I’ve made these for family potlucks or cozy nights at home. They never fail to impress. Breaking one open and watching that stringy cheese pull? That always gets a cheer. Whether you're super comfortable in the kitchen or just trying something new, these are bound to be a go-to treat.
Recipe FAQs
- → How early can I prepare these bombs?
- You can assemble them the day before and keep them in the fridge. Bake them fresh for gooey cheese goodness.
- → Which dips pair well with these?
- Try warm pizza sauce, ranch, or marinara. They're all tasty with cheesy bites.
- → Can I switch the cheese for another kind?
- Yep! Use something like pepper jack if you like spice, or stick to mozzarella or cheddar. As long as it melts well, it’ll work.
- → Why do my bombs lose cheese during baking?
- Seal the edges tightly so no gaps let the cheese escape while they bake.
- → How should I store leftover bites?
- Pop them in an airtight container and refrigerate for up to three days. Warm them up in the oven or microwave before eating.