
 Save
Save
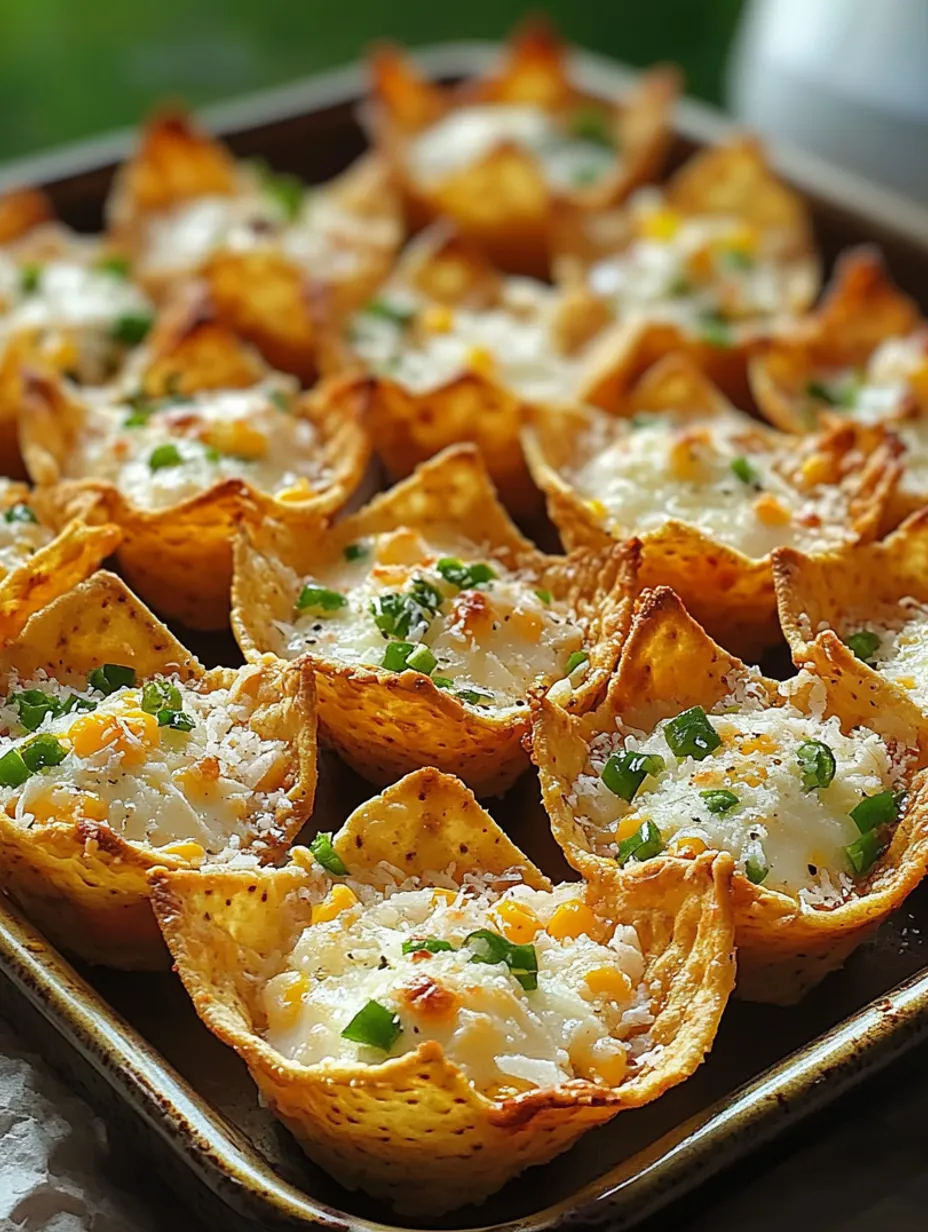
Oh wow, these Iowa party nibbles. I first whipped these tasty little morsels up when my sister moved into her new place and I needed something that would wow everyone without keeping me stuck cooking all night. These crunchy tortilla cups filled with creamy, corn-loaded goodness always vanish before I can even set them down on the table.
I stumbled upon this gem at a block party where I actually followed the host right into her kitchen to get the recipe. She just smiled and told me these were her "go-to trick" for any get-together. Now they're my secret weapon too, and I make them whenever I want something that'll definitely make people happy.
What You'll Need
- Tostitos Scoops serve as the perfect little containers with their bowl-like shape
- Cream cheese creates the smooth foundation for the filling
- Mozzarella adds that must-have gooey pull when it melts
- Sweet corn brings little bursts of flavor and crunch
- Green chiles add just the right kick without being too much
- An egg helps everything stick together for that soft, rich center
- Common spices pull all the flavors together
- Parmesan sprinkled on top makes that beautiful golden crust
 Save
Save
How I Make Them
Quick AssemblyTo start, I lay out those Tostitos Scoops on a baking sheet, making sure they're sitting upright like tiny cups waiting for their filling. I make sure to leave some room between them so the filling doesn't spill over and make a sticky cheese mess (trust me, I've learned this the hard way).
Simple FillingIn a bowl, I mix up soft cream cheese (quick zap in the microwave if you forgot to soften it), shredded mozzarella, a beaten egg, well-drained corn, green chiles, and seasonings. Nothing complicated here, just stirring until everything's mixed together. I often add extra garlic powder because honestly, can you ever have too much garlic?
Fill 'Em UpWith a teaspoon, I drop filling into each chip cup, making them full but trying not to overflow them. It's weirdly fun work—kind of like playing with your food but in a grown-up way. Then I dust some Parmesan over everything before they go in the oven.
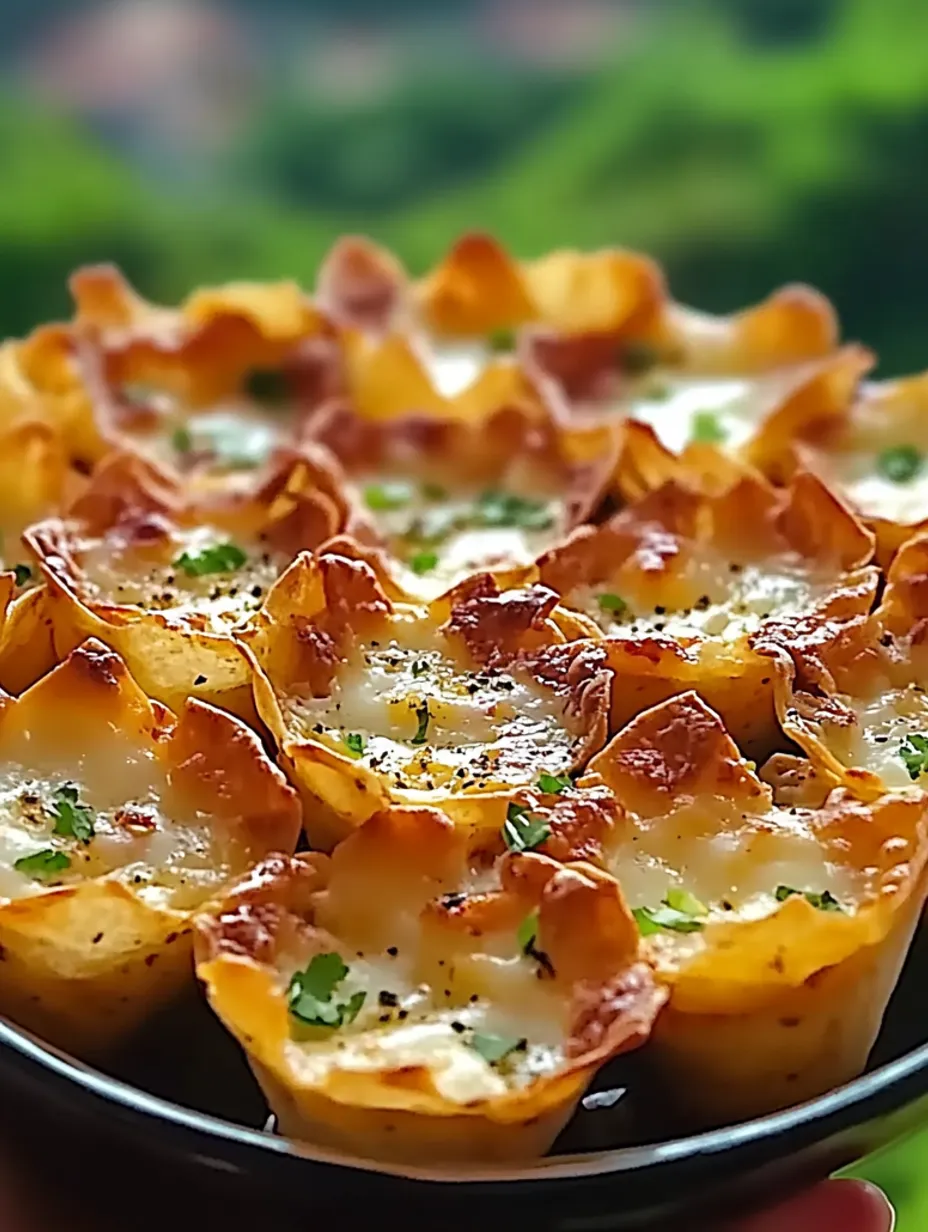
Quick BakeThese little guys need around 13-15 minutes in a hot oven (425°F). I keep an eye out for that perfect moment when they're bubbling and just starting to turn golden on top. Your kitchen will smell amazing—there's something about melting cheese and corn that makes waiting nearly impossible.
Serve WarmThe toughest part is letting them cool just enough so nobody burns their mouth. I've learned to say "Careful, they're hot!" multiple times, but someone always grabs one too soon and regrets it.
When I first took these to my in-laws' Christmas party, my mother-in-law (who normally makes everything from scratch herself) wanted the recipe. That's when I knew these humble little snacks had some real magic. My brother-in-law now asks for "those cheesy chip things" every time we get together.
Switch It Up
I sometimes toss in some crispy bacon bits or cooked ground sausage when I'm feeling extra. For my veggie friends, I'll add chopped bell peppers or black beans instead. When cooking for folks who love heat, I'll use pepper jack cheese and splash in some hot sauce. What makes this snack so great is how easily you can change it based on what you have or what your guests like.
Serving Tips
I like to set these out on a big plate with a few dips nearby—usually salsa, guacamole, and sour cream. When I'm hosting lots of people, I'll cook up two batches and keep the second tray warm in the oven until the first one disappears (which happens surprisingly quickly).
Storage Secrets
If by some miracle you have extras, they'll stay good in the fridge for a couple days. To warm them back up, stick them in the oven for a few minutes—don't use the microwave unless you want sad, soggy chips that'll just ruin your day.
 Save
Save
Handy Tips I've Picked Up
- Put parchment paper on your baking sheet so cleanup is super easy
- You can get them ready ahead of time and just bake them when your guests show up
- Grab some extra chips to use up any filling that's left over
These little snacks have somehow gotten me a reputation as someone who can really cook, which makes me laugh because they're probably the simplest thing I make. But I'm not telling anyone that secret—sometimes the easiest dishes are exactly what make people think you're amazing in the kitchen. And isn't that what we all kinda want anyway?
Recipe FAQs
- → Can I prep Cheesy Iowa Bites early?
- You can mix the filling and keep it in the fridge for up to 24 hours. But to keep the tortilla shells crisp, fill and bake them right before serving. Leaving them too long after baking may make them soft.
- → Where does the name come from?
- This fun name gives a nod to the sweet corn base, which is widely grown in Iowa. They use this standout ingredient to create a snack that's perfect for parties or any get-together.
- → What can I swap for green chiles?
- Swap green chiles with mild bell peppers, jalapeños for a spicy twist, pickled jalapeños, or even a spoon of salsa. It’s flexible based on your taste!
- → How can I keep the tortilla cups crunchy?
- Don’t overload the cups with filling, as too much moisture can make them soggy. Also, make sure your oven is ready and warmed up, and serve them fresh and hot from the oven.
- → What works well on the side?
- These pair perfectly with dips like guac, sour cream, or salsa. Add them to an appetizer spread with things like wings, mini sliders, or fresh veggie trays.
- → Is there a vegetarian option?
- These are already vegetarian-friendly! For added protein, stir in some black beans, pinto beans, or one of your favorite plant-based options.