Delicious Strawberry Mochi

Featured in Sweet Treats and Baked Delights.

This recipe blends chewy mochi with a creamy strawberry cheese filling, all topped off with crushed Oreo pieces.
Mena
Updated on Sat, 15 Mar 2025 00:40:06 GMT
A close-up of two pink strawberry mochi pieces with fresh strawberries nearby. Pin it
A close-up of two pink strawberry mochi pieces with fresh strawberries nearby. | delishdocket.com

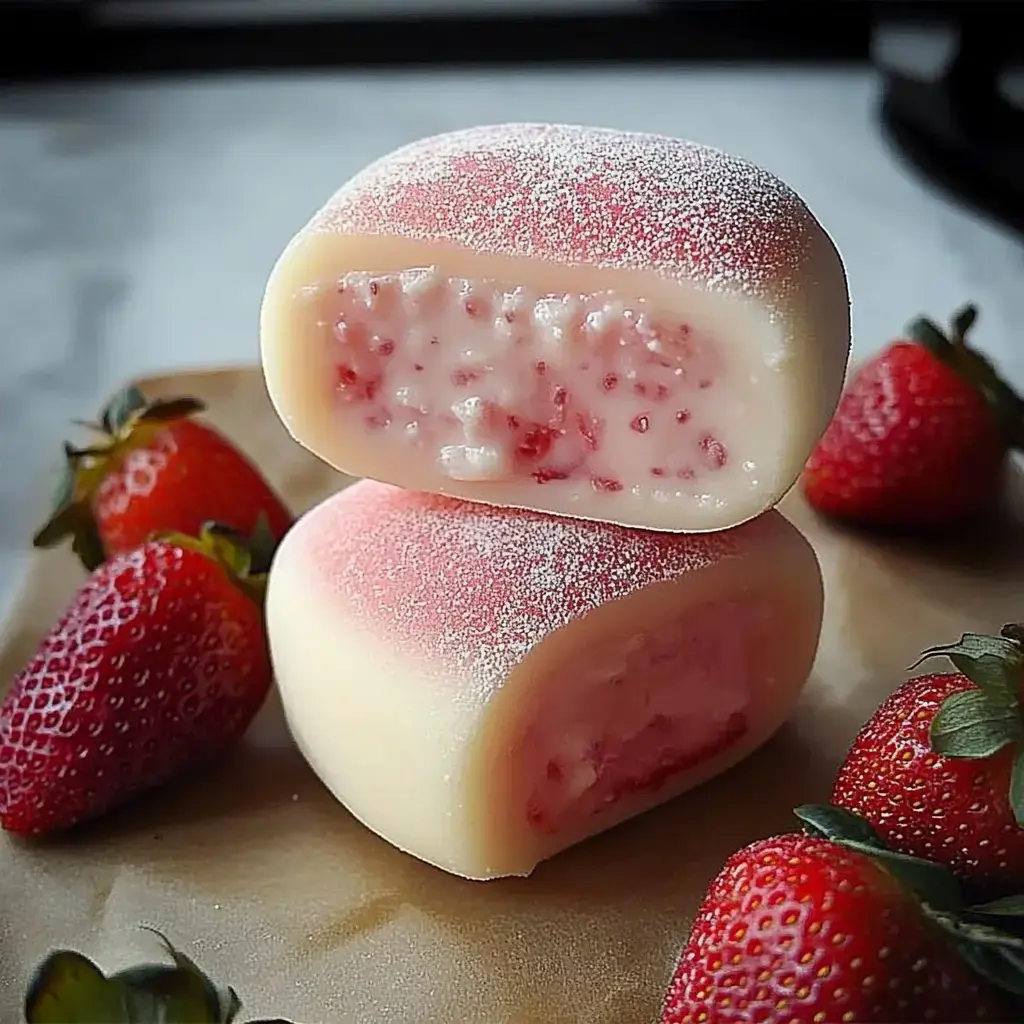
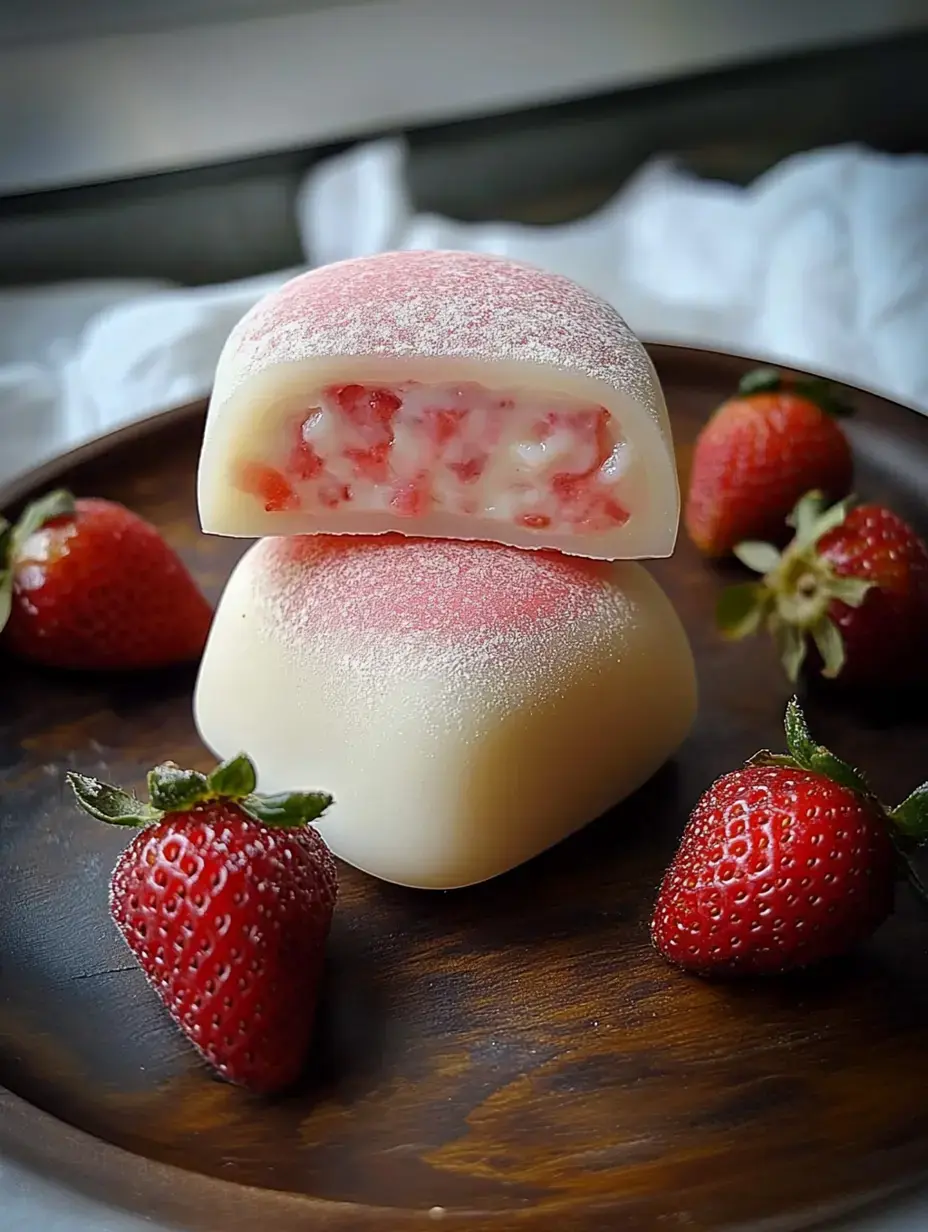
Experience a delightful fusion dessert with this Strawberry Cheese Mochi - where chewy mochi dough envelops a creamy strawberry cheese filling, topped with crunchy Oreo crumbs for the perfect textural contrast.

A Simple Yet Elegant Treat

This approachable recipe creates an impressive dessert that balances soft, creamy and crunchy textures with sweet strawberry and rich cheese flavors.

Base Mochi Ingredients

  • Glutinous Rice Flour: 100g for authentic mochi texture
  • Corn Starch: 30g to prevent dough from sticking
  • Sugar: 15g for subtle sweetness
  • Milk: 160g for richness
  • Butter: 10g for pliable dough

Creamy Filling Components

  • Cream Cheese: 100g softened
  • Strawberry Jam: 100g for fruit flavor
  • Whipping Cream: 180g for lightness
  • Sugar: 15g to balance flavors

Crunchy Topping

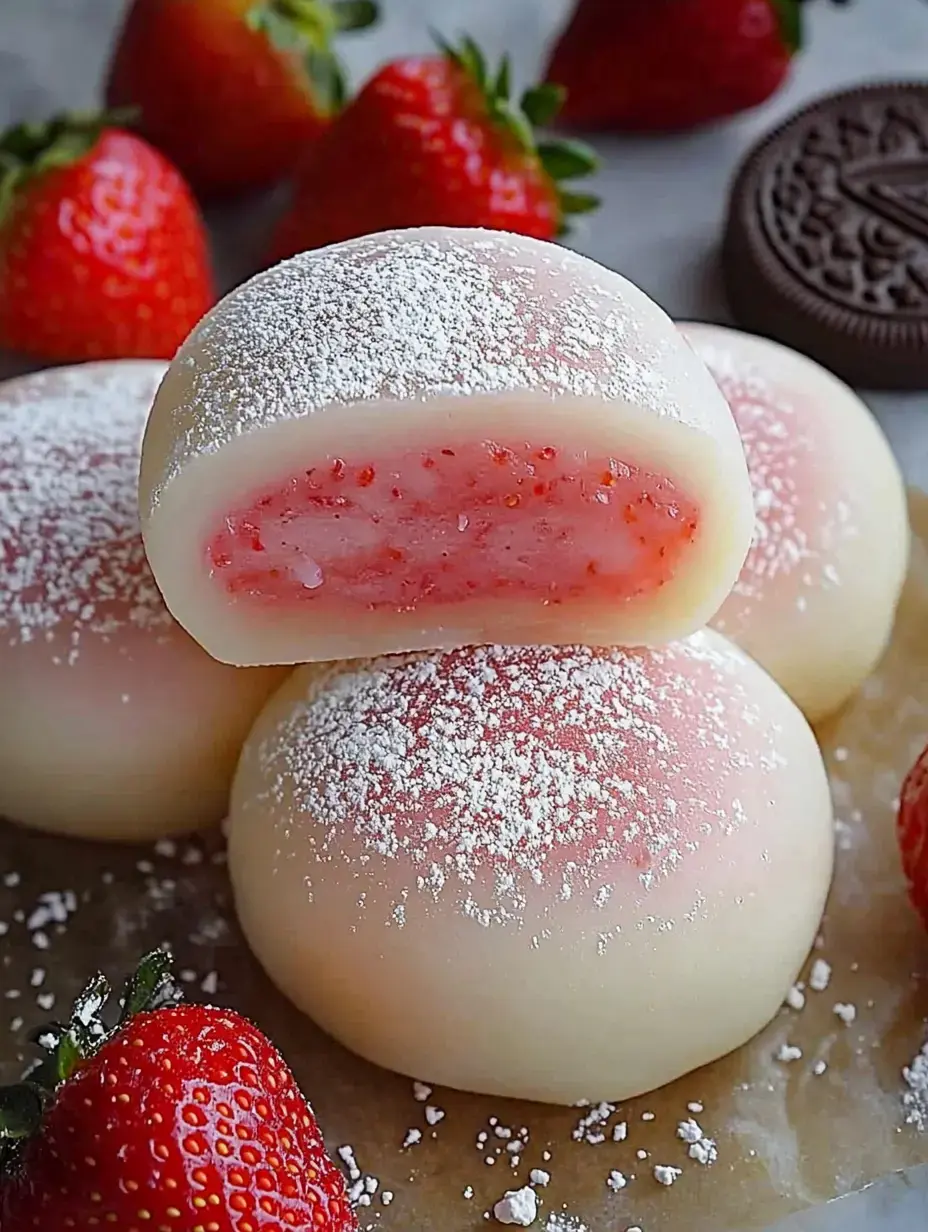
Crushed Oreo cookies provide essential textural contrast and rich chocolate notes.

A close-up of freshly made strawberry mochi, dusted with powdered sugar, alongside whole strawberries and an Oreo cookie. Pin it
A close-up of freshly made strawberry mochi, dusted with powdered sugar, alongside whole strawberries and an Oreo cookie. | delishdocket.com

Prepare the Filling

Beat cream cheese with sugar until completely smooth. Gently fold in strawberry jam and whipped cream. Portion and freeze until firm.

Create the Mochi Base

Combine rice flour, starch, sugar, and milk. Strain mixture and steam covered for 25 minutes.

Essential Kneading

Incorporate butter while dough is warm. Continue kneading until smooth and elastic.

Assembly Process

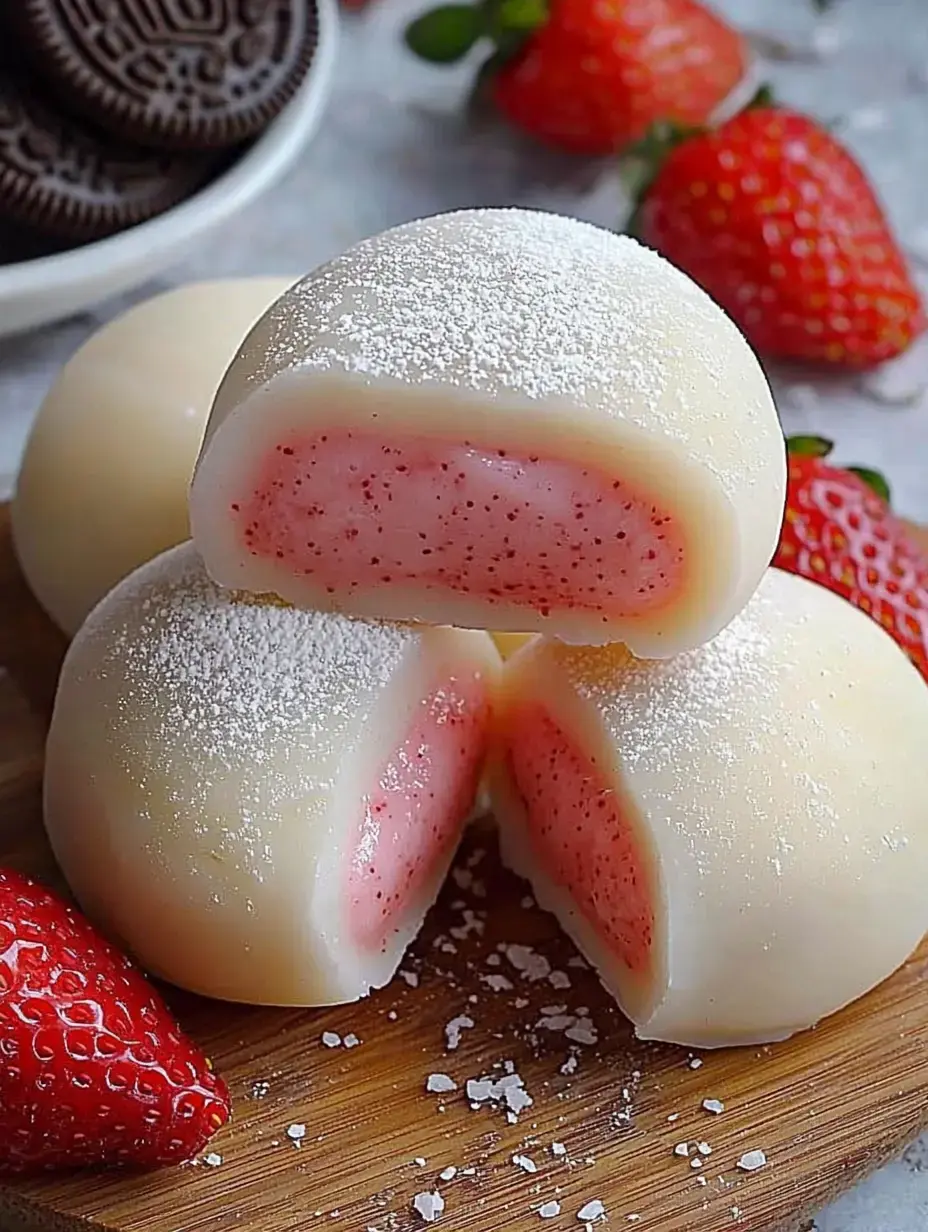
Portion dough, wrap around chilled filling, and seal edges carefully. Shape into smooth rounds.

Finishing Details

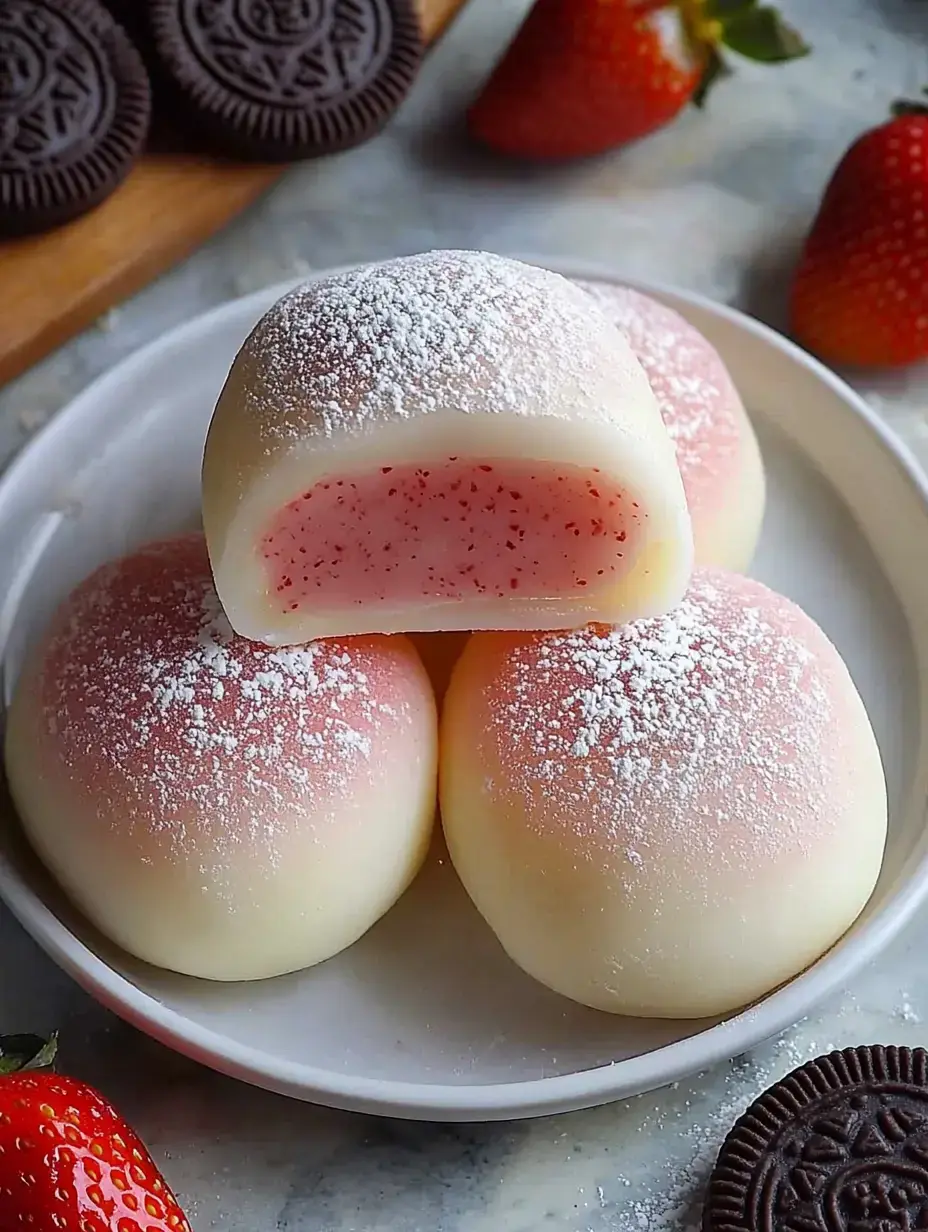
Coat tops with crushed Oreos, pressing gently to adhere.

A plate of pink-tinted mochi filled with strawberry-flavored filling, dusted with powdered sugar, alongside fresh strawberries and Oreo cookies. Pin it
A plate of pink-tinted mochi filled with strawberry-flavored filling, dusted with powdered sugar, alongside fresh strawberries and Oreo cookies. | delishdocket.com

Achieving Ideal Texture

Thorough kneading of warm dough ensures proper elasticity and smoothness.

Presentation Tips

Serve in decorative paper liners with optional drizzle for an elegant presentation.

Family-Friendly Option

Decorating mochi makes an enjoyable activity for children in the kitchen.

Enhancing Strawberry Notes

Incorporate strawberry powder for enhanced color and concentrated berry flavor.

Optional Toppings

Experiment with different sauces and garnishes to complement the base flavors.

Three white chocolate-covered strawberry mochi pieces, with one cut in half to reveal pink filling, are displayed on a wooden board alongside fresh strawberries and a bowl of Oreos. Pin it
Three white chocolate-covered strawberry mochi pieces, with one cut in half to reveal pink filling, are displayed on a wooden board alongside fresh strawberries and a bowl of Oreos. | delishdocket.com

Mini Variations

Form smaller portions for elegant party desserts or appetizers.

Working with Mochi Dough

Dust hands with rice flour and oil to handle sticky dough effectively.

Perfect Pairings

Serve alongside green or jasmine tea to complement the sweet flavors.

Fresh Fruit Enhancement

Incorporate diced fresh strawberries for bright, natural flavor.

Versatile Dessert

Suitable for various occasions from casual gatherings to formal events.

A close-up of two pieces of pink-topped mochi filled with strawberry and cream, surrounded by fresh strawberries on a wooden plate. Pin it
A close-up of two pieces of pink-topped mochi filled with strawberry and cream, surrounded by fresh strawberries on a wooden plate. | delishdocket.com

Frequently Asked Questions

→ What’s the reason to chill the filling?
It’s much simpler to handle and wrap the filling when it’s been frozen. It also keeps its shape while putting everything together.
→ Why do I need to strain the mochi dough?
Straining ensures the dough turns out smooth by getting rid of lumps, which is key for achieving the ideal chewy texture.
→ Can I swap out the filling?
Absolutely, you can switch the strawberry jam for other fruit jams or experiment with your own cream cheese mix. Be sure to keep the ratios similar for the right consistency.
→ How long will these treats stay fresh?
They last for up to 3 days in the fridge if kept in an airtight container. Just note that the mochi may firm up a bit over time.
→ Why coat the mochi in rice flour?
Because mochi is naturally sticky. A light dusting of rice flour keeps it from sticking to surfaces and makes handling easier.

Cheesy Mochi Treat

A playful dessert with chewy mochi, a strawberry and cream cheese filling, and a layer of Oreo crunch.

Prep Time
45 Minutes
Cook Time
15 Minutes
Total Time
60 Minutes
By: Mena

Category: Desserts & Baking

Difficulty: Difficult

Cuisine: Fusion-Style Japanese

Yield: 8 Servings (8 mochi)

Dietary: Vegetarian

Ingredients

01 100g (⅖ cups) cream cheese.
02 100g (0.8 cups) glutinous rice flour.
03 30g (0.25 cups) corn starch.
04 160g (⅔ cups) milk.
05 15g (1 tbsp) sugar.
06 10g (0.7 tbsp) butter.
07 15g (1 tbsp) sugar.
08 180g (¾ cups) whipping cream.
09 100g (⅓ cups) strawberry jam.
10 Chopped Oreos to sprinkle on top.

Instructions

Step 01

Combine cream cheese with sugar and mix till smooth. Stir in the strawberry jam and whipping cream. Pipe into 50g portions, then freeze them.

Step 02

Blend rice flour, corn starch, sugar, and milk together completely. Run the mix through a strainer, then steam, keeping it covered, till it’s done.

Step 03

Work butter into the cooked dough while it’s warm. Knead until the dough becomes soft and stretchy, pulling it to build elasticity.

Step 04

Shape the dough into balls weighing 40g each. Coat with some rice flour to stop them from sticking.

Step 05

Flatten the dough balls, place the frozen filling inside, seal the edges tightly, snip off extra dough, and sprinkle with rice flour.

Step 06

Finish with crumbled Oreo pieces on top as a garnish.

Notes

  1. Freeze the filling so it’s easy to work with.
  2. Strain your dough mixture to make it nice and smooth.
  3. Rice flour helps keep the dough from sticking—use it on your hands and work area.

Tools You'll Need

  • Strainer.
  • Steamer.
  • Piping bag.
  • Plastic wrap.

Allergy Information

Please check ingredients for potential allergens and consult a health professional if in doubt.
  • Dairy (milk, cream cheese, whipping cream).
  • Wheat (Oreos).

Nutrition Facts (Per Serving)

It is important to consider this information as approximate and not to use it as definitive health advice.
  • Calories: ~
  • Total Fat: ~
  • Total Carbohydrate: ~
  • Protein: ~