
 Save
Save
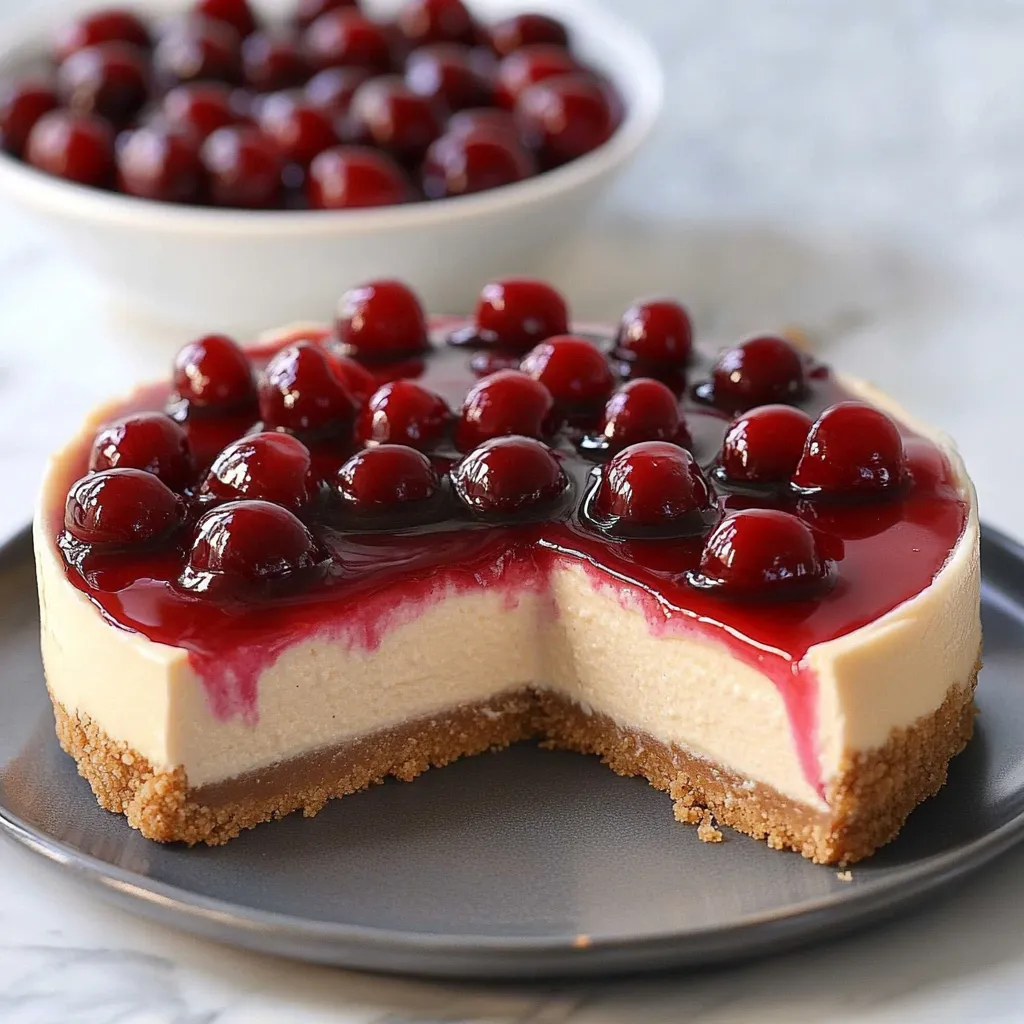
I've been making this no-bake cherry cheesecake for years, and it never disappoints. Something about that creamy cheesecake layer topped with sweet-tart cherries just hits the spot every time. The best part No heating up the kitchen with a hot oven, which makes this my go-to summer dessert when berries are in season and the last thing I want to do is bake.
Last July, I brought this to my neighbor's backyard barbecue. Their air conditioning had broken that morning, and they were stressed about dessert since turning on the oven wasn't an option. The look of relief on their faces when I walked in with this chilled cheesecake was priceless. By the end of the night, people were scraping the serving plate with their forks to get the last bits.
Essential Ingredients
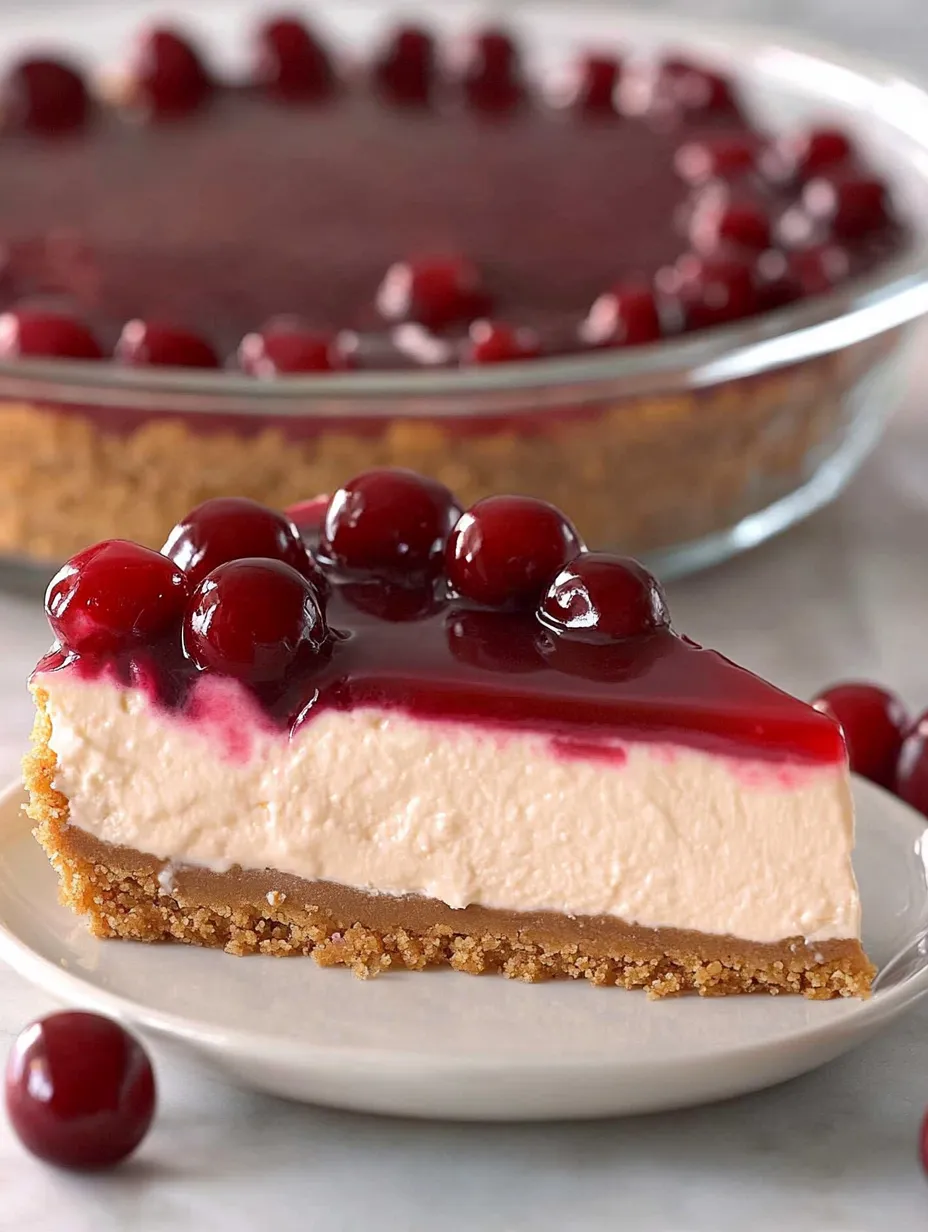
- Graham cracker crumbs: The slightly honey flavor creates the perfect base. I've tried store-bought crumbs and crushing my own, and honestly, doing it yourself in a food processor gives a better texture with some fine crumbs and some slightly larger pieces.
- Cream cheese: Full-fat is non-negotiable here The light versions contain more water and won't set properly. Make sure it's completely softened to avoid lumps in your filling.
- Heavy cream: This gives the filling its luscious, mousse-like texture. The higher the fat content, the better it will whip and hold its shape.
- Cherry pie filling: I usually grab canned for convenience, but in cherry season, I sometimes make my own with fresh cherries. Either way, that sweet-tart flavor perfectly balances the rich filling.
- Vanilla extract: Real vanilla extract (not imitation) adds depth that makes people wonder what your secret ingredient is.
 Save
Save
Simple Steps
- Build the foundation
- Mix those graham cracker crumbs with sugar and melted butter until it looks like wet sand. The butter is what helps it hold together, so make sure every crumb gets coated. When you press it into the pan, use something flat-bottomed for even compression the bottom of a measuring cup works perfectly. Pack it firmly, especially around the edges.
- Create the filling
- Whipping the cream to stiff peaks is crucial it's what gives the cheesecake its structure since we're not using gelatin. You'll know it's ready when you lift the beaters and the cream stands up in firm little peaks without flopping over. Beat the cream cheese mixture separately until it's silky smooth, then combine the two with a gentle hand.
- Master the fold
- The technique here matters you want to preserve all those air bubbles you've whipped into the cream. Use a rubber spatula and cut down through the center, scrape along the bottom, and turn the mixture over itself. Rotate the bowl as you go. It's done when you no longer see streaks of white cream.
- Create smooth perfection
- When transferring the filling to the crust, spoon it in rather than pouring, which can deflate it. Use an offset spatula (or the back of a spoon) to create a perfectly smooth top. This gives you a beautiful canvas for the cherry topping.
- Patient chilling
- The hardest part is waiting Four hours is the minimum, but overnight is better. The flavor develops and the texture firms up beautifully with time. I sometimes make this two days ahead for big events.
- Finish with flair
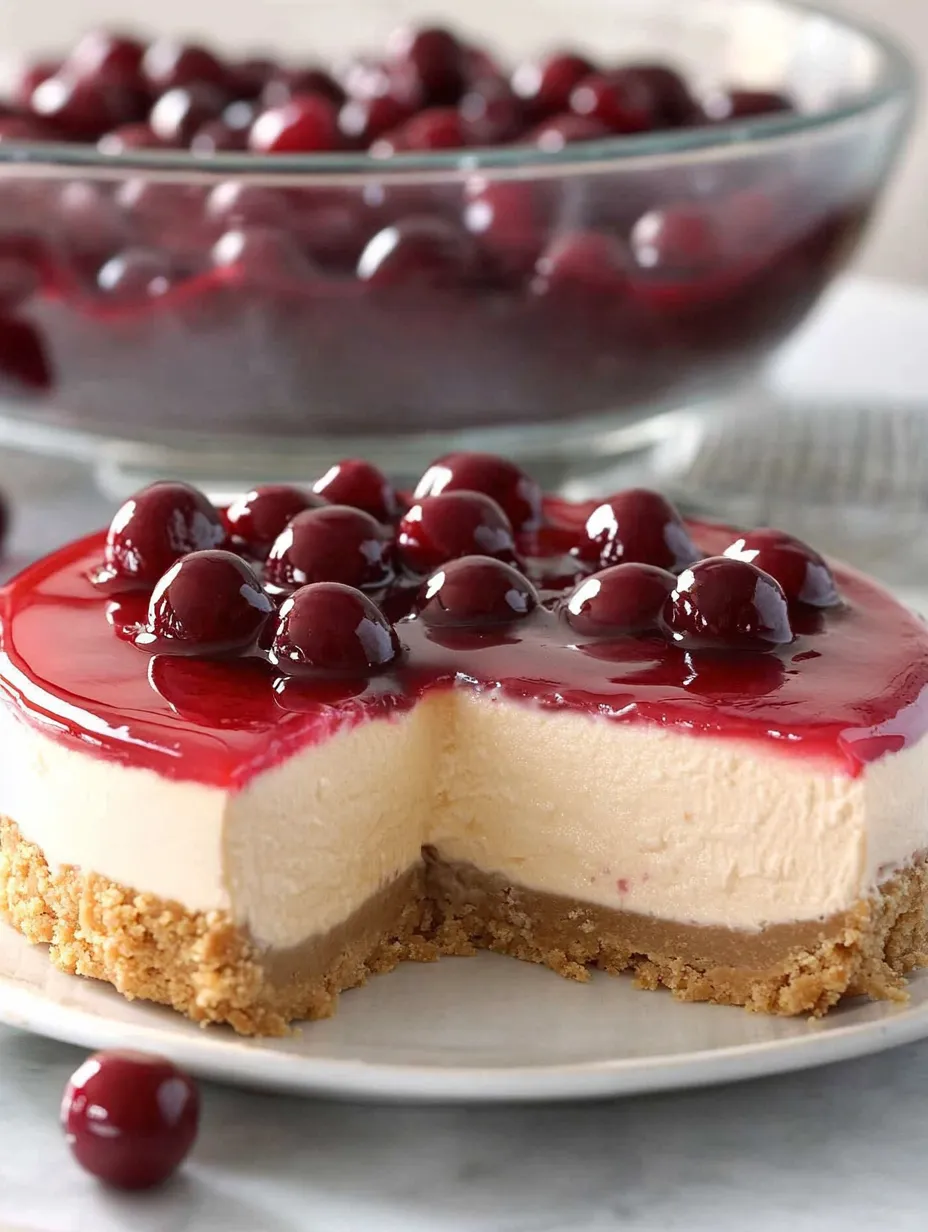
- Spoon the cherry topping on gently don't just dump it or you'll dent your beautiful cheesecake surface. Spread it to the edges for the prettiest presentation. That final chill helps the topping set up just enough for clean slices.
I first learned this recipe from my aunt Carol at a family reunion back in the '90s. She was known for never using her oven during summer and still managing to make incredible desserts. I watched her make this cheesecake in her tiny kitchen, amazed at how something so simple could look so fancy. Now my daughters help me make it, and they fight over who gets to smooth the top and add the cherry topping.
Serving Ideas
Pair this cheesecake with some fresh mint leaves for a pop of color and brightness. For coffee lovers, serve with a shot of espresso on the side the bitter coffee against the sweet cheesecake is an incredible combination. If you're hosting a dinner party, pre-slice and arrange individual portions on small plates with a dollop of whipped cream for an elegant plated dessert.
Clever Variations
Switch up the fruit topping to whatever's in season blueberry and strawberry pie fillings work beautifully. Add a layer of chocolate ganache between the crust and filling for a decadent chocolate-cherry version. For a citrus twist, add a tablespoon of lemon zest to the filling and top with lemon curd instead of cherries.
Storage Smarts
This cheesecake keeps beautifully in the refrigerator for up to five days (though it never lasts that long in my house). Cover with plastic wrap once it's completely set to prevent it from absorbing refrigerator odors. I don't recommend freezing this no-bake version the texture can become grainy when thawed.
 Save
Save
Baker's Secrets
Warm your knife under hot water before cutting each slice for picture-perfect portions. For an extra-special touch, fold mini chocolate chips into the filling before chilling. If your springform pan tends to leak, wrap the outside with plastic wrap before adding the crust.
I've made this cheesecake for everything from summer picnics to Christmas dinner, and it always disappears quickly. There's something about that combination of buttery crust, creamy filling, and sweet-tart cherries that makes people go quiet when they take their first bite. It's simple enough for a weeknight family dessert but pretty enough for special occasions. In my recipe book, that's the definition of a perfect dessert.
Recipe FAQs
- → Can I use a different fruit topping?
- Yes, any canned pie filling works well, or try fresh berries mixed with jam.
- → How long will this keep in the refrigerator?
- It keeps well for 3-4 days when stored covered in the refrigerator.
- → Can I freeze this cheesecake?
- Yes, freeze without topping for up to 3 months. Add topping after thawing.
- → Can I use a pie plate instead of springform pan?
- Yes, a 9-inch pie plate works well, though serving will be slightly more challenging.
- → Why isn't my filling firm enough?
- Make sure to beat the cream to stiff peaks and allow sufficient chilling time.