
 Save
Save
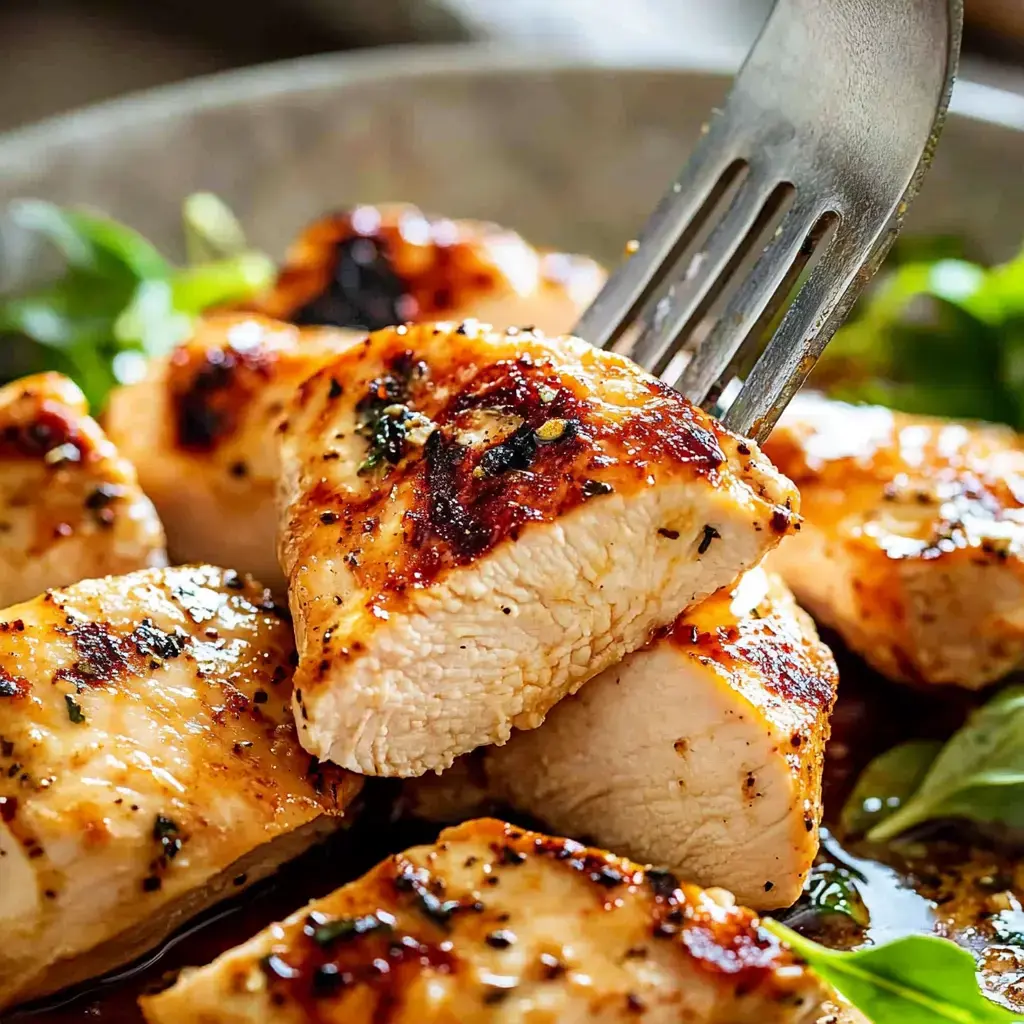
Here's a foolproof method for perfectly cooked chicken breasts that will transform your everyday cooking. After extensive testing in my kitchen, I've refined this technique to consistently produce juicy, flavorful results with a beautiful golden exterior. It's become an essential recipe whether cooking for tonight's dinner or preparing meals ahead.
Basic Ingredients, Exceptional Results
This straightforward method elevates simple chicken breasts using minimal pantry staples. The technique has proven reliable time after time, delivering consistently excellent results with just a handful of quality ingredients.
Selecting Quality Ingredients
Success begins with choosing proper ingredients. Fresh, high-quality chicken makes a noticeable difference in the final dish. Keep a versatile seasoning blend on hand and select an appropriate high-heat cooking oil to achieve the ideal sear.
Essential Preparation
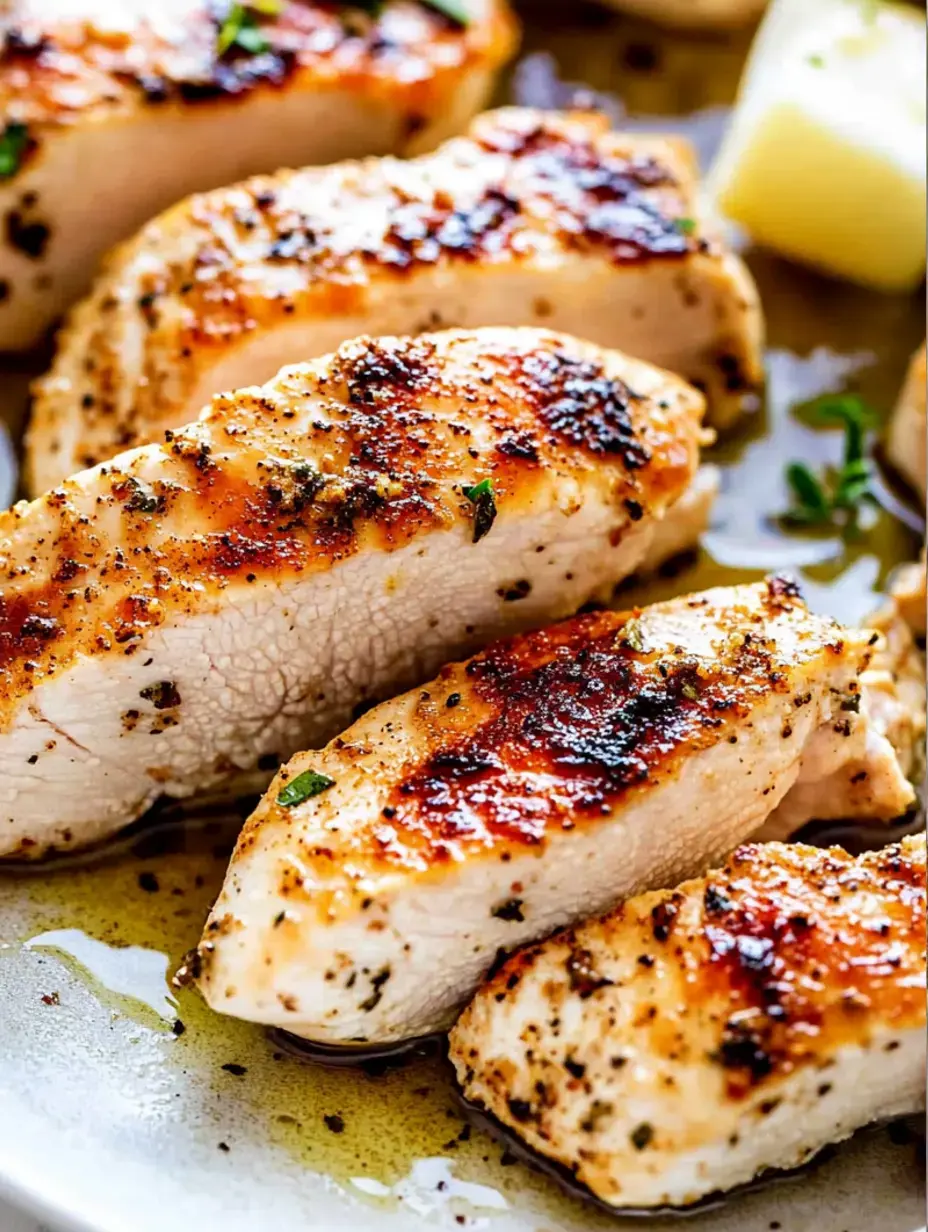
Proper preparation sets the foundation for success. Pounding the chicken to uniform thickness ensures even cooking and improved tenderness. Apply seasonings generously across the entire surface for consistent flavor throughout.
Mastering the Cook
The cooking technique is crucial for optimal results. Preheat the pan thoroughly before adding chicken - the immediate sizzle indicates proper temperature. Resist moving the pieces prematurely to develop a proper golden crust.
 Save
Save
Professional Techniques
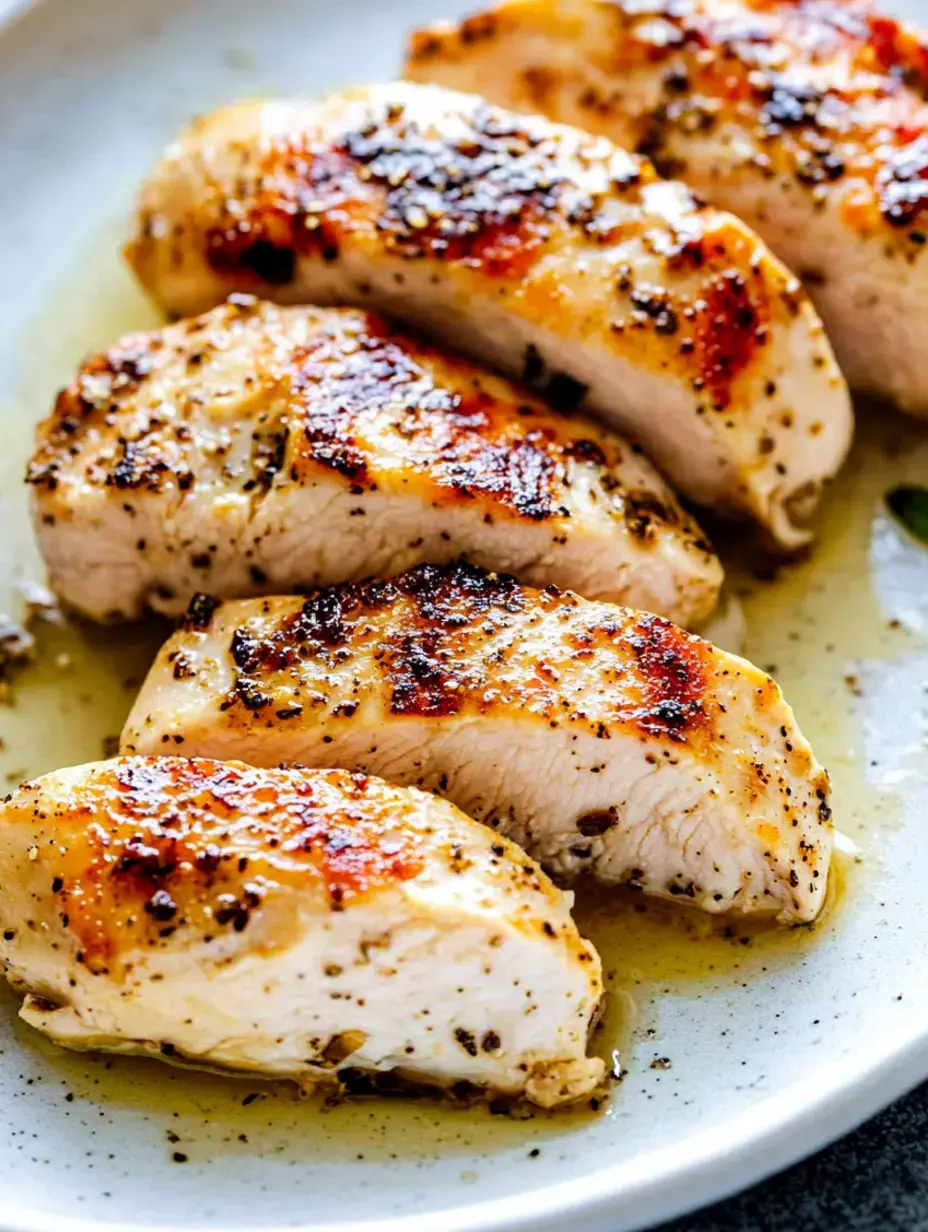
Experience has revealed several key techniques. A reliable meat thermometer ensures proper doneness. Finishing with a small amount of butter creates an exceptional final texture and glossy appearance.
The Essential Rest
Proper resting time proves vital for maintaining juiciness. Allow several minutes before slicing, despite the temptation to serve immediately. This patience ensures the optimal texture in every bite.
Serving Suggestions
This versatile chicken pairs well with numerous side dishes. Serve alongside roasted vegetables for a simple meal, or slice over fresh greens for a satisfying salad. The possibilities extend to countless combinations.
Storage Methods
Properly stored leftovers maintain excellent quality. Allow complete cooling before refrigerating to preserve texture. The cooked chicken remains flavorful for sandwiches and salads the following days.
Reheating Guidelines
Gentle reheating preserves the chicken's quality. Use moderate heat whether choosing microwave or stovetop methods. Adding a small amount of broth helps maintain moisture levels.
 Save
Save
Customization Options
While the basic seasoning produces excellent results, variations offer exciting possibilities. Experiment with different herb and spice combinations to discover preferred flavor profiles.
Technical Principles
Understanding the cooking science improves results. High-heat searing creates flavor while gentle finishing ensures thorough cooking. These fundamental principles consistently produce superior results.
Batch Cooking Benefits
This method excels for advance preparation. Cook larger quantities for convenient weekday meals. Having properly cooked chicken ready simplifies meal assembly throughout the week.
Adjusting for Thickness
Different chicken breast sizes require cooking adjustments. Thicker cuts may benefit from oven-finishing. Proper timing ensures thorough cooking regardless of size variations.
Nutritious Preparation
This method delivers healthy results without sacrificing flavor. Minimal added fats produce excellent outcomes through proper technique and timing.
 Save
Save
Advance Preparation
Overnight seasoning enhances flavor development. This advance preparation streamlines cooking while improving taste. The extra marinating time yields noticeable results.
Common Pitfalls
Experience reveals typical cooking mistakes. Premature turning, overcrowded pans, and insufficient heat affect results. These lessons guide the path to consistent success.
Complementary Elements
Discover ideal accompanying dishes. Pan sauces utilize flavorful cooking residue. Quality bread serves perfectly for enjoying every drop of sauce.
Multiple Applications
Master this foundational preparation for various dishes. The cooked chicken adapts well to sandwiches, salads, or tacos. This versatile method enables numerous quick meal options.
Kitchen Fundamentals
Mastering this essential technique builds cooking proficiency. Reliable chicken preparation provides endless meal possibilities. This method forms the basis for expanding culinary skills.
 Save
Save
Summary
The ultimate walkthrough on cooking chicken breasts to tender perfection on a stovetop. Learn about even thickness, seasoning evenly, and hitting just the right cook time to make it juicy and flavorful every time.
Recipe FAQs
- → Why is it better to keep chicken breasts no thicker than an inch?
If they're thicker, the outside can dry out while the middle is still raw. Using a meat pounder or rolling pin to even them out helps everything cook evenly and stay moist.
- → Why choose vegetable oil over olive oil?
Vegetable oil works better for this because it can handle higher heat. Olive oil might burn before properly searing the chicken.
- → How can I tell when it’s time to flip the chicken?
Leave the chicken to cook undisturbed for around 5-7 minutes. When it’s ready, it should lift easily from the pan. If it’s still sticking, give it a bit more time.
- → How long will cooked chicken keep in the fridge?
Let it cool to room temperature first, then store in an airtight container. It should stay good for up to four days in your refrigerator.
- → Can I mix up the seasoning blend?
Absolutely! Feel free to swap the suggested spices for your personal favorites or any blend you like. The cooking steps will stay the same.