
 Save
Save
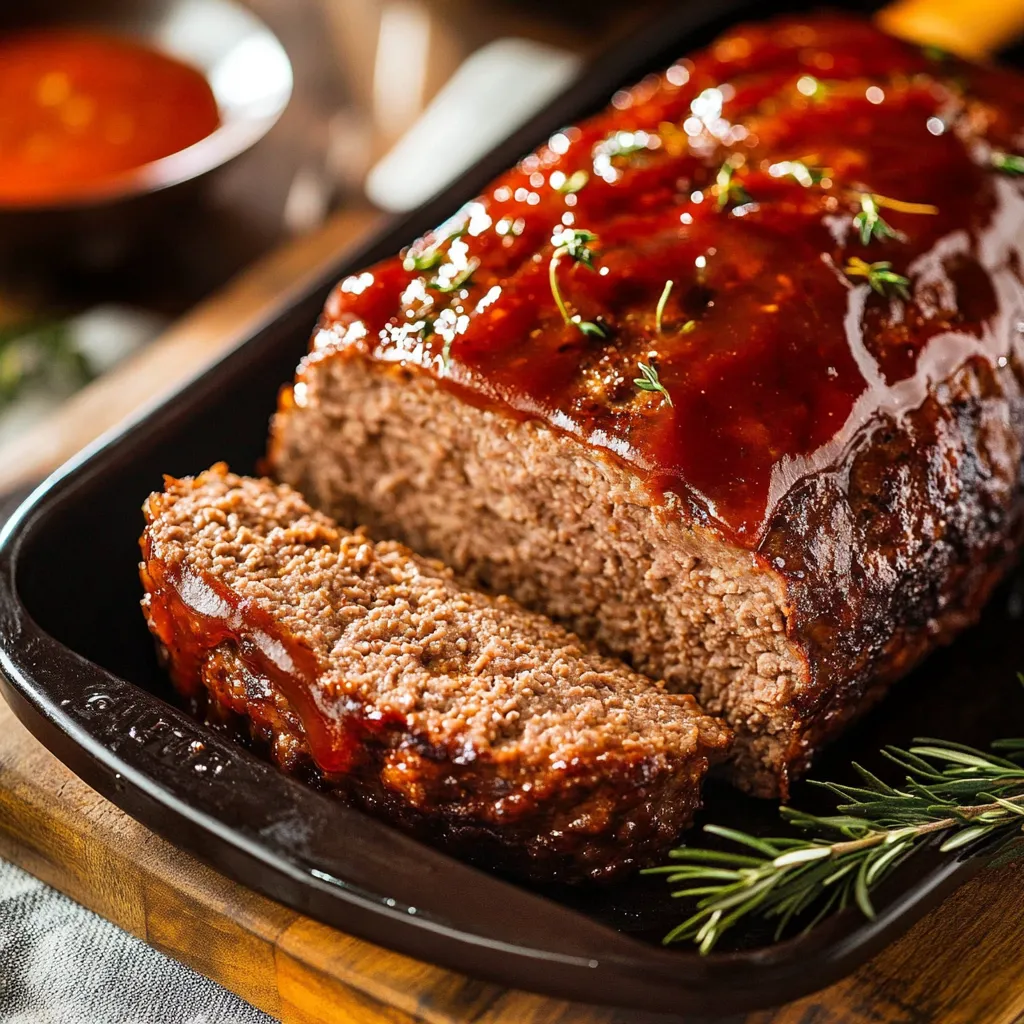
I always think of my grandma's country kitchen when I dig into a juicy, fresh-from-the-oven slice. Plenty of Sunday nights and little tweaks later, I've landed on this version that brings together my mom’s cozy seasoning and my grandma’s awesome trick with the glaze. What really sets it apart? Paying careful attention to keeping things moist and loading up layers of flavor the whole way through.
Last month, I shared this at our daughter’s graduation bash. Everyone kept raving, not because of what went in, but because I kept an eye on the oven and let it rest afterwards. Even my in-law (who usually passes the meatloaf) came back for more.
Irresistible Ingredients (plus handy tips):
- 80/20 Ground Beef—Let it warm up a bit out of the fridge so it mixes and cooks better
- Grated Yellow Onion—The extra juice adds sweetness and mixes in better than chopped
- Breadcrumbs—Go with mostly store-bought Italian crumbs and toss in a bit of fresh for moisture
- Eggs—Let them sit out so they bind the meat properly
- Whole Milk—Use it a touch warm; the fat keeps each bite extra soft
- Worcestershire Sauce—Gives everything an extra savory note
- Fresh Garlic—Chop it up last minute to keep it aromatic
- Chopped Parsley & Thyme—Freshly snipped is best
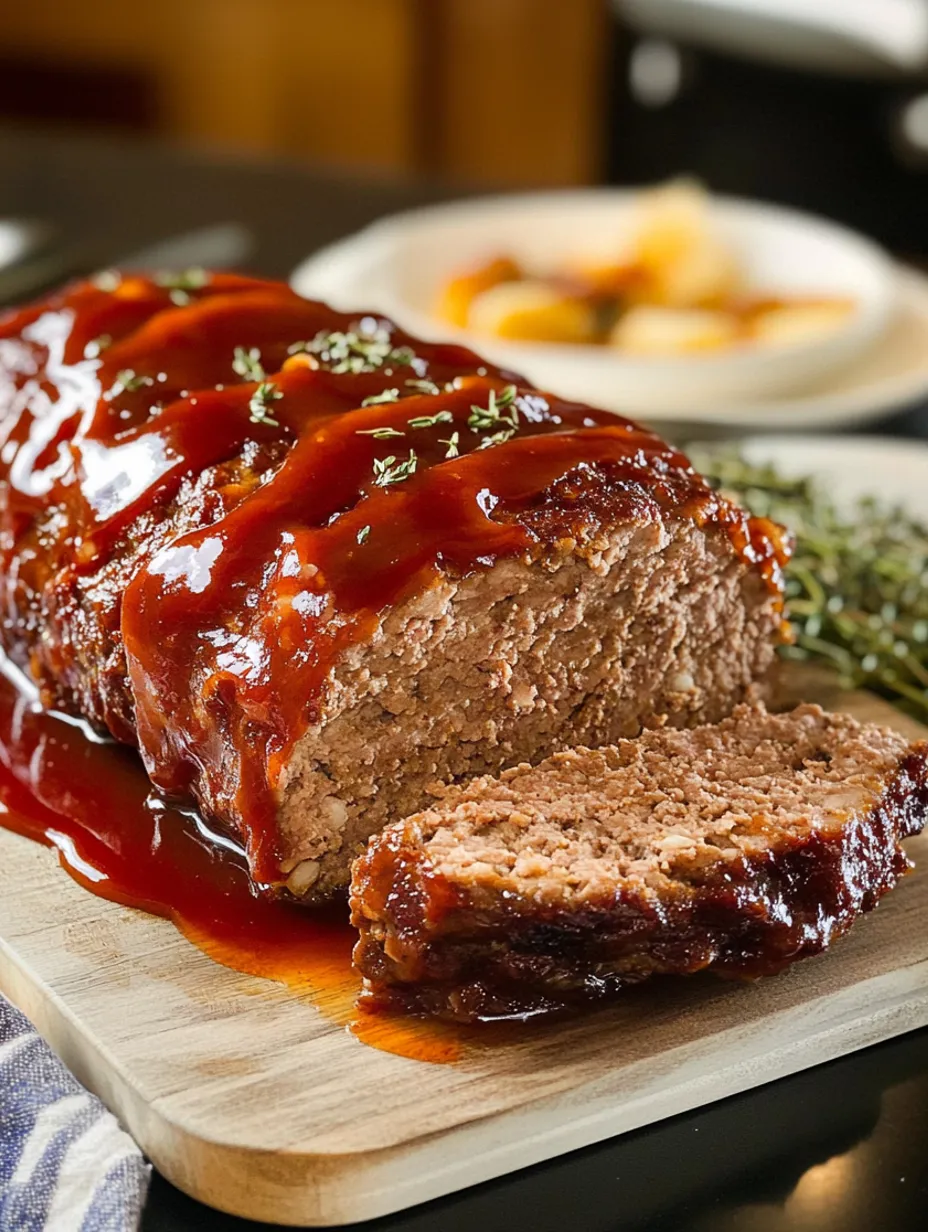
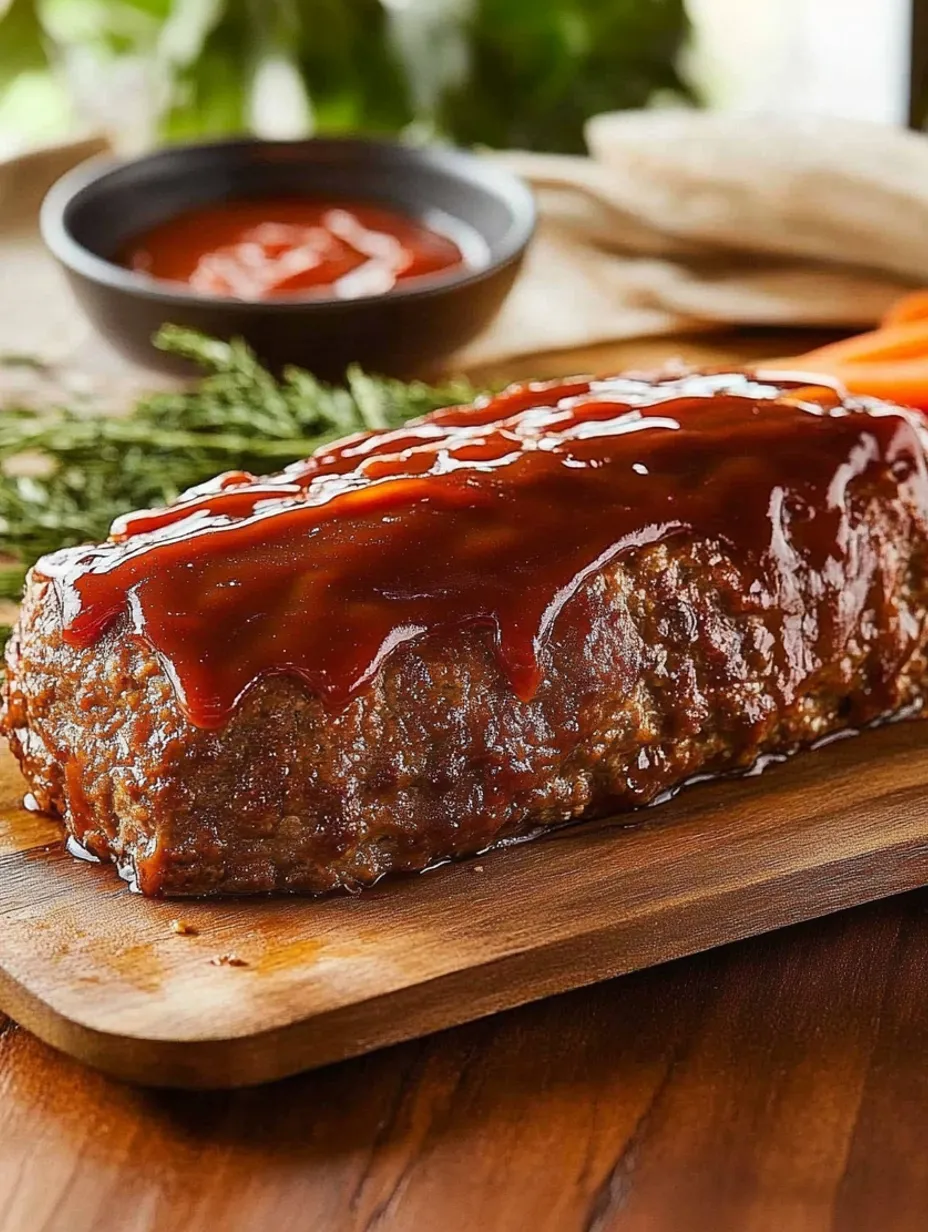
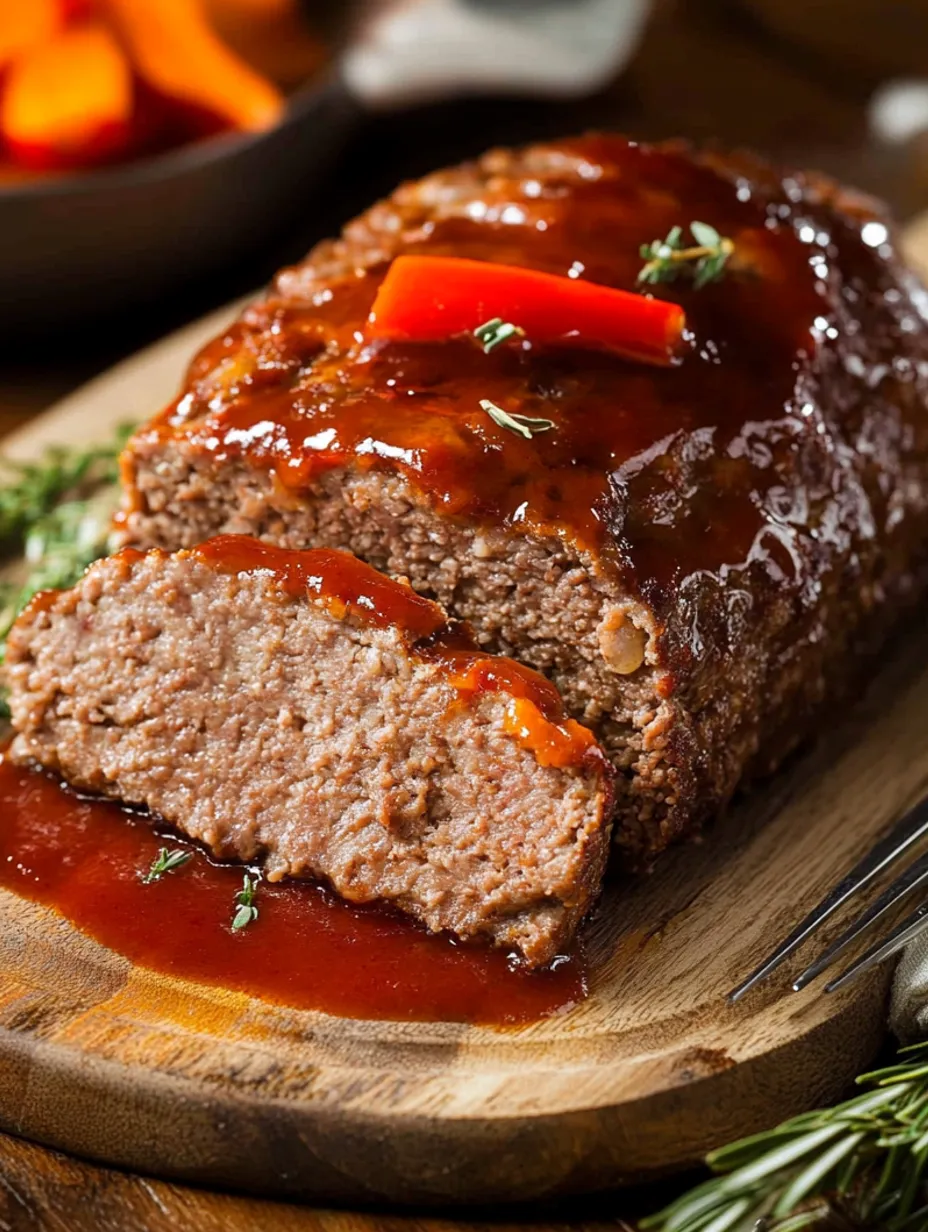
- Homemade Glaze—Mix a cup of ketchup, a fourth cup brown sugar, and a couple tablespoons red wine vinegar for the magic sticky topping
 Save
Save
Full Step-by-Step Walkthrough:
1. Get Things Ready (30 minutes out)
- - Set eggs and beef out so they’re not chilly
- - Start heating the oven to 375°F; double-check with a thermometer
- - Shred onion using the tiny side of your grater so you catch the juicy bits
- - Chop garlic and herbs right before you toss in
- - Line loaf pan (9x5) with parchment and leave extra hanging over the edges
- - Warm milk just enough to take the chill off
2. Mixing Everything (Don’t Rush This!)
- - Break up ground beef into chunky bits in a bowl
- - Whisk your eggs, milk, and Worcestershire together
- - Add grated onion to breadcrumbs and leave it alone for 5 minutes
- - Dump the breadcrumb mix into the meat
- - Pour in the egg mixture
- - Use your hands and gently fold everything together 25-30 times
- - Stop once it holds together but you can still see strands of meat
3. Shape & Glaze (It’s All About the Details)
- - Scoop the meat into your pan in three layers
- - Press down after each spoonful to kick out air
- - Gently round off the top for even baking
- - Make tiny troughs across the top—these hold the glaze
- - Warm up the bowl, then mix up the glaze so it spreads easier
- - Use a silicone brush to lay on that first coat of glaze
- - Save a third of the glaze for finishing halfway through bake time
4. In the Oven (Steady Wins Here)
- - Move oven rack to the middle slot
- - Leave the loaf uncovered for the first 30 minutes
- - Spread on the last of the glaze after 30 minutes
- - Keep baking another 25-30 minutes till the center reads 160°F
- - Stick the thermometer in a few places to double-check
- - Glaze should bubble up but not get burnt
- - Walk away and let it rest a good 10 minutes before you cut it
 Save
Save
Don't Miss These:
* Ovens aren’t all equal—find the hotter spots in yours
* A meat thermometer is a must-have if you want it just right
* Glass pans cook faster—pull out 5 minutes sooner
* Color alone isn’t enough to tell if it’s done
Going with grass-fed beef is a game changer for big flavor. Just remember to slice about 5 minutes off your usual bake time, or it can dry out.
Temperature Cheat Sheet:
* 155°F—Still has a blush of pink, my favorite
* 160°F—Standard recommendation
* 165°F—Fully cooked, but might be a little drier
 Save
Save
Level-Up Tricks for Great Results:
* Fry your onions and garlic for more richness
* Tent foil on top if it’s getting too brown
* Set a water-filled pan on the lowest rack for extra steam
* Chill the mix for cleaner slices
* Lightly mark criss-cross lines on top before glazing
Storing & Warming Up Tips:
* Let it cool all the way before popping it in the fridge
* Pre-slice before you freeze—reheats faster
* Wrap each piece in parchment before adding foil on top
* Warm it with a little broth to keep it juicy
* Keep the glaze in a separate container and brush on fresh
Chef-Approved Tricks:
* Toast those breadcrumbs first so they’re a little nutty
* Add a dash of fish sauce for extra savoriness
* Mix in chopped up mushrooms to bump up moisture
* Combine three types of fresh herbs for deeper taste
* Swap regular crumbs for panko if you want things lighter
Final Takeaways:
If there’s one thing making this hundreds of times has taught me, it’s that patience pays off. Don’t rush when mixing or cooking. Be exact with your temperatures. And never skip letting it cool before you slice. Maybe you grew up with a different family favorite, but I promise—this one never lets me down. It wins over doubters and deserves a little TLC from start to finish, choosing meat all the way to that last rest before serving.
Recipe FAQs
- → How will I know if my meatloaf is ready?
- Your meatloaf is ready when the center gets to 160°F, or the meat has no pink left.
- → Can I prep meatloaf a day ahead?
- Sure! You can mix everything and refrigerate it up to a day before cooking.
- → Why didn’t my meatloaf stay together?
- It might fall apart if you skip key binders like eggs or breadcrumbs. Make sure to include both.
- → Is it okay to freeze leftover meatloaf?
- Absolutely! Wrap cooled leftovers in foil and freeze for up to 3 months. Let it thaw in the fridge before reheating.
- → What sides go well with meatloaf?
- It’s awesome with mashed potatoes, roasted veggies, green beans, or a fresh salad.