
 Save
Save
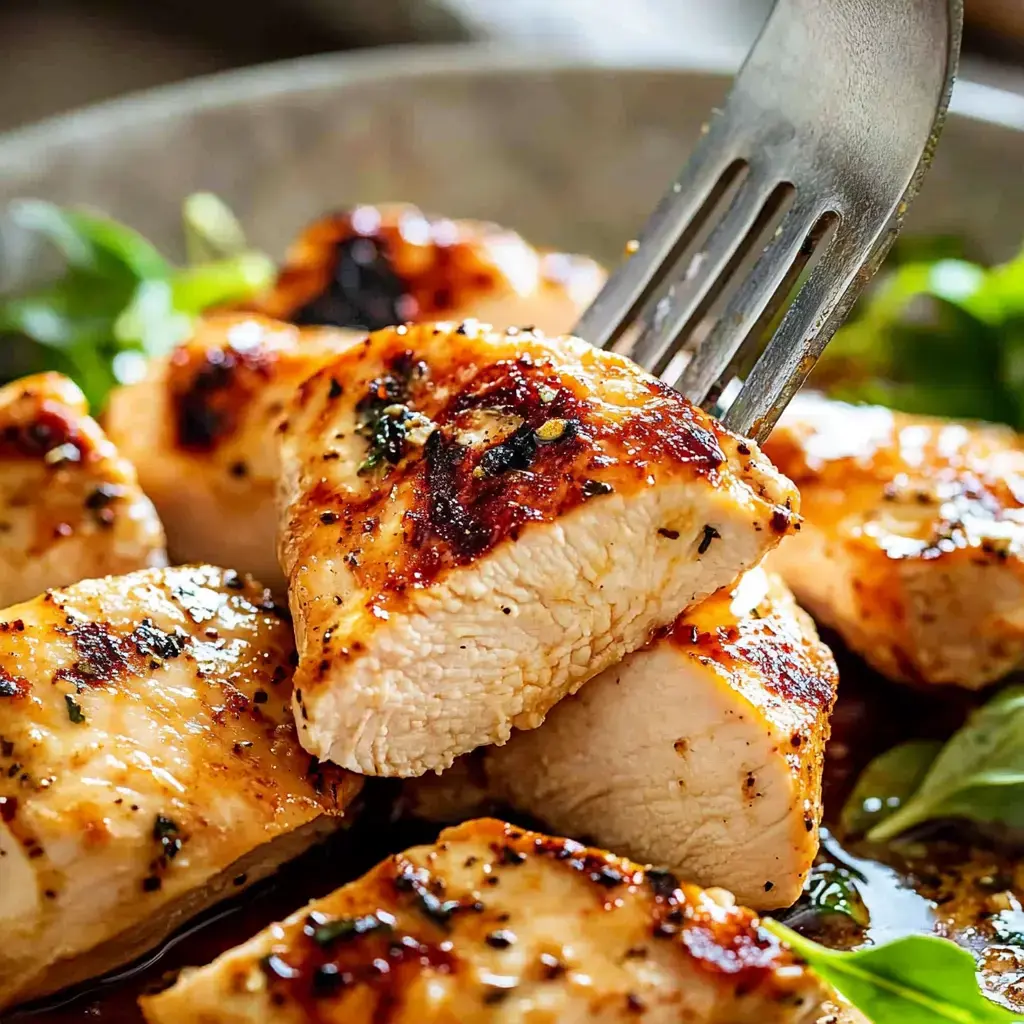
Here's the way I always fix chicken breasts now. Seriously, this new trick turned weeknight dinners totally around for me. After endless bland, dry chicken, I finally figured out how to nail crispy outsides while keeping everything super juicy inside. Now, I use this method anytime I'm hungry for an easy meal or need to prep for the week ahead.
Effortless Perfection
The thing that makes this simple technique awesome is how plain chicken breasts end up so tasty with just whatever you already have. It's the kind of dish I can toss together on autopilot and still get great results every time without even thinking about it.
Great Beginnings
Awesome chicken starts with grabbing the right stuff. You don't have to get fancy, but picking quality chicken makes a big difference. I stash my best seasoning blend in the cupboard and reach for an oil that can handle high heat, which helps you get that golden crust.
Getting Set
Getting ready is a big deal. I always quickly pound the chicken out so it's even; totally worth those few extra minutes. Smashing it a little helps cook things evenly and makes it softer too. And always rub on plenty of seasoning—make sure it sticks everywhere.
Cooking Like a Pro
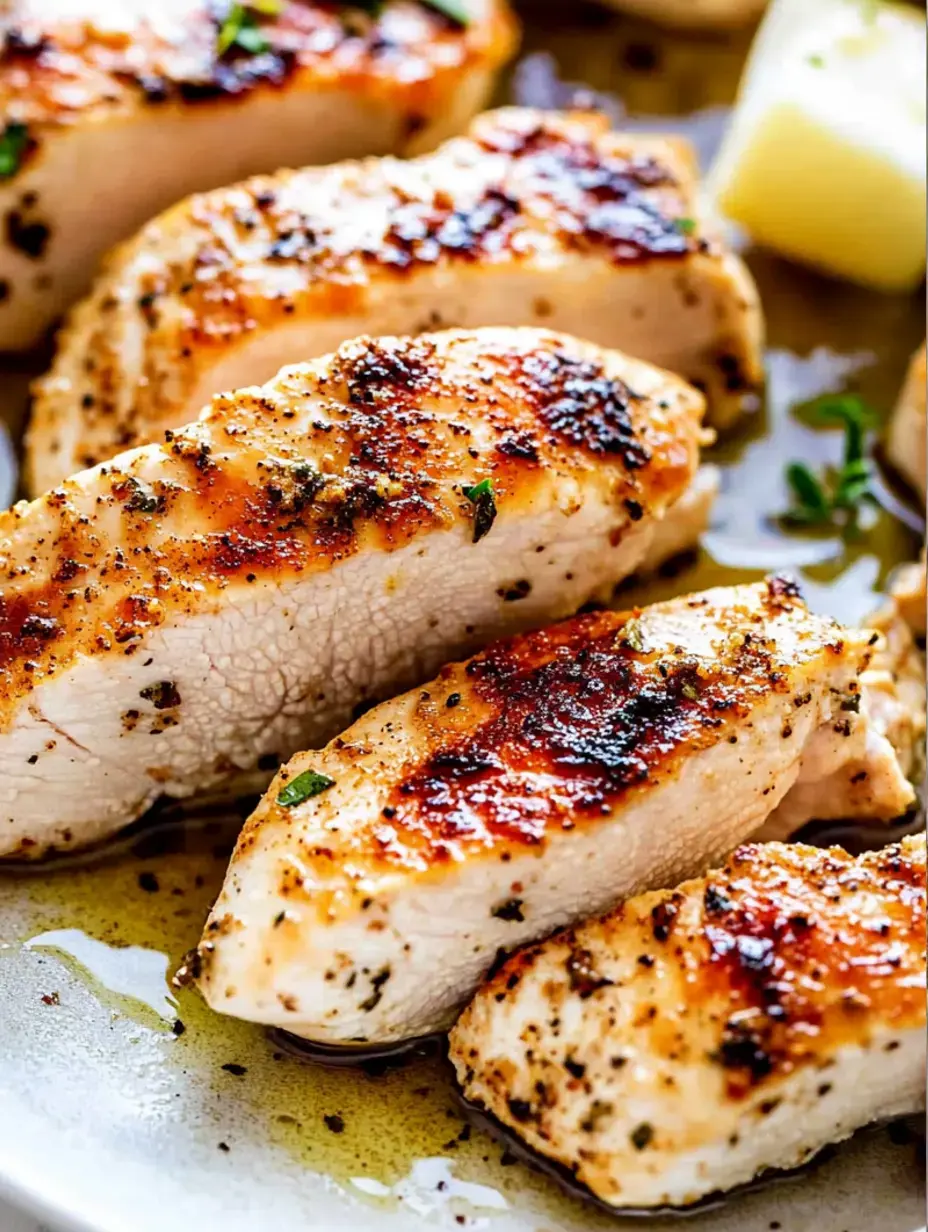
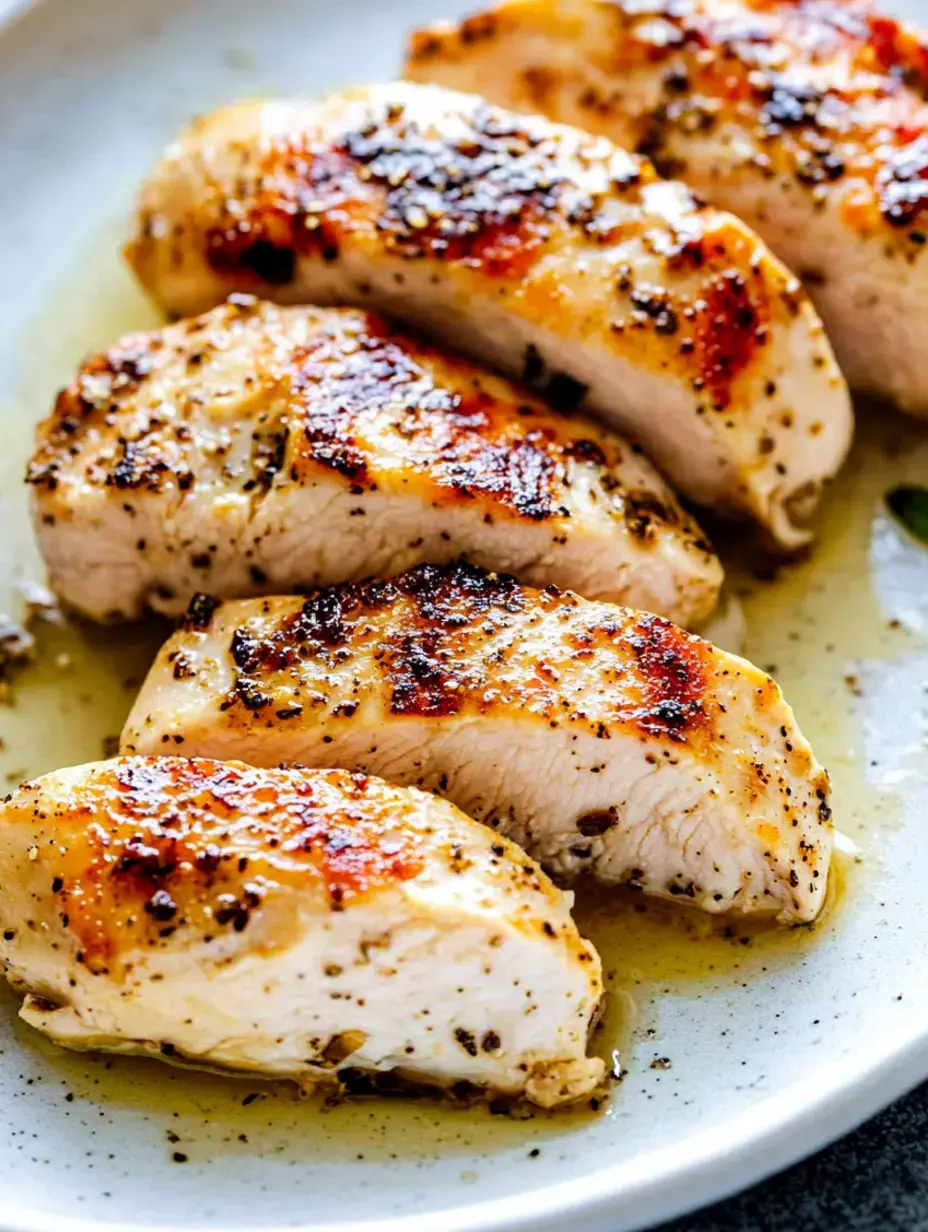
Cooking's where it all comes together. Crank up your pan so it's good and hot before you lay down the chicken. That quick, loud sizzle is the best. Then the hardest part hits—just let it sit there! Don't fuss with it so a tasty golden outside forms.
 Save
Save
Pro Secrets
After plenty of so-so chicken dinners, I've picked up key moves. Using a thermometer takes out any guesswork for doneness. And adding a nice slab of butter at the finish? It makes the chicken taste amazing and gives it a shiny finish.
Rest Is Key
Letting chicken sit before digging in is a total game changer. Those short minutes can feel so long, but it really matters. Cutting into juicy chicken every time is worth a little waiting.
Awesome Combinations
This chicken works however you want to serve it. Some nights I pair it with some roasted veggies or pile slices over a big salad. You can make so many meals out of this one basic method.
Leftover Gold
I always love having some leftover chicken in the fridge. Even cold, it's still juicy and perfect for tossing into salads or making a loaded sandwich. Make sure you cool it down fully before sticking it in the fridge to lock in that great texture.
Reheating Smarts
Getting this chicken warm again is its own thing. I’ve learned slow and gentle works best, whether that's the stove or the microwave. Add a splash of broth—it keeps it nice and moist and almost like you just made it fresh.
 Save
Save
Make It Yours
I stick with my standby spices most times, but sometimes I’ll change things up. Shake in some different herbs or seasonings—that totally changes the flavor. It's actually fun to try new combos and find out what everyone at home likes best.
How It Works
Getting why this method succeeds really helps my cooking. First, a screaming hot pan locks in the juices. Then, letting it finish on lower heat makes sure it cooks through but doesn’t dry out. Just following these simple moves has made my chicken 10x better.
Ready for the Week
This is my favorite meal prep move. I toss a larger batch together on Sunday, and then I’m set for lunches and dinners. Feels great knowing there’s always tasty chicken prepped and ready to go.
Piece Size Tips
I’ve finally mastered figuring out cook times for bigger or smaller pieces. For the thick ones, I just slide the chicken into the oven at the end, and boom—the middle comes out just right every time.
Good-for-You Option
I love how this way lets me keep things healthy and tasty. There’s no need for a ton of oil or butter to get good results—just stick with smart cooking and a bit of patience and you’ll get great flavor.
 Save
Save
Thinking Ahead
Sometimes I'll toss on the seasoning the night before and leave the chicken in the fridge. Letting it sit really boosts the flavor and makes dinner go faster the next day. It's a tiny effort with a big payoff.
Learning As You Go
I’ve totally messed up chicken in every way—flipping too soon, crowding the pan, cooking too cold. But each mistake taught me something new and now I’m nailing that perfect result every single time.
Tasty Sides
Coming up with sides and extras is just as fun. Scraping up all those brown bits in the pan for a quick sauce is a bonus. And honestly, crusty bread for dunking into those juices is tough to beat.
Super Flexible
This chicken works as the base for anything. I slice it for a quick sandwich, cube it for salads, or shred it into tacos. Once you know this easy way, having yummy meals happens fast.
Kitchen Wins
Getting the hang of this basic method gave me way more confidence cooking. Whenever I can pull off juicy chicken breasts, there's always something tasty to eat. It’s definitely my go-to for all sorts of meals now.
 Save
Save
Summary
A step-by-step guide to getting tender, evenly cooked chicken breasts on the stovetop by focusing on thickness, seasoning well, and using the right cooking times.
Recipe FAQs
- → Why keep chicken breasts under 1 inch thick?
Thicker pieces cook unevenly, leaving the inside raw while the outer part dries out. Flattening ensures even cooking and juicy meat.
- → Why use vegetable oil and not olive oil?
Vegetable oil works better at high heat because of its higher smoke point, which prevents burning during searing.
- → How can I tell when to flip the chicken?
Sear it undisturbed for 5-7 minutes. When it's ready to flip, it won't stick. If it resists, leave it for another minute or so.
- → How long does cooked chicken stay fresh?
Once it's totally cooled, keep it in an airtight container in the fridge for up to 4 days.
- → Can I replace the seasoning mix provided?
Of course! Feel free to use any spice mix you like while following the cooking method as described.