
 Save
Save
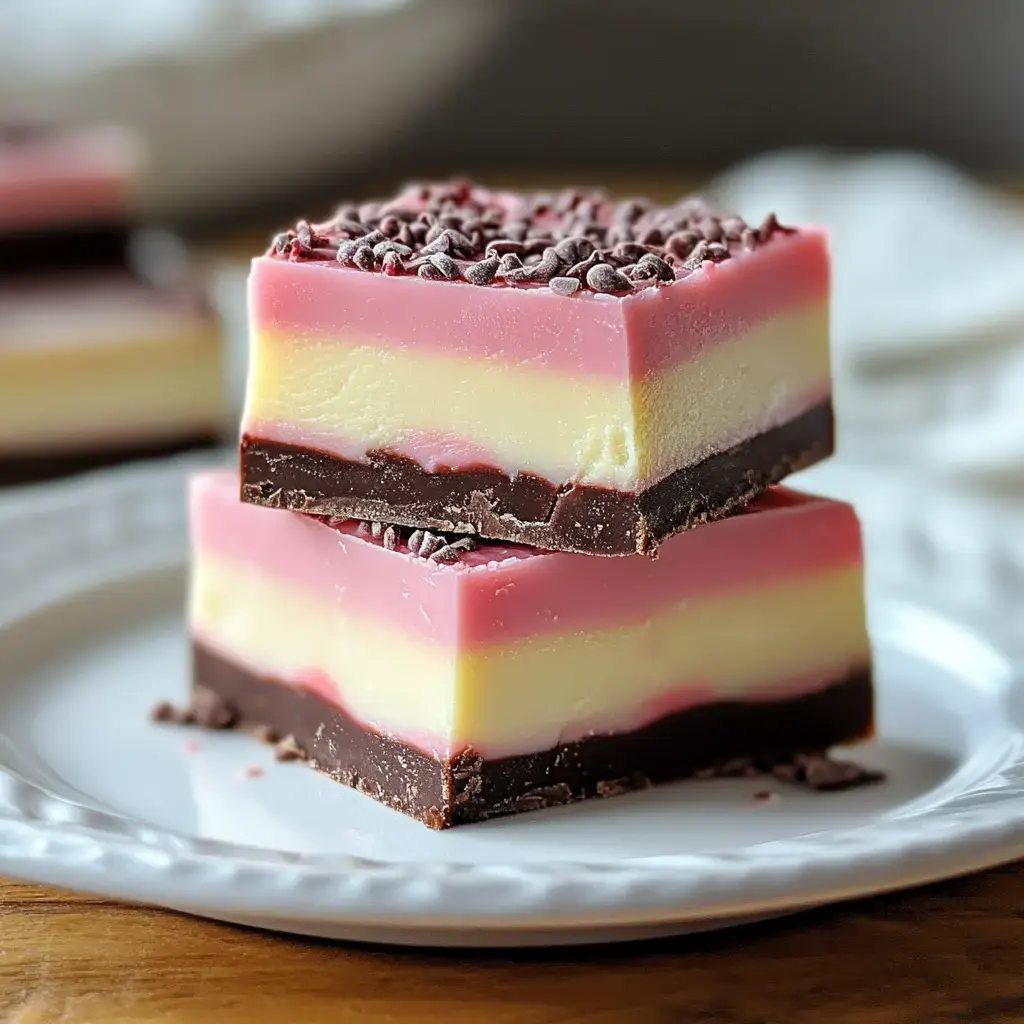
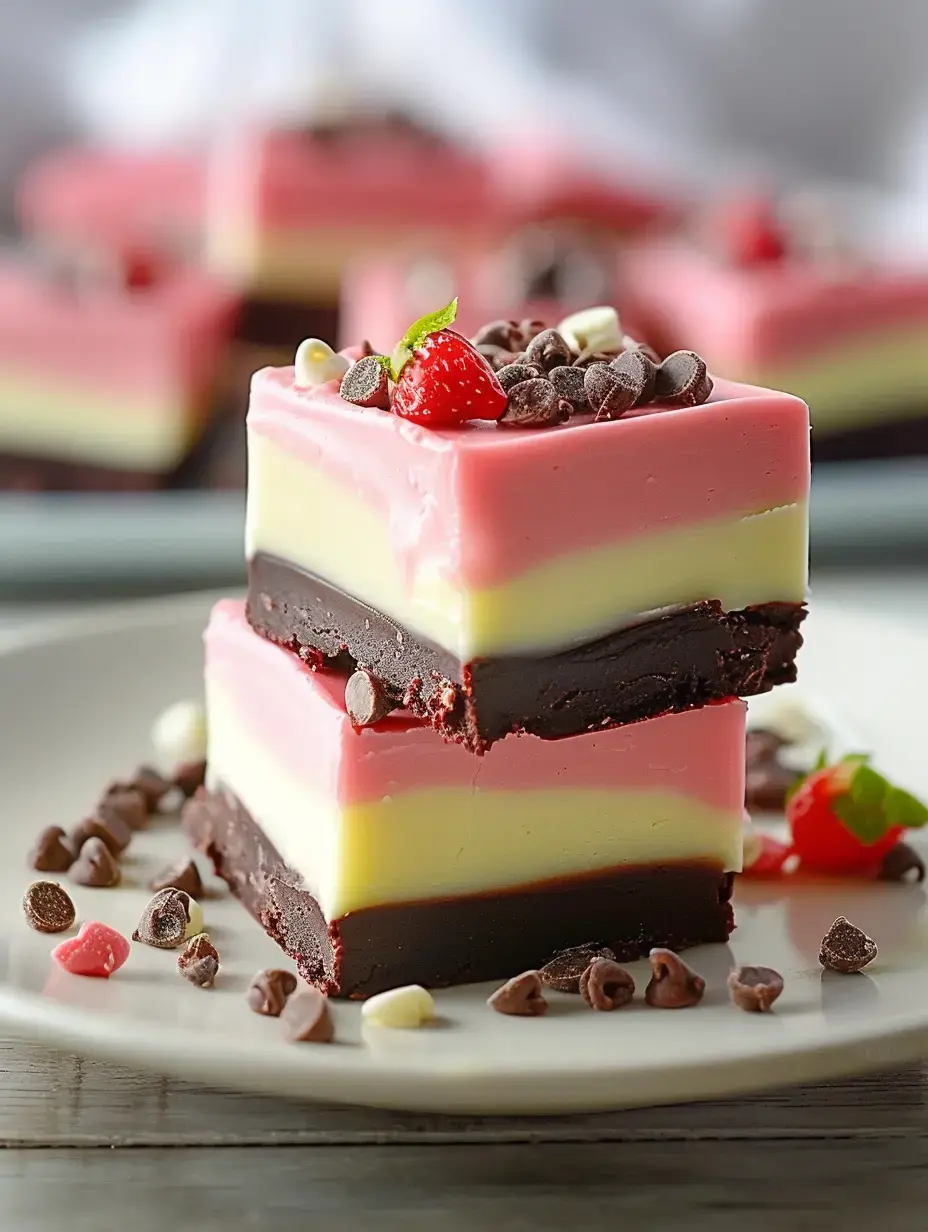
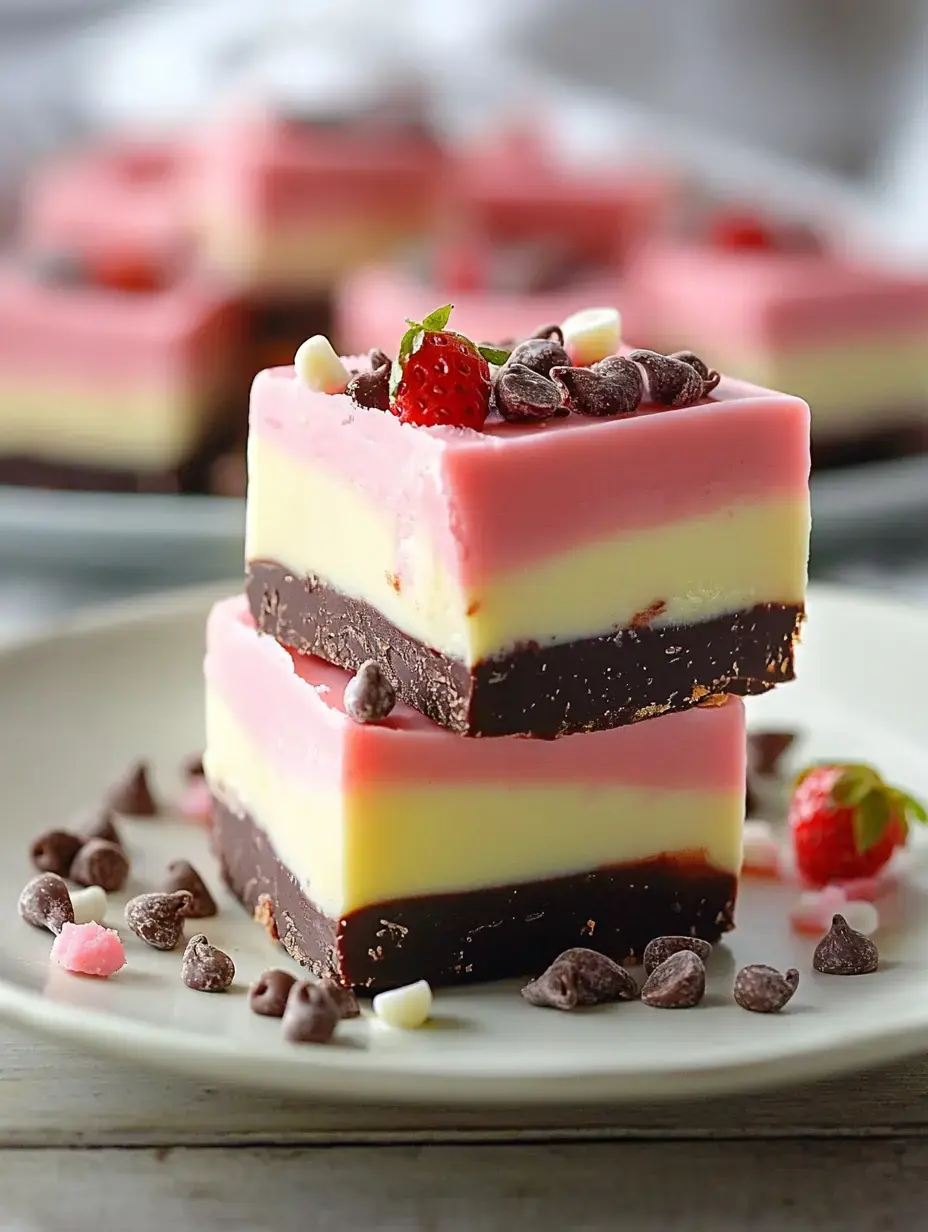
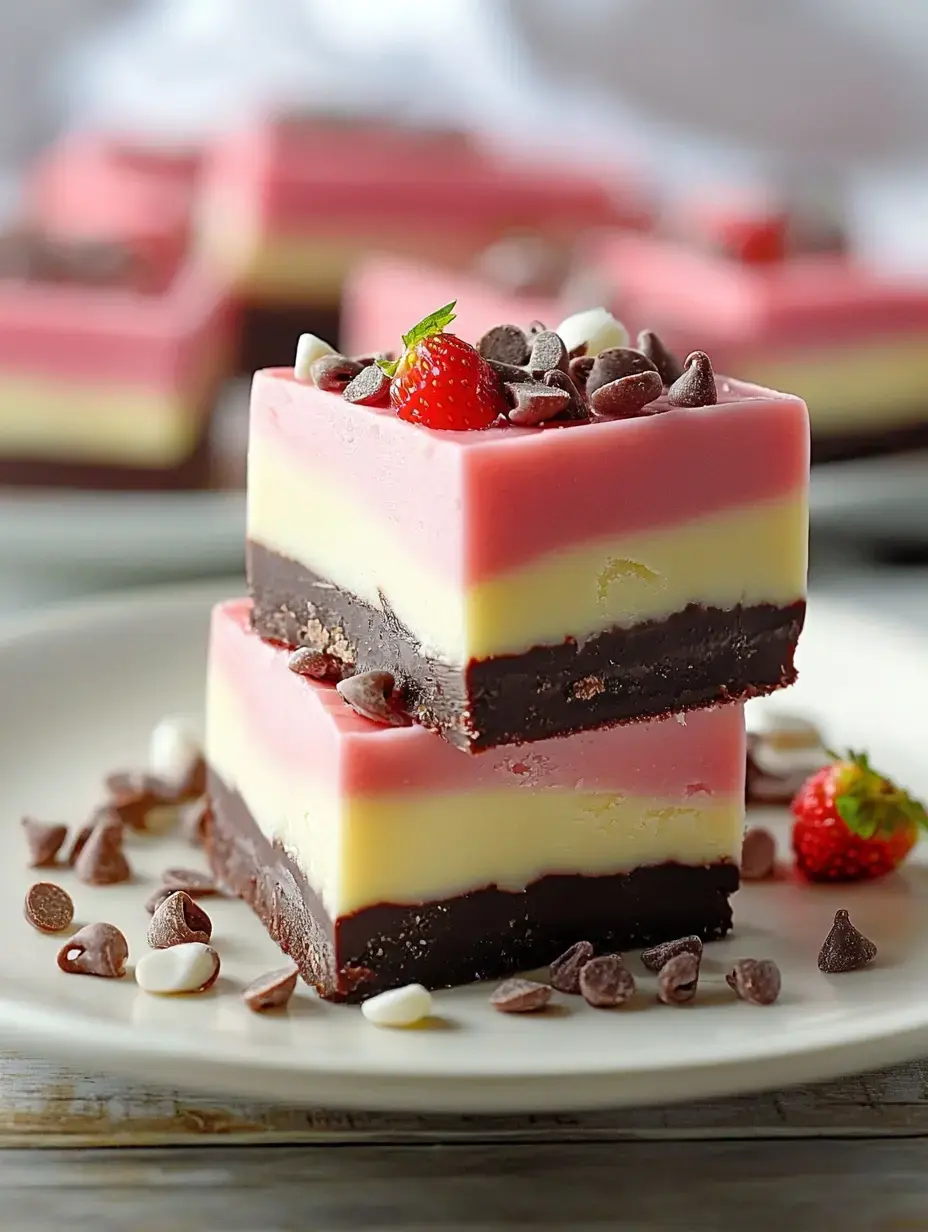
There's nothing I love whipping up more in my kitchen than this stunning three-layer Neapolitan fudge. The layers of strawberry, vanilla, and chocolate look amazing and always remind me of those old-school ice cream tubs I had as a kid. People at my family get-togethers always get a kick out of the cheerful colors. My favorite part is getting to taste all the creamy flavors—each one stands on its own, but together they're just awesome.
Backstory of My Colorful Neapolitan Fudge
I started making this treat after my daughter kept asking for her favorite ice cream flavors turned into candy. What began as just a little experiment has totally become the dessert my family asks for the most. This lovely little sweet is about more than its looks. It's the fun in bringing three favorite flavors together in every bite. I bring it out for big celebrations or low-key nights in, because it always makes everyone happy.
Your Must-Have Kitchen Supplies
- Sweetened condensed milk is a total game changer for smooth layers, so make sure to have a full can ready.
- For the vibrant strawberry layer, a dash of strawberry extract does the trick. All you need is a teaspoon.
- White chocolate chips are the base for two of the layers—pick up two cups so you don't run out.
- Red and yellow food dye help your layers pop with color.
- You can't skip semi sweet chocolate chips—they're what make the base so rich and chocolatey. Good chips make all the difference.
Getting Set Before You Start
Here's my time-saving move: I wipe down all my counters and set out every single thing I need before anything else. Having a clear spot and all my baking gear lined up makes things easier when I'm dealing with fudge layers. I grab my trusty bowls, spatulas, and measuring cups, and I always lay parchment paper in the baking pan ahead of time. Doing all this prep up front saves so much headache later!
How I Nail the Chocolate Layer
- Melting Comes First
- I kick things off by slowly mixing chocolate chips with half the condensed milk over a gentle heat. I stir constantly—no need to rush—watching everything get super smooth.
- Packing Down the Chocolate
- Then the chocolate blend goes straight into my lined pan. I spread it out, then just walk away for a few to let it get a little firm before the next part. Trust me, if you wait, you'll get the sharpest, clean lines.
 Save
Save
Soft Dreamy Vanilla Layer
- Melt Your White Chocolate
- This part is my favorite—white chocolate and the rest of the condensed milk come together over low heat. The smell is so good you won't want to stop stirring.
- Getting That Just-Right Tint
- One small drop of yellow or pink food dye gives you just the tone you want for a creamy look. I like to keep it a light vanilla color.
- Spread It On Carefully
- Now gently layer this over the chocolate in your pan. Use a spatula and move slow, making sure the layers don't mix together.
The Final Sweet Strawberry Touch
- Whipping Up the Pink Layer
- Time for the top! Melt some white chocolate, stir in your strawberry extract, then add a few drops of pink coloring until it looks pretty.
- Topping Off Your Layers
- Pour this pink goodness over the top and smooth it gently. Watching those colors stack up is almost too pretty to cover up.
Now You Wait...
This is where patience comes in. I cover the whole thing and stick it in the fridge. At least two hours works, but overnight is even better if I can hold out. Trust me, waiting is worth it because that's what helps your layers look sharp and not mushy. I've rushed before—regret every time!
Time to Slice and Show Off
Once it's set, grab your sharpest knife. I always heat my knife under hot water and clean it between slices for neat edges. You really see all those layers pop when you line them up on a plate. Sometimes I use my grandma's old platter for extra charm.
Keep It Fresh and Tasty
I tuck my fudge into a glass container with a tight lid, store it in the fridge, and it keeps just fine for up to two weeks—though it's gone way sooner. Planning ahead? Wrap up single squares, freeze them, then just thaw in the fridge when you get a craving. Tastes as good as new!
 Save
Save
Mistakes I've Learned From
After so many batches, I've picked up a few things. Measure everything, don't eyeball it or you'll regret it. Use low heat for chocolate or you'll end up with a burnt mess. Let each colorful layer cool before pouring the next. These little things change so-so fudge into the best stuff you'll ever eat.
How to Get Gorgeous Even Layers
If you want those layers to look clean, take your time pouring and smoothing. I always move the spatula slow and easy or give the pan a gentle tap on the counter to level things. Putting in a little extra effort makes the slices look amazing.
Fun Swaps and Variations
I like to play around with flavors sometimes. One winter I swapped strawberry for peppermint and everyone loved it. Sprinkling chopped nuts between the layers is great for crunch. My kids usually request different colors for holiday treats. Once you get the hang of it, switch things up as much as you like.
Favorite Gadgets for Fudge Making
Through lots of practice, I've figured out which tools are lifesavers for fudge. Silicone spatulas help me get everything spread smooth. A heavy pot stops my chocolate from burning. My digital scale keeps my measurements on point. I wouldn't try fudge without them now!
Fits Any Celebration
The best thing about this sweet is you can bring it to anything. I've served it at backyard picnics and at winter holiday parties. It's shown up for birthdays, even afternoon snacks with neighbors. Can’t beat those fun colors and yummy flavors all year long.
 Save
Save
Making Sweet Memories
This fudge is a family project at my house. My kids love picking the colors and watching each layer set. My youngest is always on spoon-licking duty while the older one gets serious about spreading. These times together mean as much as the treats themselves.
Seasonal Colors and Flavors
I mix things up for the seasons. For Halloween, I pull out orange and black; for Easter, it's all pastels. Christmas calls for red and green. Sometimes I change the flavors up too—pumpkin in the fall, mint in the winter. It's so fun making it fit every time of year.
My Kitchen Pro Tricks
After baking tons of fudge, I've got a few sneaky tips. Melting chocolate in a double boiler keeps it from overheating. Keeping my tools chilled helps stop the fudge from hardening too soon. These little habits make things smoother and keep my fudge top-notch.
Making It Look Extra Special
I love getting fancy with the final touch. I pack fudge pieces into cute paper cups or wrap them in clear wrapping with a bow for gifts. When the holidays roll around, vintage tins make it feel classic. These simple details really make a difference.
From My Kitchen to Your Table
I get so much joy out of making Neapolitan fudge. It's about more than making something sweet—it's about creating something lovely that brings people together. Whether you're trying it out for the first time or coming back to it, you're making something memorable. Hope you have as much fun as I do!
Summary
Make this colorful fudge with chocolate, vanilla, and strawberry layers—a fun spin on Neapolitan ice cream in chewy candy form. It's easier than it looks and perfect for sharing.
Recipe FAQs
- → Can I store this fudge in the freezer?
Absolutely! Wrap it tightly in plastic wrap, put it inside a freezer bag, and freeze for up to 3 months. Pop it in the fridge to thaw overnight before you enjoy it.
- → What should I do if my fudge layers won't set?
It's likely because you poured the next layer before the previous one was solid. Let each layer completely firm up before adding the next. Also, double-check that your chocolate-condensed milk ratio is spot on.
- → Can I swap the strawberry for another flavor?
Of course! Switch it out for raspberry, mint, or orange, and tweak the food color to match the flavor you pick.
- → Any tips for smooth, neat layers?
Take your time! Use a spatula to spread each layer evenly, tap the pan lightly on your countertop to remove bubbles, and let each layer fully chill before the next.
- → Why does my white chocolate keep clumping?
It could be overheating. Try melting it over low heat, stirring it constantly. If it seizes, stir in a teaspoon of vegetable oil to smooth it back out.