
 Save
Save
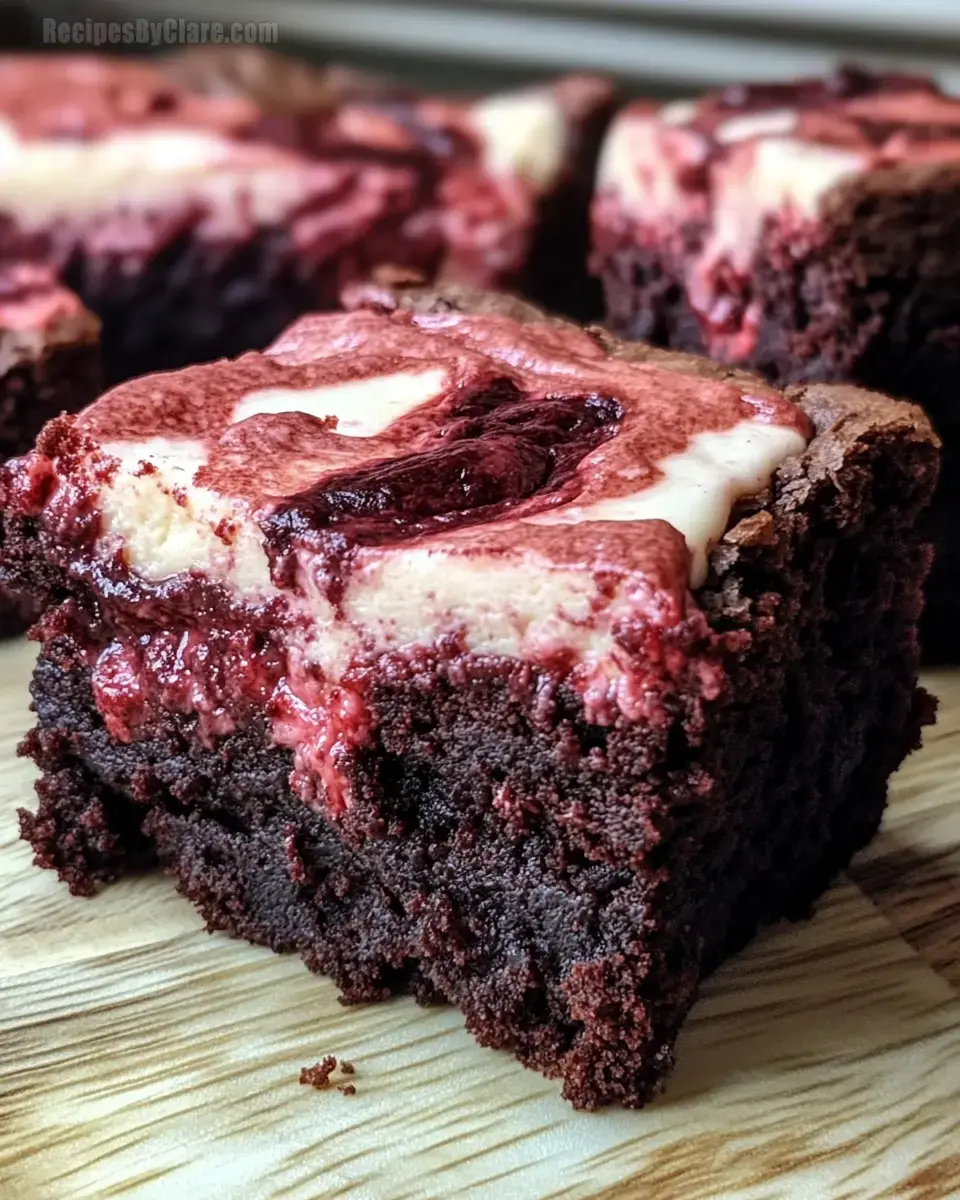
Swirled Red Velvet Cheesecake Brownies blend two mouthwatering treats into one show-stopping dessert. They mix fudgy red chocolate brownies with velvety, tangy cheesecake for an irresistible contrast. These eye-catching squares work great for Valentine's Day, celebrations, or whenever you need a fancy sweet fix. The bottom layer stays soft and chocolatey while the swirled topping adds just enough tanginess to balance the sweetness.
WHAT YOU'LL NEED- Melted unsalted butter: 1 cup, gives the brownie base its luxurious texture.
- Granulated sugar: 2 cups (brownie portion) + ¼ cup (cheesecake portion), sweetens both components.
- Large eggs: 4 (brownie mix) + 1 (cheesecake mix), provide structure and moisture.
- Vanilla extract: 1 teaspoon (brownie mix) + 1 teaspoon (cheesecake mix), boosts flavor profiles.
- Red food coloring: 1 teaspoon, creates the distinctive crimson shade.
- All-purpose flour: 1 ½ cups, forms the base structure.
- Cocoa powder: 1 teaspoon, adds subtle chocolate notes.
- Baking powder: ½ teaspoon, helps with lift.
- Salt: ½ teaspoon, cuts through sweetness.
- Softened cream cheese: 8 oz, makes the creamy top layer.
- Step 1:
- Get your oven going at 350°F (175°C) and fix up a 9x13-inch pan with grease or parchment paper.
- Step 2:
- Combine melted butter and sugar in a big bowl until smooth. Add eggs one by one, mixing thoroughly each time. Stir in vanilla and red coloring until fully blended.
- Step 3:
- Whisk flour, cocoa, baking powder, and salt in another bowl. Gently fold these dry items into your wet mixture just until everything comes together.
- Step 4:
- Spread this red batter evenly across your prepared pan.
- Step 5:
- Beat the cream cheese in a separate bowl until it's completely smooth. Mix in sugar, egg, and vanilla until you get a creamy, consistent blend.
- Step 6:
- Drop spoonfuls of cheesecake mix onto the red batter. Use a knife or toothpick to swirl everything together for that marbled look.
- Step 7:
- Bake about 30-35 minutes or until edges set up and a toothpick comes out with a few moist crumbs. Cool in the pan for 15 minutes before moving to a wire rack.
- Step 8:
- After they've cooled completely, slice them up and dig in!
- Let brownies cool all the way before cutting to get nice clean edges.
- Keep them in an airtight container in your fridge for up to 5 days.
- Try adding another tablespoon of cocoa powder for stronger chocolate flavor.
- You can always add more red food coloring if you want a brighter color.
Pro Chef Advice
- Chef Lauren suggests adding a tiny bit of espresso powder to make the chocolate taste even richer.
These treats are perfect for folks who can't choose between red velvet and cheesecake. The chocolatey bottom layer works so well with the tangy swirls on top, giving you different flavors and textures in each bite. They'll wow everyone whether you're making them for a party or just because you want something sweet!
Perfect Party DessertTake these to any gathering and watch them disappear fast. Their stunning red color with white swirls catches everyone's eye at holiday parties, Valentine's Day, or birthdays. Everyone loves the mix of flavors so don't count on leftovers!
COMMON QUESTIONSCan I freeze these for later?
You bet! Just put them in an airtight container and they'll stay good frozen for up to 2 months. Thaw them in your fridge when you want to eat them.
Will low-fat cream cheese work?
Full-fat works best, but you can use reduced-fat cream cheese if you want something a bit lighter.
How do I get nice-looking cuts?
Make sure they're totally cool first, then use a really sharp knife. Wipe the blade clean between cuts for the neatest look.
Is it okay to make them a day early?
They're actually even better the next day! Just keep them in the fridge overnight and they'll taste amazing.
 Save
Save