
 Save
Save
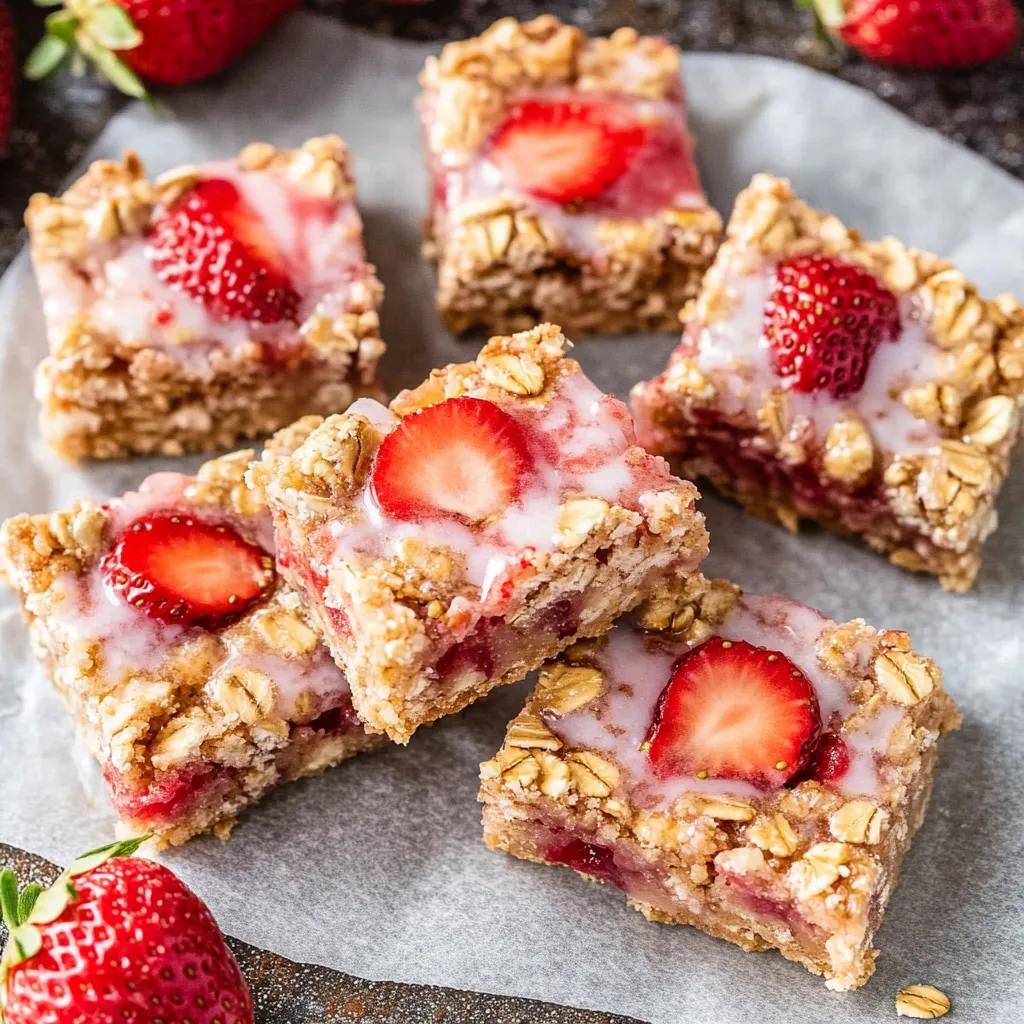
Standing at my counter with juicy strawberries piled high and butter melting nearby, I'm instantly reminded why these bars have become my trusty standby for everything from quick snacks to community gatherings. They hit that sweet spot between healthy and treat-yourself territory, where hearty grains and plump berries come together in a buttery hug.
The other day, my little one helped whip these up for her school fundraiser. They were the first thing to disappear - it's funny how the easiest treats often get the most love.
Key Ingredients
- Fresh Strawberries: Our main attraction
- Old-Fashioned Oats: For that lovely chew
- Whole Wheat Flour: Brings earthy flavor
- Good Butter: Don't even think about alternatives
- Pure Vanilla: The secret flavor booster
 Save
Save
Making It Happen
- The Base:
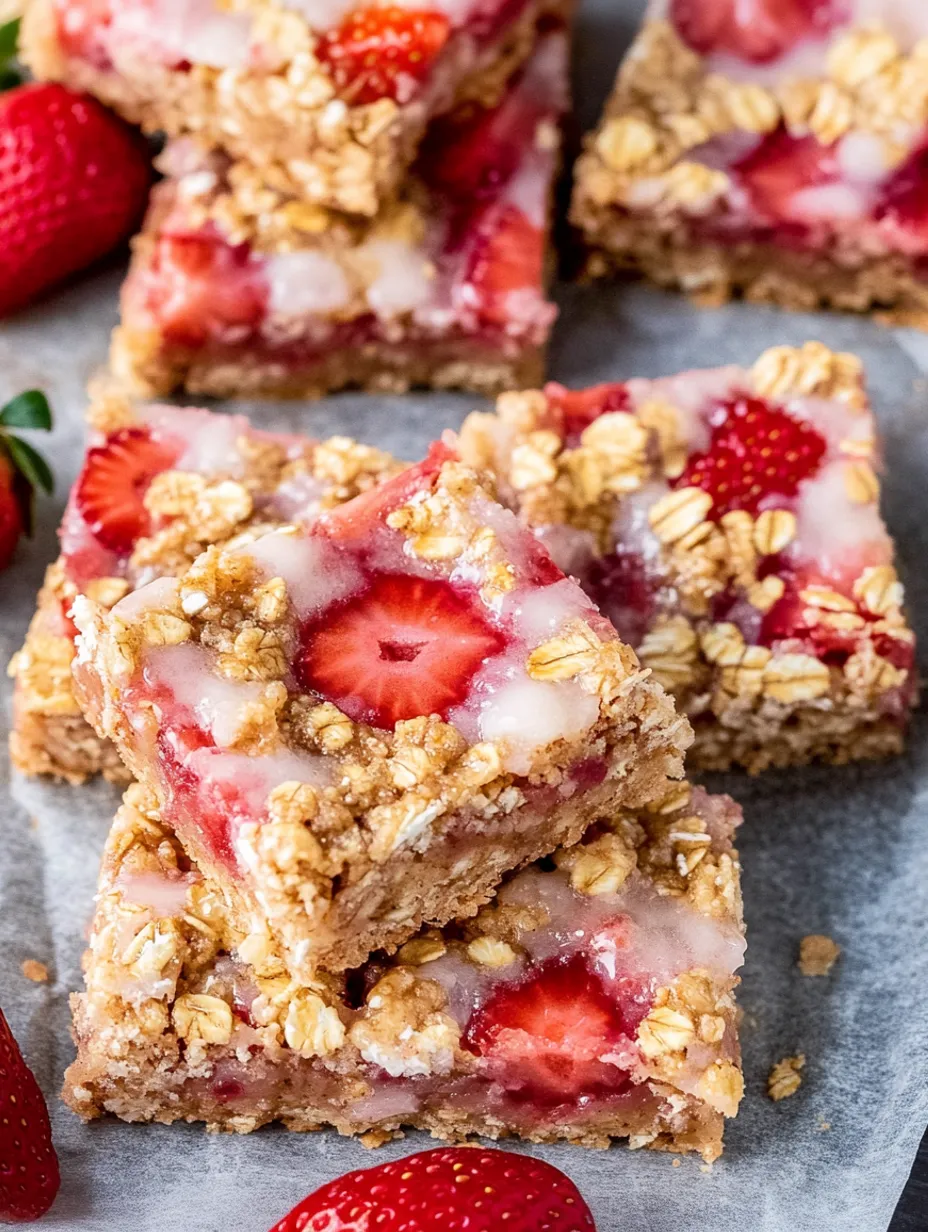
- Kick off with melted butter - the first perk is not waiting around for softened butter. Mix your honey and brown sugar until the texture looks like damp sand. Next comes your oats and flour, creating a mix that should clump when you squeeze it. I worried it was too loose my first attempt - just go with it.
- The Filling:
- This is where basic becomes beautiful. Those strawberries, mixed with just enough sugar and cornstarch to basically make jam while baking. I've learned to cut the berries quite small so they spread better. Nothing's worse than taking a bite and missing out on the fruit!
- Assembly Art:
- Push about two-thirds of your oat blend firmly into your pan - really pack it down good. Then scatter your berry mixture across evenly. The leftover oat mix gets scattered on top, making those tasty crumbly bits everyone wants.
A few weeks back, I took these to my kid's school event. Three different moms wanted to know how to make them, and one admitted she ate four while supposedly just helping serve.
Creative Twists
Over many attempts in my kitchen, watching different fruits come into season, I've found these bars transform completely with each new combo. After tons of batches and endless sampling with family and buddies who've turned into my willing testers, I've come up with some mixtures that have earned their spot in my go-to collection.
Warm Weather Favorites
When local markets burst with fresh picks and stone fruits, I enjoy creating mixed fruit versions that show off seasonal goodies:
Mix raspberries, blueberries, and blackberries for a fun triple-berry treat where every mouthful offers something new.
Combine juicy peaches with tangy raspberries for a pairing that tastes like sunshine.
Put together plump blackberries with real vanilla, letting tiny seeds add nice crunch and flavor notes.
Pair bright strawberries with wild blueberries for a red-white-blue look that's great for summer parties.
Mix sweet cherries with almond flavoring for a grown-up twist on these simple bars.
Fall Favorites
As days get cooler and summer fruit disappears, warm spices and heartier fruits become the stars:
Switch things up with spiced apples and a hint of caramel for that fall feeling.
Try pears mixed with ginger for a fancy autumn option.
Blend cranberries and orange peel for a holiday-ready snack.
Use figs with honey for a taste of the Mediterranean.
Try persimmons with warming spices for something different.
Tasty Toppings
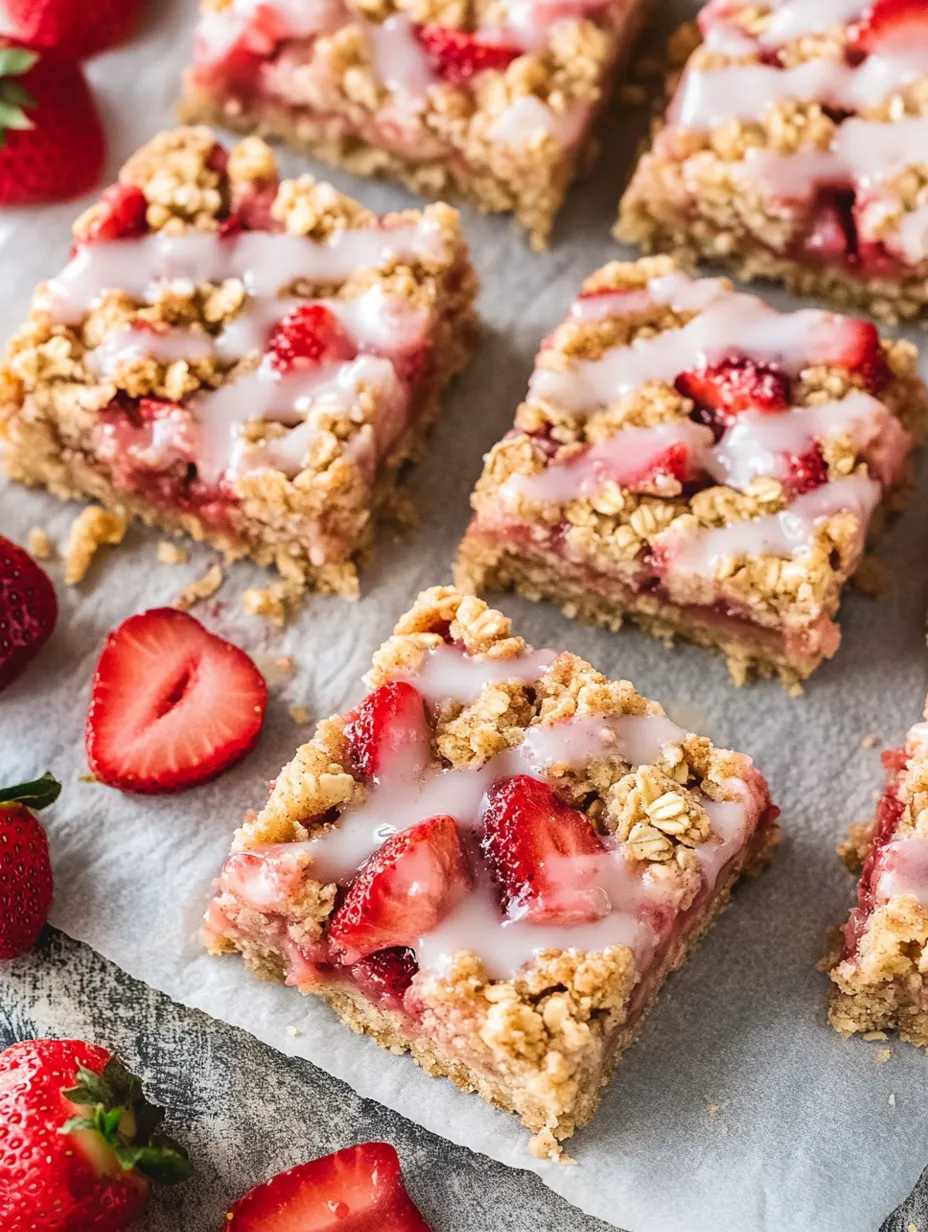
The choice to add a glaze turns into a fun chance to get creative, changing these bars from basic breakfast food to fancy after-dinner treats worthy of your best dinner guests. From lots of trial and error, I've learned that glazing isn't just extra sweetness - it can totally change how these bars taste:
Breakfast Versions
For morning-appropriate options that still feel special:
Top with honey-yogurt mix for added protein.
Brush warm maple butter over freshly baked bars for weekend treats.
Add coconut butter drizzles for island vibes.
Make orange-vanilla topping for citrus fans.
Finish with almond butter streaks for more protein.
Fancy Finishes
When you're serving them as actual dessert:
Pour thick vanilla bean topping over slightly warm bars.
Add brown butter frosting for extra richness.
Drizzle white chocolate for special moments.
Make a caramel topping for autumn flavors.
Top with tangy cream cheese glaze.
Keeping Them Fresh
After countless batches made for everything from school sales to holiday presents, I've figured out the best ways to keep them tasting great:
Keep at room temp up to three days, wrapped in parchment inside an airtight box.
Store in the fridge for about a week, though the topping might get a bit soft.
Freeze bars without glaze for up to three months, individually wrapped then placed in freezer bags.
Let them thaw in the fridge overnight.
Give them a quick warm-up before eating for best texture.
 Save
Save
Final Thoughts
These treats have grown beyond just another entry in my cookbook - they've become my answer to early work meetings, surprise visitors, last-minute bake sales, and those times when only something fruity and sweet will do. They show us that good baking doesn't need fancy techniques to be memorable.
Whether you're baking them for something special or just because you feel like it, remember that the best treats adapt to your preferences and lifestyle. Put your own spin on them, play around with different fruits and toppings, but always make plenty to share - these bars have a knack for making you popular.
And don't forget to grab the corner pieces for yourself - that's the cook's reward, after all.
Recipe FAQs
- → Can I try frozen strawberries?
- Sure, just make sure they're fully thawed and dried to avoid extra moisture.
- → How long do they keep?
- You can refrigerate for up to 5 days or pop them in the freezer for extended freshness.
- → Could these work gluten-free?
- Absolutely! Use certified gluten-free oats and swap flour for a 1:1 gluten-free mix.
- → Is the glaze mandatory?
- Not at all. These bars taste amazing even without it!
- → Can I change the fruit?
- Sure! Swap with berries or diced fruit but tweak sugar if needed based on sweetness.