
 Save
Save
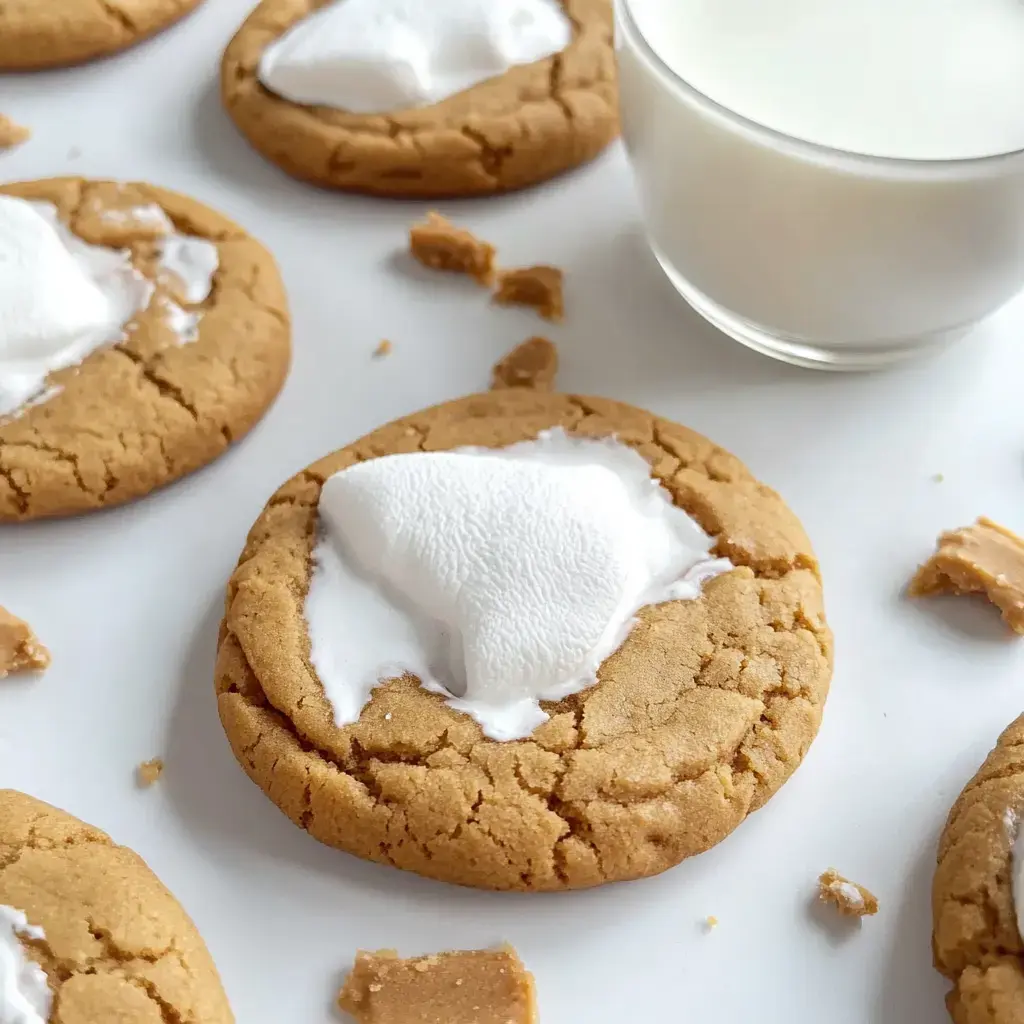
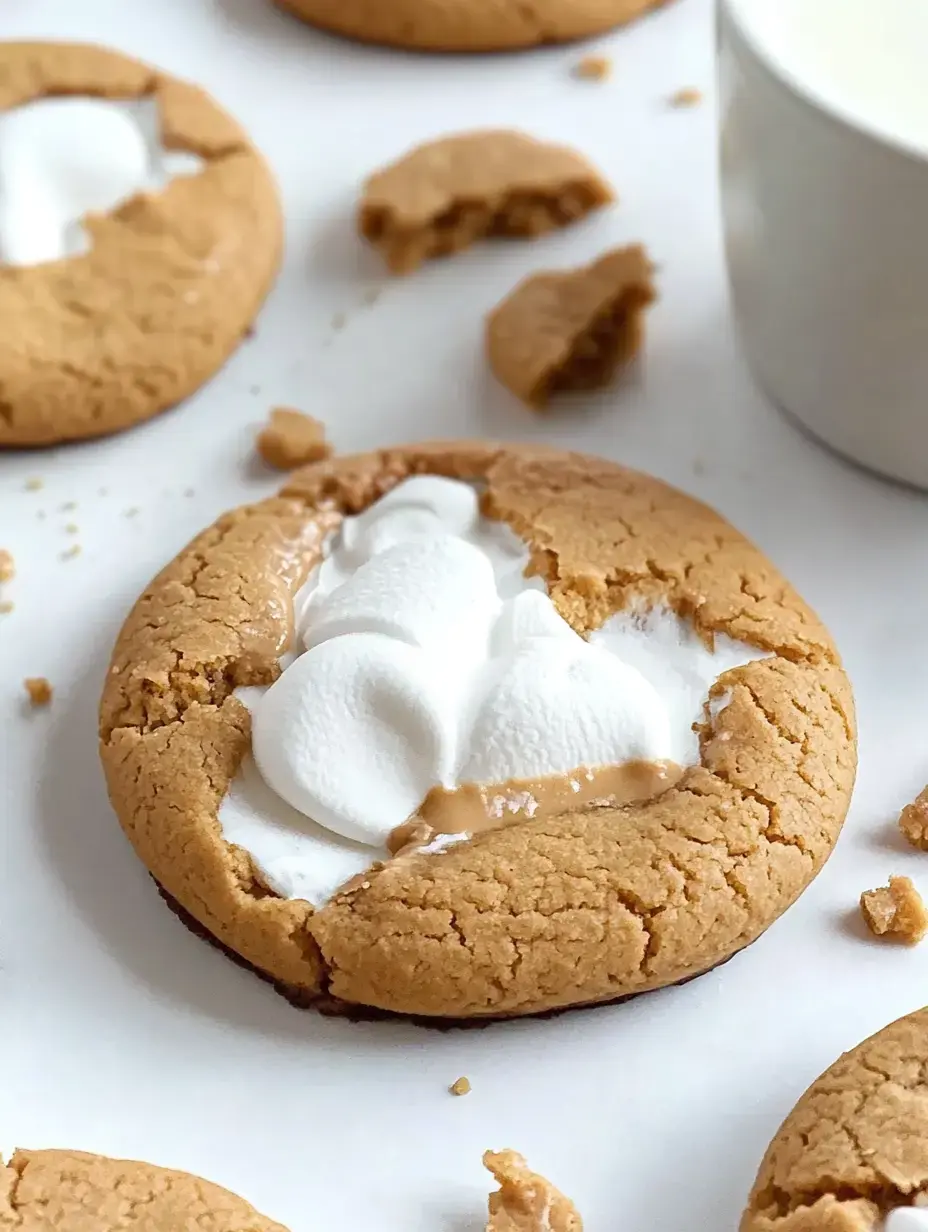
Since I'm totally hooked on peanut butter and marshmallow cream, I tossed them together and came up with these wild Fluffernutter Cookies. Seriously, they're soft and a total crowd-pleaser. The chewy peanut butter part is awesome, but the secret's the oozy marshmallow hiding in the middle. I've made them so many times for family get-togethers, and they vanish fast!
Amazing Fluffernutter Origins
Living in New England as a kid, I practically lived off fluffernutter sandwiches—peanut butter and marshmallow fluff on fresh bread was unbeatable. One afternoon, fixing sandwiches for my little ones, I thought, hey, why not bake those flavors into cookies? After going through more dough than I'd like to admit, I finally nailed it.
What Goes Into These Tasty Cookies
- Marshmallow Cream: This gooey filling totally steals the spotlight.
- Cornstarch: Hidden trick for making them super soft every time.
- Baking Soda & Baking Powder: Helps your cookies get puffy just right.
- Pure Vanilla: Don’t skimp—real vanilla brings out awesome flavor.
- Egg: One is all you need to glue everything together.
- Brown Sugar & Granulated Sugar: The perfect pair for ultimate chewiness.
- Creamy Peanut Butter: Use the traditional creamy kind, not the healthy stuff.
- Unsalted Butter: Make sure it’s soft—learned that from lots of kitchen fails.
Mix Up the Dry Stuff
Grab a medium sized bowl and toss in your baking powder, flour, baking soda, salt, and cornstarch. Back in the day, I'd skip this and just dump everything in together. Trust me, mixing these dry things first means your cookies cook evenly. Cornstarch, by the way, is what keeps them extra soft—that’s my game-changer.
Butter & Peanut Butter Perfection
On to the best part—grab your soft butter and peanut butter, and whip 'em together until super creamy. Seriously, the smell tempts me every time. Let this get nice and fluffy so your cookies bake up just right.
 Save
Save
Sweetness Meets the Wet Crowd
Now dump in the brown and white sugars. Keep mixing until it’s pale and almost looks like frosting. Add your vanilla with the egg and watch it all blend into a gorgeous dough that smells insane.
Pulling It All Together
Add the dry mix to your wet stuff little by little, like in three parts. Don’t overdo the stirring; just mix until it’s thick and there’s no flour hiding. If you go overboard, goodbye soft cookies—that’s a lesson I learned the tough way.
Don't Skip the Chill
Stick the dough in the fridge for half an hour or more. Waiting's a pain but it matters. Cool dough makes cookies keep their shape and stops them from flattening out. Sometimes I mix up the dough a day early if I’m planning ahead for special events.
Stuffing Each Cookie with Surprise
This is where things get fun. Scoop out bits of dough, press them flat, dab in some marshmallow cream, and fold the dough over to seal the filling. The first few times get a little messy, but you’ll nail it quick. I’ve practiced so much I could probably do it in my sleep!
Bake 'Em Up
Fire up your oven at 350°F, lay out baking sheets, and space out your dough balls. Give them room—they’ll spread. Bake for about 10 minutes until edges are golden but middles stay soft. The hardest part is holding back from snatching them straight off the tray.
 Save
Save
Why Let Them Cool?
Leave your cookies on the tray for 5 minutes before picking them up. If you move them too soon, they’ll fall apart and lose their gooey center. Trust me, giving them a little time totally pays off.
Taming Sticky Marshmallow Cream
That marshmallow cream is a sticky beast! Dip your fingers in water before scooping. Way less frustrating. And seal that dough all around—any gaps and you’ll leak filling all over. I've cleaned up more cookie messes than I can count.
Fixing Those Odd Shapes
If your cookies come out looking bumpy or lopsided, don’t sweat it. While they’re fresh from the oven, use a spatula to gently scoot the edges into a neat circle. This simple trick makes them look bakery-perfect with hardly any effort.
Keeping Cookies Fresh
Pop your cookies in an airtight container and they stay good for about three days. Keep them in one layer—if you stack them, the marshmallow inside makes a sticky mess. Although in my house, they’re usually gone by then anyway!
Freeze For Later Cravings
These cookies freeze great for up to two months. Just let them sit out at room temp to thaw before you dive in. Perfect for when you want a treat on standby or have surprise guests show up.
 Save
Save
Ways To Switch Things Up
- Crunchy Peanut Butter Version: Every so often I switch to crunchy PB for some extra bite, and my kids can’t get enough of it.
- Chocolate Upgrade: Pour some melty chocolate over top if you want to go wild. I mean, chocolate fixes anything!
- Nut-Free Fix: Substitute sunflower butter if you gotta skip peanuts. It works better than you’d think!
Baking Fun With Kids
Little ones have a blast helping out with these. Let them roll the dough or plop in the marshmallow. Sure, you’ll end up with a mess but seeing them beam when the cookies bake up is so worth it.
Seriously, Don't Skip Chilling
That chill time firms up the dough and keeps cookies nice and round. I’ve raced through and skipped it before—they still taste good, just don't hold their shape. Waiting's hard, but it makes a difference.
Reader FAQs Answered
Q: Can I swap in regular marshmallows?
A: Marshmallow cream is best but, if you’re in a pinch, mini marshmallows kinda work. The middle won’t turn out as gooey-shiny though.
Q: Do I really have to chill the dough?
A: Absolutely, yes! Skipping this step means sad, flat cookies. Chill for the win.
Happy Cookie Memories
These Fluffernutter Cookies have totally become my thing. Peanut butter and marshmallow cream bring back all sorts of happy moments and make new ones every time I whip up a batch. Try them out and who knows—they might end up a go-to fave in your place too. I'm all about sharing treats that make people smile.
Recipe FAQs
- → Why should I chill the dough?
- Chilling keeps the cookies from spreading too much and makes it easier to handle the dough while adding the marshmallow filling.
- → Can crunchy peanut butter work?
- You’ll get a slightly bumpier texture, but yes, crunchy peanut butter can work here if you like a bit of crunch.
- → What’s the best way to store them?
- Use an airtight container to keep them fresh on your counter for about 3 days. The marshmallow filling stays soft and delicious.
- → Can I freeze them?
- Freezing the unbaked dough works great, but freezing the stuffed cookies isn’t ideal since it changes the marshmallow’s texture.
- → Why include cornstarch?
- It creates tender, soft cookies and helps control how much they spread while baking.