
 Save
Save
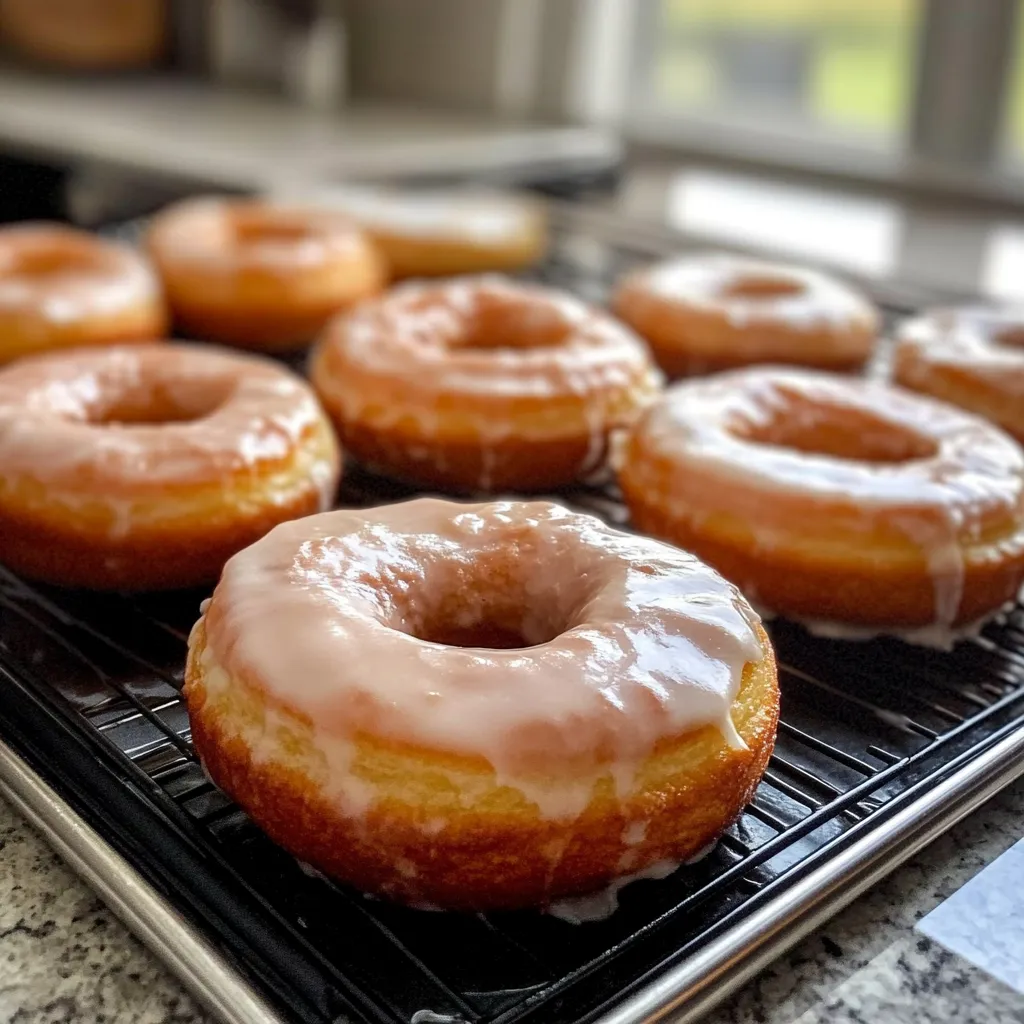
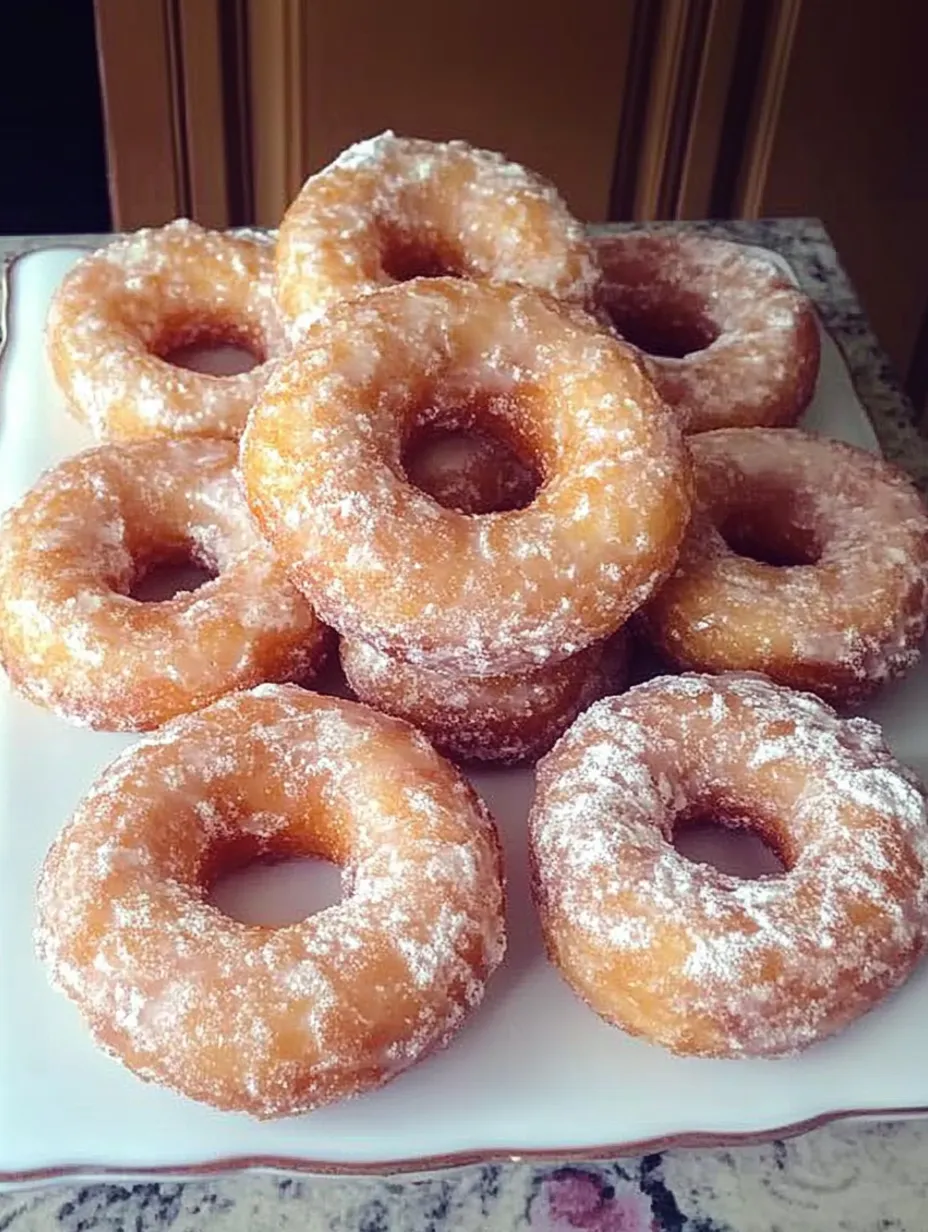
Classic cake donuts give you that awesome mix of crunchy outside and soft, fluffy inside that makes them so popular at bakeries. Their bumpy edges and warm notes of nutmeg and cinnamon make each bite pure comfort food—perfect with your coffee or as a snack to brighten your day.
I learned how to make amazing classic donuts from my older neighbor who passed down her family recipe. What makes this recipe different is using more egg yolks and cutting little triangle notches in the dough before cooking. Those tiny cuts create those bumpy edges that catch extra glaze in every bite.
Essential Ingredients
- Regular flour forms the base for these cake-type treats
- Sour cream adds moisture and that nice tang these donuts are known for
- Egg yolks bring richness and help them turn beautifully golden when fried
- Nutmeg stands out as the key flavor—don't cut back if you want authentic taste
- Butter gives a depth that you can't get from recipes using just oil
- Baking powder combined with baking soda creates just the right texture and lift
 Save
Save
Donut-Making Method
Dry Ingredient BaseStart by sifting flour, baking powder, and baking soda together for even mixing. Add cinnamon, nutmeg, and salt and whisk well. This careful mixing stops any unpleasant pockets of baking powder or soda in your donuts.
Creaming ProcessIn another bowl, mix sugar, butter, and egg yolks until fluffy and light for about two minutes. This puts air into the mix which makes your donuts nice and cakey. Stir in sour cream just until it's mixed in. The sour cream's acidity works with the baking soda to help your donuts puff up nicely.
Gentle CombiningSlowly add your dry mix to the wet stuff, about a third at a time, stirring gently between each addition. Don't mix too much or you'll end up with tough donuts instead of soft ones. Mix just until you don't see dry flour anymore—a few small lumps are actually better than overmixing.
Chilling PeriodWrap your dough tightly in plastic and cool it in the fridge for at least an hour, though leaving it overnight works even better. This rest lets the flour soak up moisture and the gluten relax, making softer donuts. Plus, cold dough is easier to work with and cut cleanly.
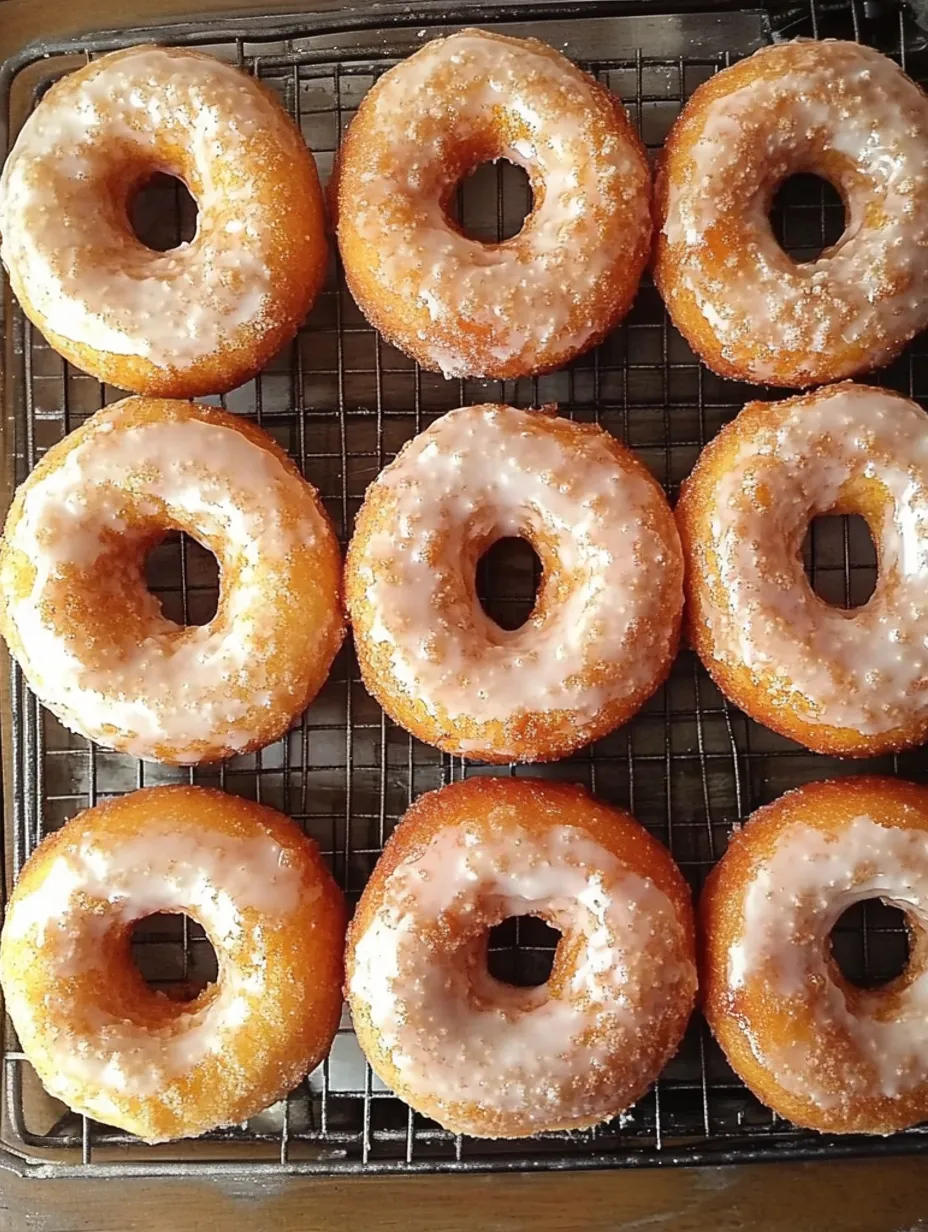
Shaping TechniqueRoll your cold dough on a floured surface until it's about 1/2 inch thick. Use a floured cutter for the rounds, then make holes with a smaller cutter. Don't forget to make three tiny triangle cuts around the edge—this creates those special bumpy edges that grab extra glaze.
Frying PerfectionGet your oil to exactly 350°F—this temp really matters. If it's too hot, the outside will burn while the inside stays raw. Too cool, and they'll soak up too much oil. Cook just a few at a time to keep the oil hot, flipping them when they float up and cooking about a minute more until both sides look golden brown.
Glaze ApplicationLet your donuts cool a bit on a rack before dipping them in glaze. For best flavor, dip when they're still warm enough for the glaze to soak in a little but cool enough to handle without falling apart—usually about 3-5 minutes after frying.
My grandma always made these donuts for us on special Sunday mornings, and smelling nutmeg and hot oil still reminds me of being in her kitchen. She always kept the donut holes for me, saying they were just leftover bits, but I found out later she knew all along they were my favorites.
Tasty Pairings
Enjoy these donuts at room temp with coffee or tea for that classic experience. Want something fancier? Try warming them up and adding a scoop of vanilla ice cream with some caramel drizzled on top. They also taste amazing with hot apple cider or cocoa when it's cold outside.
Fun Twists
Try adding orange zest to the dough in fall or lemon zest in spring for something different. You can swap regular glaze for maple by mixing in some maple syrup instead of milk. Chocolate fans can dip their glazed donuts halfway in melted chocolate or add cocoa to the glaze. During holidays, try putting a bit of cardamom in the dough for a festive taste.
 Save
Save
Keeping Fresh
These donuts actually taste better after sitting a while as the flavors blend together. Keep them in an airtight container at room temp for up to two days. Need to store them longer? Freeze unglazed donuts in a single layer, then bring them to room temp and add glaze before eating. Don't put them in the fridge or they'll get stale faster.
Smart Baking Tips
- For the softest donuts, try not to handle the dough much after mixing in the dry ingredients
- No donut cutter? Just use a drinking glass and bottle cap for the middle
- Want thinner glaze? Warm it slightly before dipping. Prefer thicker glaze? Use it at room temp
The first time I made these for my kids, my little boy took one bite and yelled, "These are REAL donuts!" after only knowing the fluffy yeast kind from donut shops. There's something really special about that rich cake texture with sweet glaze that makes these feel like a true treat rather than just another sweet snack. Now we make them every first day of school, with everyone hanging out in the kitchen watching them cook and get glazed before heading out for the day.
Recipe FAQs
- → What makes them 'old-fashioned' donuts?
- Their name comes from the traditional way they’re made. These are dense, cake-based donuts with a cracked surface, unlike the lighter, yeast-raised ones.
- → Is it possible to bake instead of frying?
- Sure, you can bake the dough in a donut pan at 350°F for about 15 minutes. Though, keep in mind, baked ones won’t have the crispy, tender magic of the fried version.
- → Why do I need to chill the dough?
- Chilling firms up the fats, which makes the dough easier to work with. It also helps to soften the gluten, giving you a softer, flakier donut.
- → Can these donuts be made ahead of time?
- They’re best freshly fried. But you can prep the dough and chill it in the fridge for a day or freeze shaped donuts for up to a month, frying them right out of the freezer.
- → Any tips if I lack a donut cutter?
- Grab two round cutters, one larger (about 3 inches) for the donut, and a small one (1 inch) for the center. In a pinch, a glass and a bottle cap work!
- → How do I know if the oil's ready?
- You want it at 350°F (175°C). If you’ve got a thermometer, use it. If not, toss in a small bit of dough - it should sizzle, float up, and brown gently but not too fast.