
 Save
Save
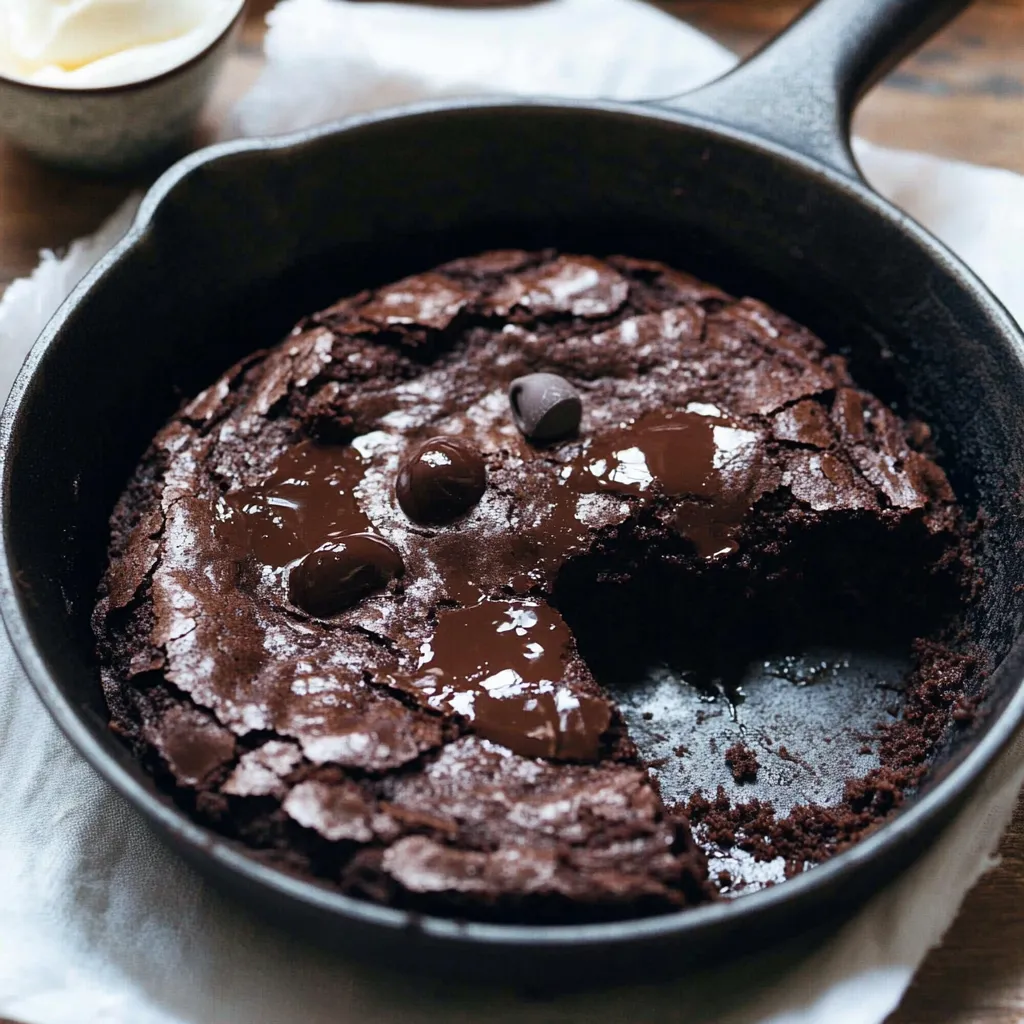
This skillet brownie without flour feels like kitchen sorcery - seeing basic ingredients turn into something so rich you'd never think it was made without conventional baking ingredients. After testing countless better-for-you treats, this sticky, chocolatey delight has become my favorite when chocolate urges strike or when I need to handle various food restrictions without giving up on pure enjoyment.
Key Ingredients
- Fine Dark Chocolate: The core of everything
- Unsweetened Almond Butter: Delivers that ideal chewy feel
- Premium Cocoa Powder: For intense chocolate taste
- Homemade Applesauce: The unknown moisture hero
- Iron Skillet: For those amazing crunchy sides
 Save
Save
The Blending Process
Begin by slowly melting your chocolate with coconut oil - you've got to do this carefully, with no rush. When I hurried through this part once and my chocolate clumped up, I realized that some recipes need you to take your time and watch the little things. Now I know letting the chocolate mix cool a bit before adding other stuff really changes how the final brownie turns out.
Making Wonder
Hanging around my bowl, seeing dark chocolate and coconut oil blend into shiny goodness while chocolate smells fill my kitchen, I've found through so many tries that the trick is in small things - like how almond butter at room temp mixes in better, or how just a bit more applesauce gets you that perfect sticky middle that makes everyone want the center slice.
The Oven Process
Through tons of tries and chocolate-powered testing rounds:
Warm your skillet as the oven heats up
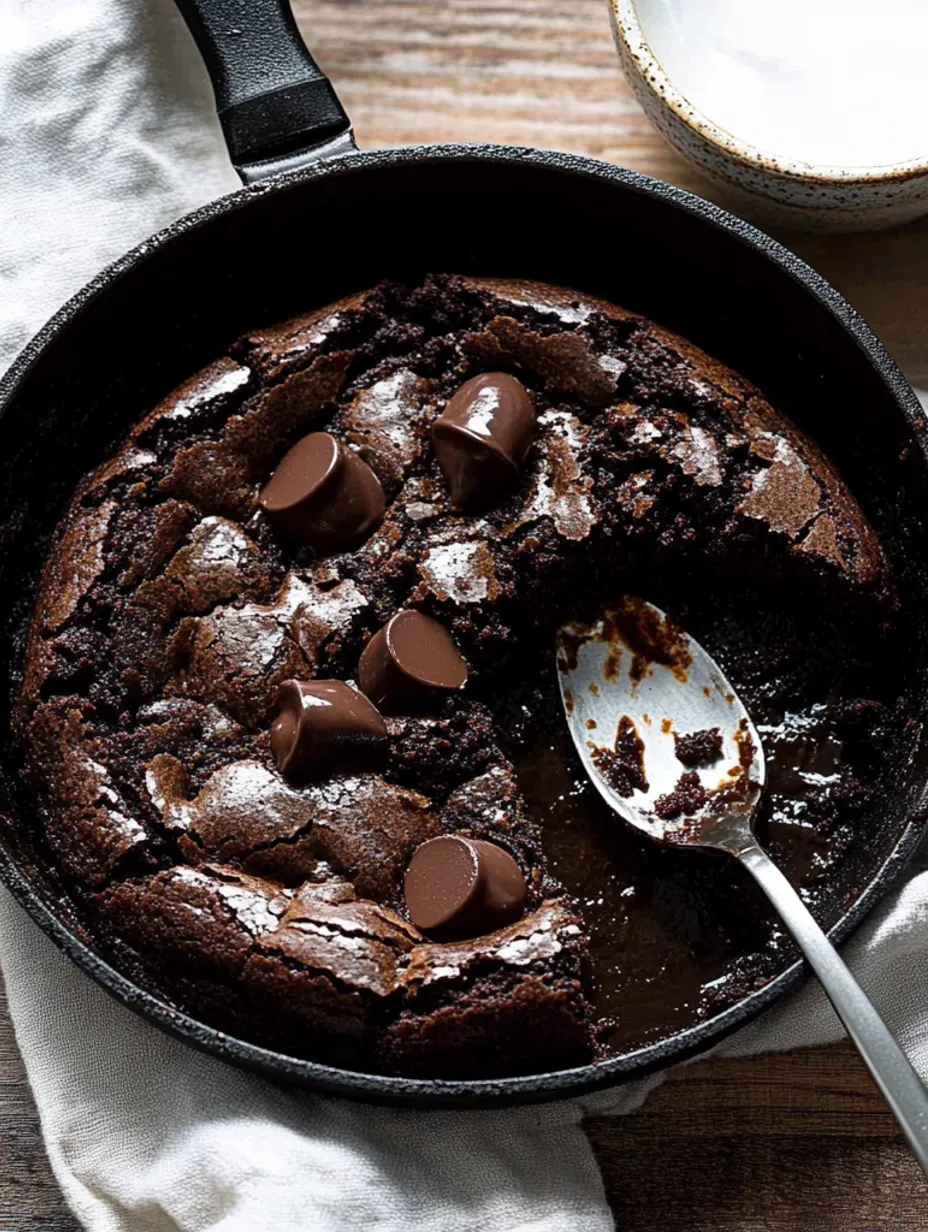
Look for crisp edges but soft middle
Go with your gut on cooking time
Don't cook too long - sticky beats dry every time
Let it sit after baking (the toughest part)
Flavor Enhancements
My cooking space has turned into a testing area for different takes:
Mix in peanut butter for more richness
Throw in coffee powder for complexity
Top with flaky salt
Add crunchy nuts
Swirl with tahini for fancy touch
Just days ago, I gave this to my friend who loves gluten and swears she can always tell when something's "different." She wanted my recipe before she even finished her piece - sometimes the best tricks go completely unnoticed.
Keeping It Fresh
Through many tries saving what's left (which isn't much usually):
Cool it all the way before you cover it
Store at normal temperature for best gooeyness
Warm single portions slowly
Put ice cream on day-old pieces
Don't put in fridge unless you really must
 Save
Save
Sweet Finale
This brownie pan has turned into my backup plan for everything from surprise visitors to midnight chocolate cravings. It shows that sometimes the tastiest desserts come from working with limits instead of trying to get around them.
If you're gluten-free by need or by choice, remember great brownies depend on texture and chocolate quality more than anything. Be patient with melting, trust your senses while baking, and always keep vanilla ice cream handy.
And maybe don't mention it's flourless until after they've already fallen for it.
Recipe FAQs
- → Can I skip the cast iron skillet?
- Sure, you can replace it with any 8x8-inch baking dish. Cooking time stays the same.
- → Is there a swap for coconut sugar?
- You can replace it with light brown sugar, using the same quantity.
- → Can I try a different nut butter?
- Absolutely. Use any nut butter, but stick to ones made with just nuts and salt for best results.
- → How can I tell it’s done?
- When you see a crackly top and a gooey inside—it’s ready! This takes about 20-25 minutes.
- → What’s the best way to serve it?
- Enjoy it warm with non-dairy ice cream or drizzle nut butter over the top.