
 Save
Save
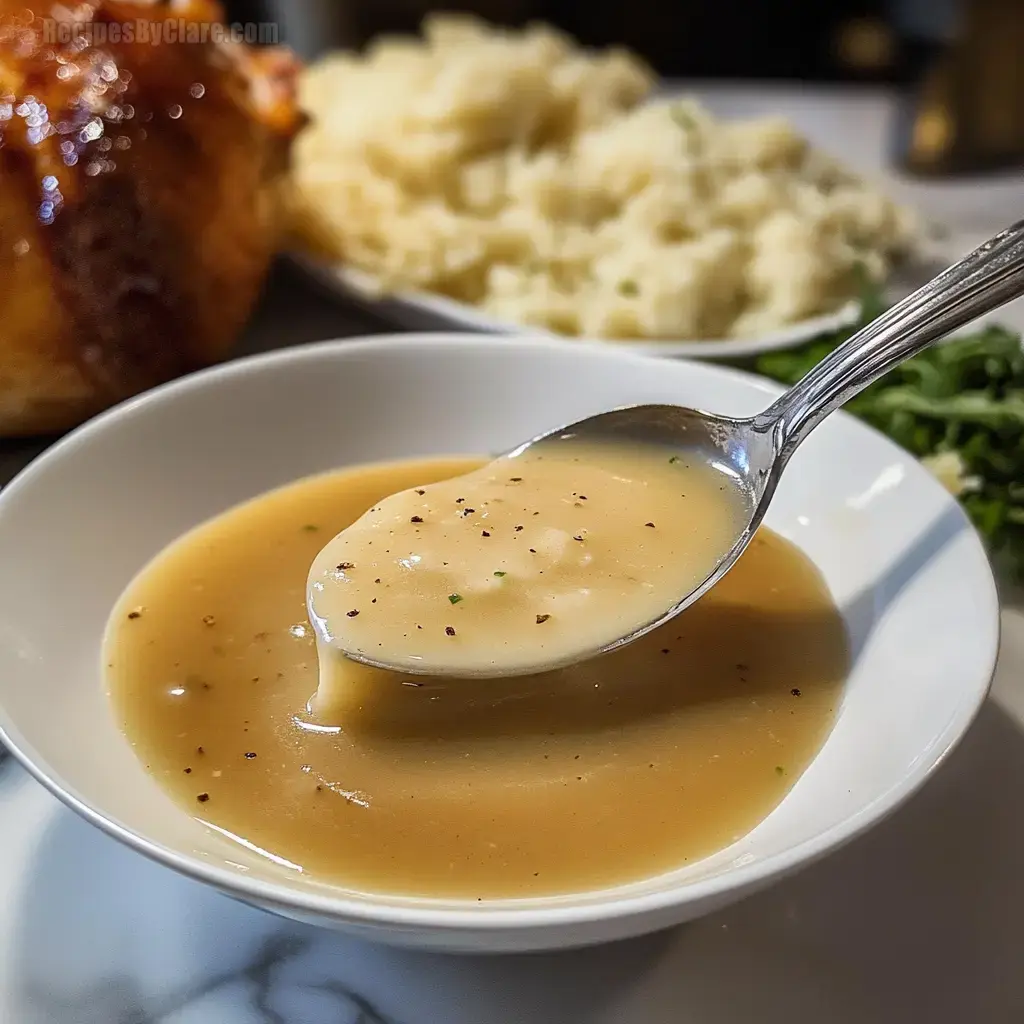
Perfect Turkey Gravy is the crowning glory of any holiday meal, transforming ordinary roasted turkey and sides into something truly special. This rich, velvety sauce carries all the savory essence of your main dish while adding depth and moisture to every bite it touches. Whether you're working with precious pan drippings from your roasted bird or starting with store-bought stock, this foolproof recipe creates a luxurious gravy that will have everyone reaching for the gravy boat again and again.
I made this gravy last Thanksgiving when my sister-in-law announced she was bringing the turkey but not making gravy. Everyone raved about it, and my nephew actually poured it over his entire plate! The batch disappeared so quickly I had to make more before the meal was over.
Ingredients
- ½ cup butter (cut into 8 pieces): The fat component creates richness and helps form the essential roux. Use unsalted butter so you can control the salt level yourself.
- ½ cup all-purpose flour: This thickener works with the fat to create the perfect consistency. Measure it precisely for best results, as too much can make your gravy pasty.
- 4 cups pan drippings or chicken/turkey stock: This provides the backbone flavor. If using drippings, they contain concentrated meat flavors that make exceptionally tasty gravy. Choose low-sodium stock if you're not using drippings.
- 1 tsp coarse black pepper: Freshly ground black pepper provides tiny bursts of heat and complexity. The coarse grind gives lovely visual texture and flavor dimension.
Step-by-Step Instructions
- Step 1: Prepare Your Drippings
- If using drippings from your roasted turkey, pour everything from the roasting pan through a fine-mesh strainer into a large measuring cup or fat separator. Let it sit for about 5 minutes so the fat rises to the top. Skim off most of the fat with a spoon or use the spout of your fat separator to pour off the flavorful liquid, leaving the fat behind. Check how much liquid you have - if it's less than 4 cups, add enough chicken or turkey stock to reach that amount. If you don't have drippings, simply measure out 4 cups of good-quality stock instead.
- Step 2: Create The Base
- Place a medium saucepan over medium-low heat and add your butter pieces. Let them melt slowly, swirling occasionally, until completely liquified but not browned - about 2 minutes. Immediately add the coarse black pepper and whisk it in. The warm butter will help release the pepper's aromatic oils, infusing the base with flavor from the start.
- Step 3: Form The Roux
- Gradually sprinkle the flour into the melted butter while whisking constantly. This slow addition prevents lumps from forming. Continue whisking for about 3-4 minutes until the mixture turns a light golden brown and smells slightly nutty. This cooking step is crucial as it eliminates the raw flour taste and creates depth of flavor. The roux should be smooth and have the consistency of wet sand.
- Step 4: Add Your Liquid
- This is the most critical moment! Turn heat down to low, then slowly pour in about ¼ cup of your liquid while whisking vigorously. The mixture will seize up immediately - keep whisking! Once this first addition is incorporated, continue adding the remaining liquid in a steady stream while whisking constantly. This gradual approach prevents lumps from forming and ensures silky smoothness.
- Step 5: Simmer To Perfection
- Increase heat to medium and bring the gravy to a gentle simmer, whisking frequently. Let it cook for 5-8 minutes, or until it reaches your desired thickness. Remember that gravy will thicken slightly as it cools, so aim for a consistency just slightly thinner than you want the final result. Taste and adjust seasoning if needed - the salt content will vary greatly depending on your drippings or stock.
I've always been partial to the black pepper in this recipe. My grandmother was heavy-handed with pepper in her gravy, and tasting those little bursts of spice always takes me back to childhood holidays. My husband claims he wasn't a "gravy person" until he tried this version, and now he finds excuses to make mashed potatoes year-round just to have something to pour this over.
Make-Ahead Magic
Making turkey gravy doesn't have to be a last-minute scramble while hungry guests wait. You can prepare this gravy up to three days in advance and simply reheat it when needed. Store it in an airtight container in the refrigerator, then warm it gently in a saucepan over low heat, whisking occasionally to restore its smooth texture. If it seems too thick after refrigeration, whisk in a tablespoon or two of stock or water until you reach the desired consistency. This approach takes pressure off your holiday cooking timeline and allows the flavors to meld beautifully.
Troubleshooting Common Issues
Even experienced cooks occasionally encounter gravy challenges, but most are easily fixed. If your gravy develops lumps, don't panic - simply pour it through a fine-mesh strainer or blend it briefly with an immersion blender. Too thin? Make a quick slurry of 1 tablespoon each flour and cold water, then whisk it in and simmer for a few more minutes. If it's too thick, add stock or water a tablespoon at a time. For gravy that lacks flavor depth, try adding a splash of white wine, a few drops of Worcestershire sauce, or a pinch of poultry seasoning to elevate the taste profile without overwhelming the essential turkey flavor.
Creative Variations
While classic turkey gravy is a holiday staple, subtle variations can complement different menu styles. For an herbal twist, add 1-2 teaspoons of fresh thyme leaves or chopped rosemary during the final minutes of cooking. Wine-enhanced gravy develops complex notes when you deglaze the roux with ¼ cup of dry white wine before adding the remaining liquid. For a rustic presentation, sauté ¼ cup finely diced mushrooms or shallots in the butter before adding flour to create a textured gravy with earthy undertones. Adventurous cooks might even try a splash of cognac or bourbon for special occasions, adding warmth and subtle sweetness that pairs beautifully with smoked or fried turkey preparations.