
 Save
Save
This whole chicken tenders adventure kicked off back in my creaky farmhouse kitchen. Sundays meant pots whistling and the smell of dinner all through the house. I tested versions over and over and had more than a few kitchen mishaps until I finally ended up with the one that's pure nostalgia and comfort. There I was, one chilly night, oil hot and swirling in my grandma's old pan, when it hit me—let those chicken pieces soak up buttermilk till they're all silky, then give them a crunchy coat that keeps its snap long after frying.
Essential Ingredient List
Snag chicken tenders that bounce back when you poke 'em—skip anything limp or slimy.
Buttermilk's gotta be whole-fat. Trust me, the fake vinegar-milk mix just doesn't work right—I learned that the hard way with guests over.
Get unbleached flour; it's sturdier, so your coating won't get soggy even with heavy dips.
Bust out the fresh garlic powder. That old bottle hiding in the pantry? Forget it.
Fun fact—Martha from the farmers market showed me what real buttermilk tastes like, and after that, I plan my whole week around her next market stall.
 Save
Save
Unstoppable Kitchen Steps
- The Frying Adventure:
- Pour oil in a heavy pot and heat it till it shimmers—my grandma's Dutch oven is my trusty sidekick for this.
- Slip in the chicken pieces gently so you don't end up with an oil eruption.
- You're listening for that friendly sizzle—not too wild, not too faint. That's how you know it's right.
- Let each piece brown up nicely before you flip it—don't rush this part.
- Building the Crunchy Shell:
- Grab a broad bowl (my set from the wedding registry finally sees action) and dump in the flour.
- Drizzle a splash of buttermilk on it and mix till you get rough, clumpy bits—those are future crispy bites.
- Let extra marinade drip off the chicken before you flour each tender.
- Cover each piece with the flour mix, pressing gently so the coating hangs on for dear life.
- Marinate Like a Pro:
- Pour the buttermilk in a glass bowl—my mom's old Pyrex never fails me.
- Whisk in your seasonings until little specks dot the surface.
- Sink each tender in one at a time, making sure they all take a buttermilk nap.
- Pop the bowl in the fridge overnight. Seriously, patience pays off.
Putting Them On The Table
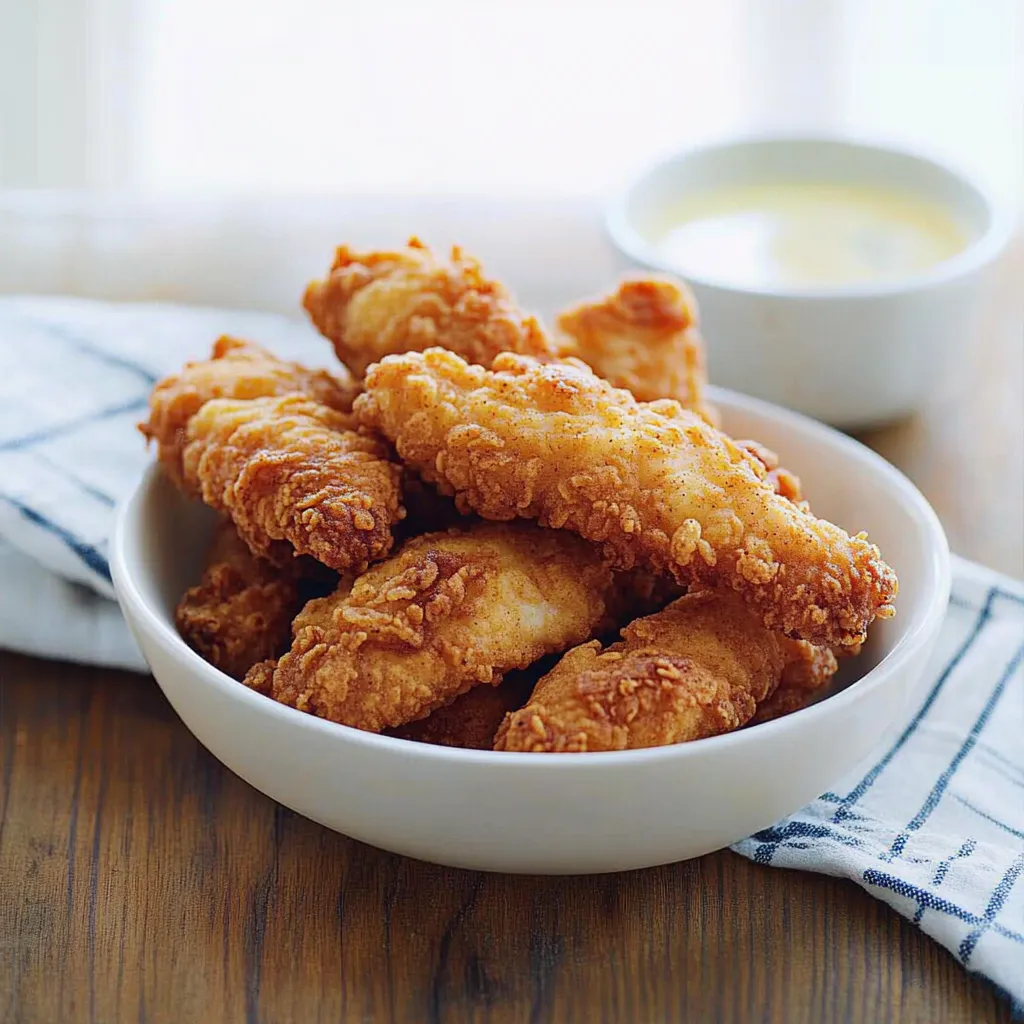
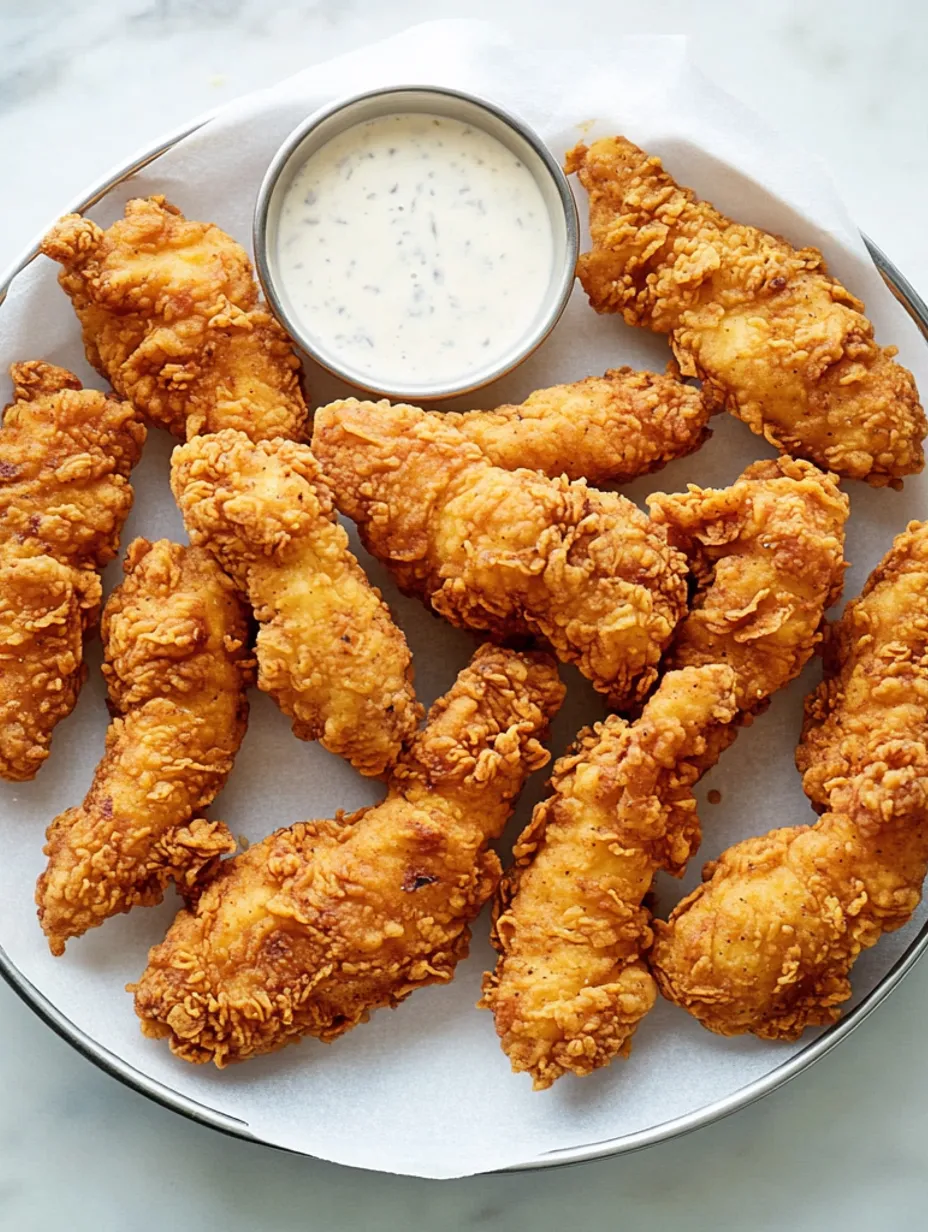
When I set out a big platter of these tenders, it's like Sunday family dinner memories all over again. They're so flexible. You can pour hot honey over them with a handful of herbs for a fancy feel, or dunk them in ranch on a lazy movie night. In summer, they're unbeatable alongside grilled corn and that legendary potato salad from my sister. When it's freezing out, these are perfect with creamy mashed potatoes and brussels sprouts roasted till crispy.
Switching Up The Flavor
This one's shape-shifted more times than I can count. Neighbor Rosa suggested I toss dried basil and grated parmesan in the flour—total flavor bomb. During my spicy kick (sorry, husband), a few shakes of hot sauce in the marinade brought just enough heat. When my little one fell for all things ranch, we started shaking ranch seasoning into the flour. Now that's part of the routine, too.
How To Keep Things Crispy
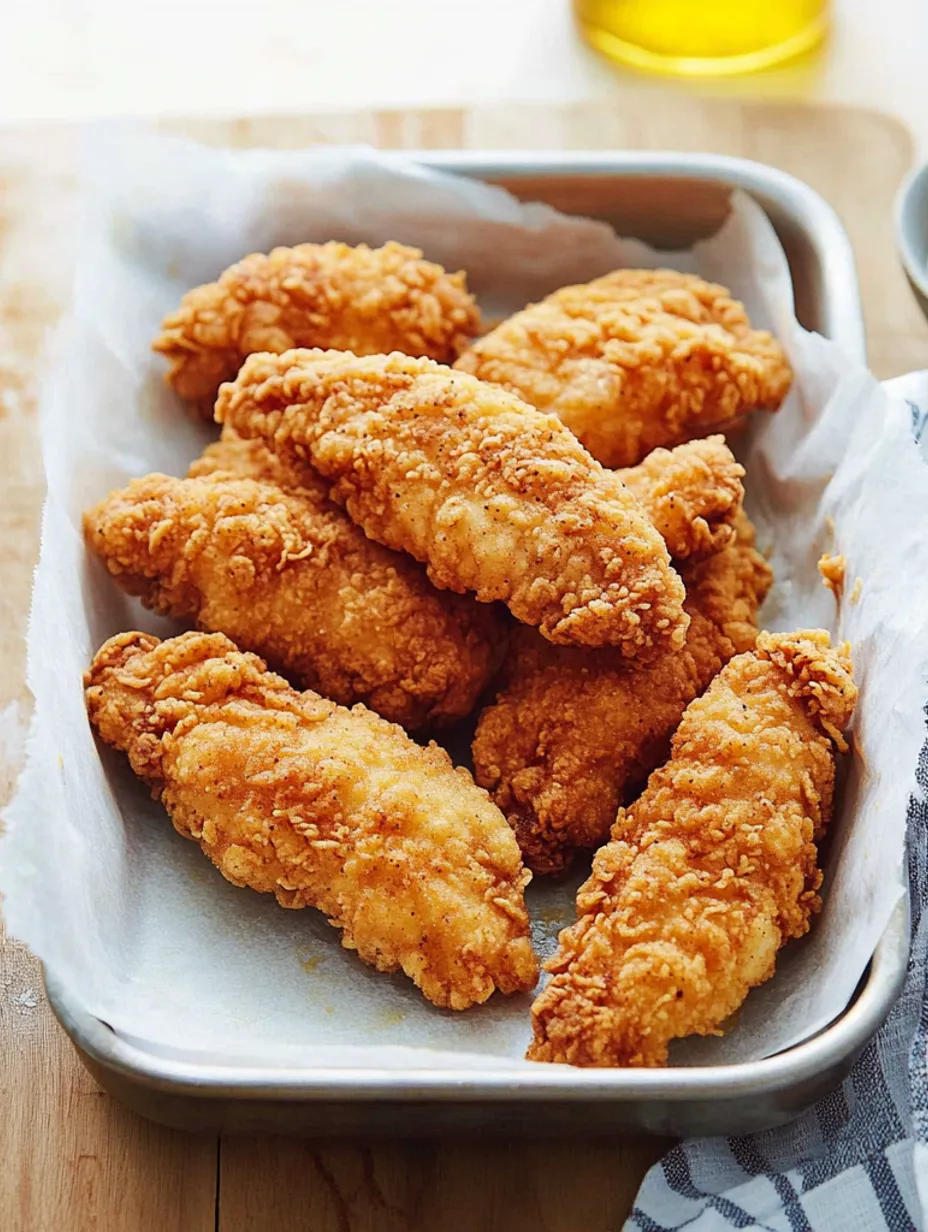
Real talk on leftovers—though they rarely stick around my kitchen. If you do have extras, let them cool off on a wire rack before storing. Stack with parchment in between or you'll get one big sticky cluster. Avoid the microwave or you'll ruin all that crunch. Just bake them at 350 for 10 minutes. They'll be good as new.
 Save
Save
Leveling Up
Kids started asking for these in lunchboxes, which led me to a few hacks. Pack them up while they're still a little bit warm and they'll stay perfect until noon. Want to freeze a lot? First, freeze them spaced out on a tray, then toss them into a zipper bag. That way, they're not frozen as one giant blob. They'll hold up for about three months—if you don't eat them all by then.
Home Cook's Shortlist
Find the right oil temp by tossing in a bit of flour. If it does a happy dance, you're ready.
Season your flour a little extra. The cooker will mellow things out, so don't be shy.
Once fried, let the chicken cool on a rack so air can keep the bottoms crisp.
I've whipped these up for birthday parties, potlucks, and just for a cozy dinner with family. Every batch is an adventure, like the time I dropped my spoon into the hot oil (not recommended) or when my youngest learned how to bread chicken without creating a cloud of flour everywhere. There really is something special about food that brings everyone together—even after all this time, these still hit the spot. And now? I've got a batch soaking for tomorrow's dinner!
Recipe FAQs
- → How long should marinating take?
- Let them soak for 4 to 24 hours for the tastiest result.
- → Can I store these in a freezer?
- Totally! Keep them frozen up to 3 months. Reheat at 350°F for about 25 minutes.
- → How do I check if they're cooked?
- Once both sides are golden, they're good to go, even if the coating still looks pale in oil.
- → What does buttermilk do for breading?
- It makes the coating clumpy and extra crispy when fried.
- → What's the best oil to use?
- Stick with vegetable oil and keep it at about 350°F.