
 Save
Save
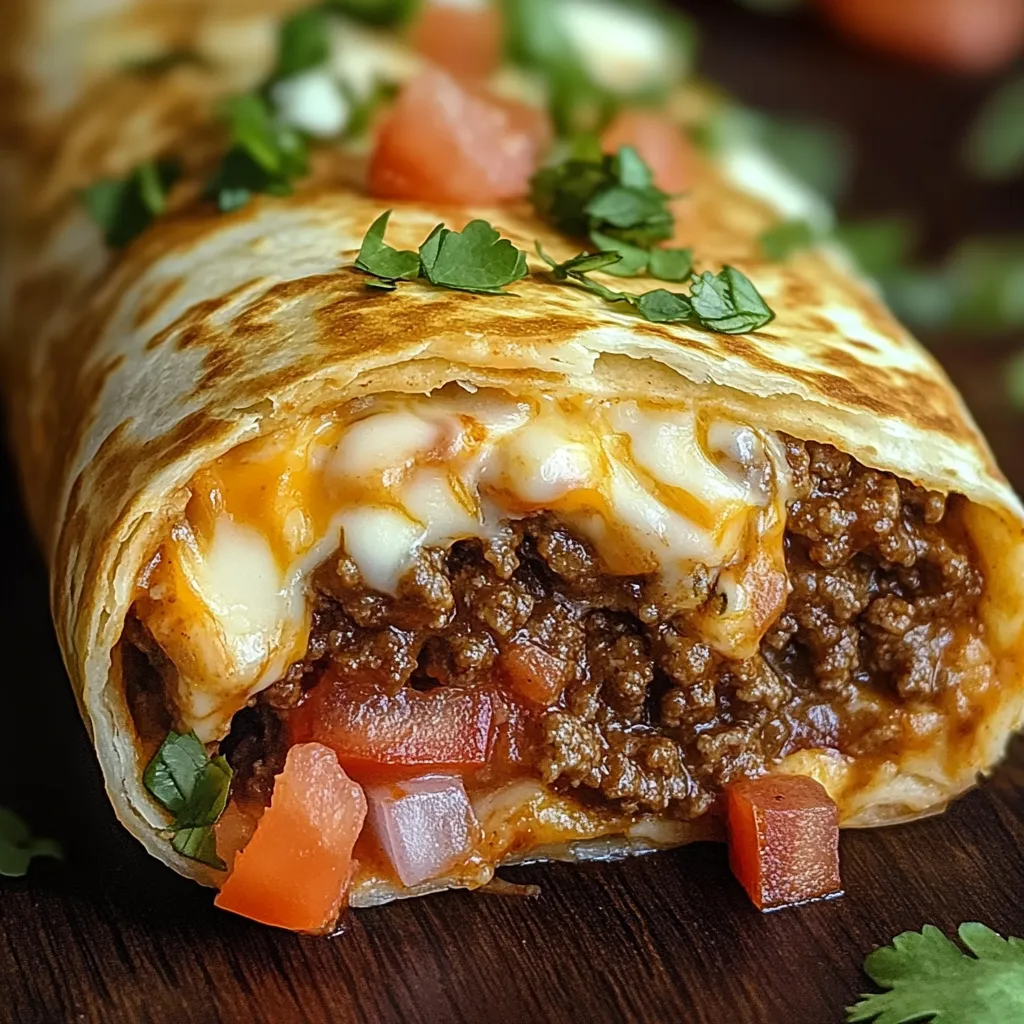
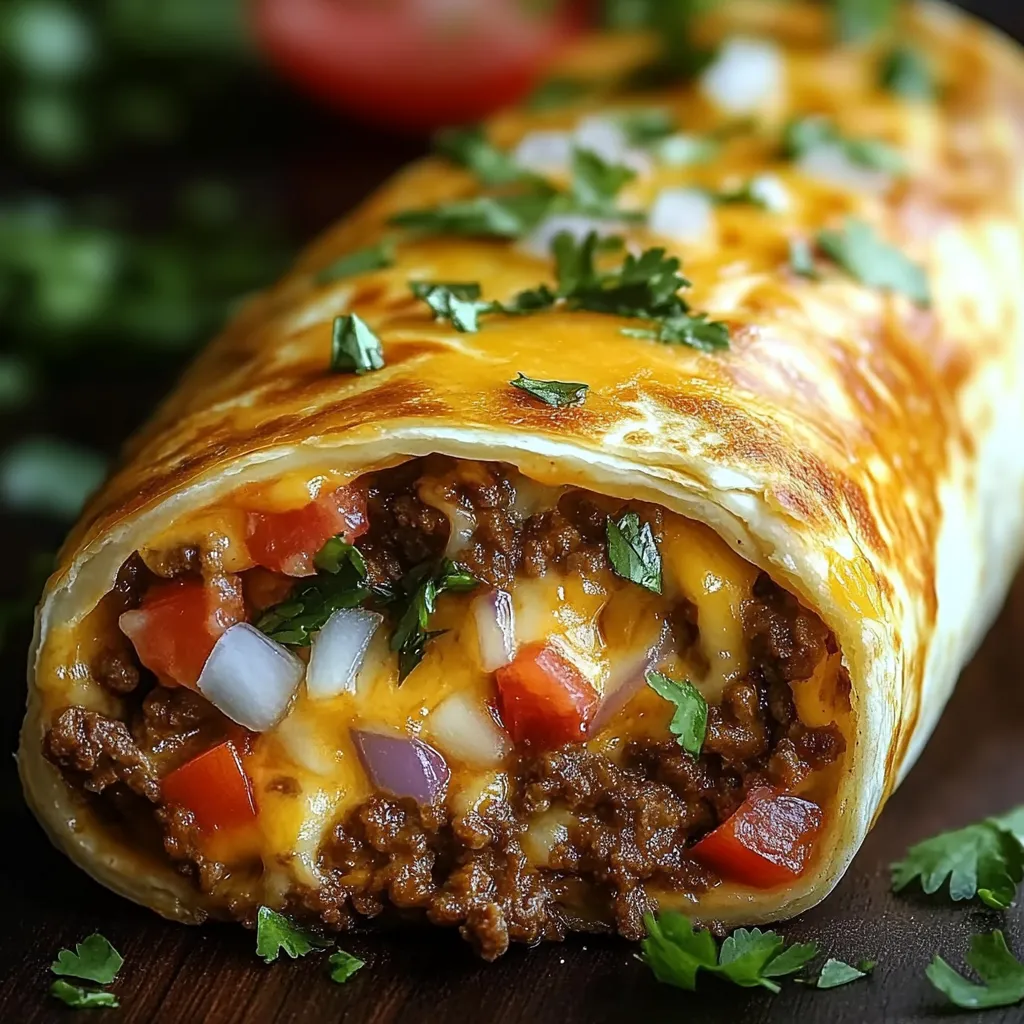
Crunchy, amber tortilla shells wrap around a tempting mix of spiced ground beef and gooey cheese in this mouthwatering Tex-Mex dish. Every chimichanga gives you that amazing contrast between the crunchy outside and juicy, cheesy inside that drips with each mouthful. The warm blend of spices soaks into the beef, building flavor as it cooks, while the two-cheese combo creates those show-stopping, stretchy cheese pulls that make this food look as good as it tastes. These restaurant-quality treats bring fancy dining to your home with surprisingly easy steps.
I tried making chimichangas after loving them at my go-to Mexican spot for ages, not sure if I could get that perfect crunch at home. Man, was I shocked when my first try turned out almost exactly like the restaurant's, and my family couldn't get enough. My hubby, who usually sticks to basic food, asked for them three times the next week. The best part? My mother-in-law, who never says nice things about my cooking, wanted my recipe after just one bite. The way the cheese blends into the seasoned meat makes a filling that's even tastier than the restaurant version because it's fresher and I can tweak the spices just how we like them.
Taste Foundation
- Ground beef: Go for 80/20 meat to get the right fat level for tastier, juicier filling; too lean and you'll end up with dry meat.
- Yellow onion: Builds that key flavor base that gets sweeter as it cooks, adding layers to the beef mix.
- Fresh garlic: Adds that amazing smell and taste through the whole filling; chop it tiny so it spreads evenly.
- Ground cumin: This warm, nutty spice brings that classic Mexican taste that holds the whole flavor mix together.
- Chili powder: Gives a nice kick and rich color while adding several flavor notes from its spice blend.
- Smoked paprika: Adds light smoky hints that make the filling stand out from regular ground beef dishes.
- Tomato sauce: Brings juiciness and rich flavor while holding all the filling parts together just right.
- Cheddar cheese: Sharp types add tang and deep flavor that works great with the spiced beef.
- Monterey Jack: Melts beautifully with a light flavor that works with the spicy beef without taking over.
- Flour tortillas: Get burrito-size ones for enough room to fold and seal; better brands fold without breaking.
- Vegetable oil: Won't burn at high heat, making it perfect for getting that signature crispy outside through proper frying.
Kitchen Magic
- Tasty Base:
- Start by warming a big, sturdy skillet over medium heat until it's nice and hot. Toss in the ground beef, breaking it into tiny, even bits with a wooden spoon as it cooks. Let the meat get nice brown spots, about 7-8 minutes, which adds tons of flavor. Pour off extra fat if needed, but keep just enough to cook the veggies. Add your finely chopped onion and minced garlic to the browned meat, turn down the heat a bit so nothing burns, and cook until onions turn clear and slightly golden at the edges, about 5 minutes.
- Spice Mix:
- Add cumin, chili powder, smoked paprika, salt, and fresh ground black pepper right into the beef mix, stirring all the time to coat every bit with these fragrant spices. Let this mix cook one more minute, which wakes up the spices and releases their oils for maximum flavor. Your kitchen will smell amazing as simple ingredients turn into something special. Keep an eye on things so the spices don't burn and turn bitter.
- Sauce Building:
- Pour tomato sauce over your spiced beef, using your spoon to scrape any stuck bits from the bottom of the pan. These little flavor bombs make the whole filling taste better. Lower the heat to medium-low and let everything bubble gently for 5 minutes, which will thicken the sauce while it soaks into the meat. Stir now and then to stop sticking, and you'll see the mix coming together as liquid cooks down. Take the pan off the heat when the sauce is just right – wet but not runny.
- Cheese Mix:
- Let the beef cool a bit, maybe 3-5 minutes, before adding the shredded cheddar and Monterey Jack. This cooling time stops the cheese from melting right away and separating, so it mixes in better. Gently fold the cheese into the warm beef until it's spread out evenly, making pockets that will melt beautifully inside each chimichanga. The leftover heat should just soften the cheese without fully melting it, making the perfect filling texture.
- Wrapping Method:
- Clear a clean space and warm your tortillas quickly in the microwave or on a dry pan to make them bendy and stop them from cracking when you fold them. Put about a third cup of the beef and cheese mix just below the middle of each tortilla, shaping it into an oval parallel to you. Fold the bottom edge over the filling, then tuck in both sides tightly before rolling up to finish the package. Make sure all edges are tucked in tight so nothing leaks during frying. If needed, use toothpicks to hold them shut, but take them out before serving.
 Save
Save
My grandma always said the key to super crispy chimichangas was how you prep the tortillas. She'd warm them between damp paper towels in the microwave for exactly 15 seconds, making them easy to bend without drying out. Thanks to her tip, I've never had to deal with cracked tortillas while rolling. I've also found that letting the filled chimichangas sit for 10 minutes before frying helps the edges stick to themselves, so they don't pop open while cooking. When I make these for my family, I often mix up twice as much filling, freezing half for quick future dinners that taste just as fresh with barely any work.
Pairing Ideas
These golden treats really shine when served with thoughtful sides that match their rich flavors. Make a restaurant-style plate by placing a freshly fried chimichanga diagonally on a warm dish, next to scoops of fluffy Mexican rice and smooth refried beans. Top with bright touches like diced tomatoes, shredded lettuce, and thin sliced radishes for spicy crunch and nice looks. Put small bowls of cool sour cream, zippy guacamole, and fresh pico de gallo on the side, so everyone can dress up their bites how they want. For big gatherings, lay out several chimichangas on a big plate surrounded by colorful toppings and sides, making an eye-catching centerpiece for casual get-togethers.
Tasty Twists
This flexible recipe welcomes creative changes while keeping its basic charm and appeal. Switch up the flavor completely by using seasoned shredded chicken mixed with cream cheese and green chilies for a lighter, creamier filling option. Make a breakfast version with scrambled eggs, crunchy bacon bits, and hash browns inside the tortilla, topped with hollandaise or country gravy for a morning treat. Veggie lovers might like a filling of seasoned black beans, roasted corn, peppers, and pepper jack cheese with similar spices to the beef version. For those who want more heat, mix in chopped jalapeños or chipotle peppers in adobo sauce into the filling, and swap the Monterey Jack for pepper jack cheese.
Keeping Fresh
These awesome chimichangas stay tasty when stored right, making them great for make-ahead meals. Let any extras cool all the way before wrapping them one by one in aluminum foil, which helps keep the crunch better than plastic containers. Store wrapped chimichangas in the fridge for up to three days, where they'll stay flavorful though the tortilla will soften a bit. For longer storage, put foil-wrapped chimichangas in freezer bags, squeeze out as much air as you can before sealing, and freeze for up to three months. Mark them with the date and what's inside so you can find them easily among your frozen goodies.
I've cooked these cheesy beef chimichangas so many times, from quick family dinners to bigger parties, and they always wow people while bringing real happiness to the table. What makes this recipe extra special is how it turns basic, easy-to-find ingredients into something that feels like a celebration without needing fancy cooking skills. The mix of super crispy outside and melty, savory inside creates a texture experience that makes this dish better than regular Tex-Mex food. Whether you're cooking for a weeknight family meal or weekend visitors, these chimichangas hit that sweet spot between looking impressive and having comfortable, satisfying flavors that everyone loves.
 Save
Save
Recipe FAQs
- → Can I cook these in the oven?
- Sure thing! Brush them with a bit of oil, pop them in a 400°F oven, and bake for 20-25 minutes. They won't be as crunchy, but still tasty.
- → What other proteins can I use?
- Ground turkey, chicken, or pork are all good swaps. For a veggie option, seasoned black or pinto beans work great too.
- → How should I store leftovers?
- Put them in an airtight container and chill for up to 3 days. To keep them longer, wrap them in foil and freeze for up to 3 months.
- → What's the best way to warm them up?
- Use an oven at 375°F for 15 mins or an air fryer at 350°F for about 5-7 mins. You can microwave them, but they'll lose their crunch.
- → Can I prepare these ahead of time?
- Yep! Get the filling ready and wrap them a day in advance. Keep in the fridge, then fry before eating for the best crisp.
- → What sides go well with chimichangas?
- Pair them with Mexican rice, beans, corn salsa, or a simple green salad. Add horchata or iced tea for a full meal.