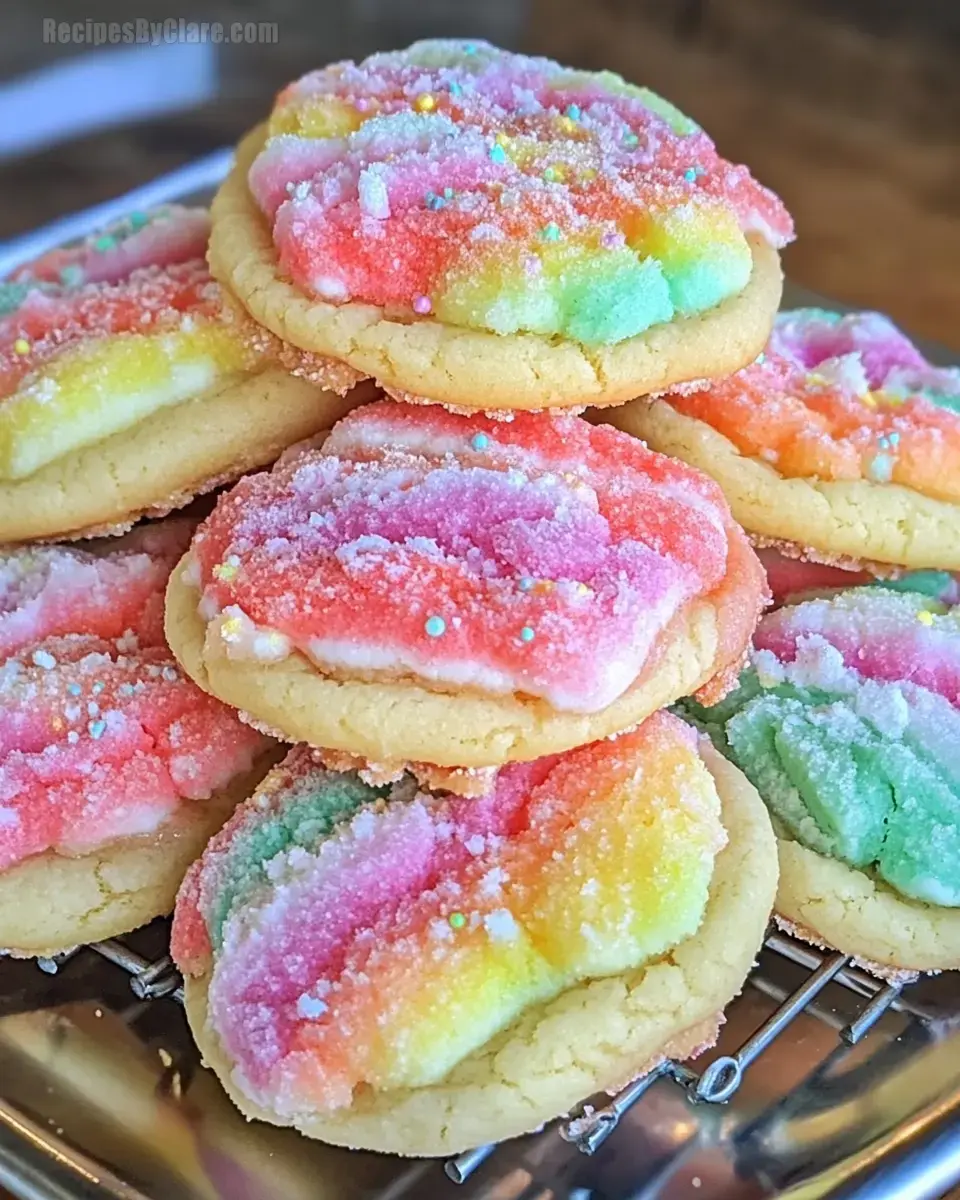
Rainbow Sherbet Fun

Featured in Sweet Treats and Baked Delights.

These cookies are all about color and fun. Divide the dough, mix in bright shades, and shape each piece into sherbet-inspired bites. They have a soft texture, a touch of icing for sweetness, and optional lime or raspberry flavor boosts. Great for gatherings or a bit of fun at home.

Mena
Updated on Thu, 10 Apr 2025 12:06:02 GMT
Bright and Chewy Cookies Pin it
Bright and Chewy Cookies | delishdocket.com

Color-Burst Sherbet Treats blend bright shades and tasty flavors, giving a happy spin on basic sugar cookies. Their lively colors and chewy, soft feel bring playfulness to any sweet display. Great for celebrations, birthdays, or just for fun - these treats will wow everyone!

INGREDIENTS
  • Salt: 1/4 tsp, cuts through sweetness.
  • Baking soda: 1/2 tsp, creates fluffy texture.
  • Baking powder: 1 tsp, helps cookies puff up.
  • All-purpose flour: 2 1/2 cups (315g), forms the base.
  • Vanilla extract: 1 tsp, adds background flavor.
  • Large eggs: 2, bind everything together.
  • Powdered sugar: 1/2 cup (100g), makes dough extra tender.
  • Granulated sugar: 1 cup (200g), provides sweetness.
  • Unsalted butter: 1 cup (225g), softened, makes them rich.
  • Food coloring: Pink, orange, green, or your fave sherbet shades.
  • Lime extract: 1/2 tsp (if you want), adds zesty kick.
  • Raspberry or strawberry extract: 1/2 tsp (if you want), for berry notes.
  • Powdered sugar (for topping): 1 cup (120g), creates simple glaze.
  • Milk (for topping): 2-3 tbsp, thins the glaze.
  • Vanilla extract (for topping): 1/2 tsp, flavors the glaze.
INSTRUCTIONS
Step 14:
Pour glaze over cooled cookies and wait for it to harden.
Step 13:
For a simple glaze (if you want one), mix powdered sugar, milk, and vanilla till smooth. Add color if you'd like.
Step 12:
Let cookies cool briefly on the tray, then move to a cooling rack.
Step 11:
Bake for 10-12 minutes, until edges turn slightly golden.
Step 10:
Press each ball down lightly with your hand.
Step 9:
Put your colorful dough balls on the lined baking sheet, leaving room between them.
Step 8:
Take small amounts from each colored dough and smoosh them together gently, keeping colors separate but connected.
Step 7:
Mix food coloring into each portion until you get even color.
Step 6:
Split the dough into 3 or 4 parts, depending on how many colors you want.
Step 5:
Slowly mix dry stuff into wet stuff until barely combined.
Step 4:
In another bowl, stir together flour, baking powder, baking soda, and salt.
Step 3:
Beat in eggs one by one, mixing well each time. Stir in vanilla (and other extracts if using).
Step 2:
Beat softened butter with both sugars until it's fluffy and light.
Step 1:
Heat your oven to 350°F (175°C) and put parchment on your baking sheet.
Serving and Storage Tips
  • Keep in a sealed container up to 5 days.
  • Enjoy at room temp for best taste and feel.
Helpful Notes
  • Add more milk or sugar to make glaze thicker or thinner.
  • Try gel food colors for brighter results without making dough runny.

Tips from Well-Known Chefs

  • Chef Luke: "Try adding some lemon zest to the glaze for extra zing."
  • Chef Zoe: "Cool the dough for 15 minutes before baking to keep shapes intact."
Why Are These Cookies Perfect for Celebrations?

These bright multi-colored treats steal the show at any party, from birthdays to summer gatherings. Everyone loves their soft, chewy bite and hint of fruity flavor!

How to Customize Your Rainbow Sherbet Cookies

Go wild with different flavor drops, food colors, or add sprinkles for more fun. You can also create cool swirls by gently mixing two colored doughs without blending them fully.

FAQs

Can I make the dough ahead of time?

You bet! Keep it in your fridge for up to 2 days before using.

Can I freeze these cookies?

Sure thing! Freeze baked cookies or raw dough balls. Just thaw them out first before eating or baking.

How do I make the colors more vibrant?

Grab some gel food colors instead of liquid ones. They won't water down your dough.

How do I prevent overmixing the dough?

Stop mixing as soon as you can't see flour anymore. Don't go overboard!
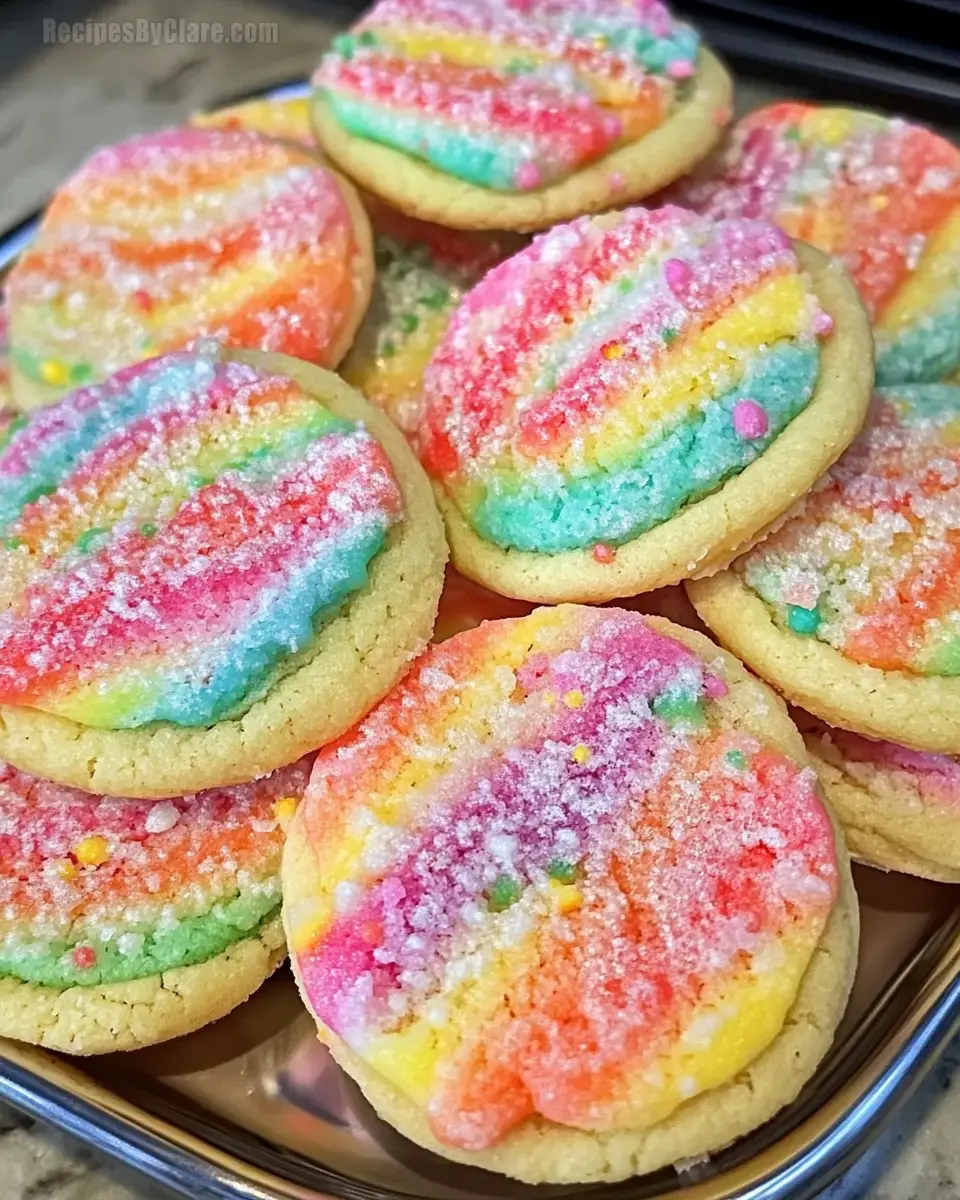
Rainbow Sherbet Cookies Pin it
Rainbow Sherbet Cookies | delishdocket.com

Conclusion

These colorful cookies are a twist on traditional sugar treats, made with vibrant dough portions that bring sherbet flavors to mind. For extra zip, toss in lime or raspberry essence. They're simple to put together and ideal for birthdays or any cheerful get-together. A drizzle of icing wraps them up in sweetness. Perfect for anyone wanting a pop of happiness on their plate!

Rainbow Sherbet Fun

Soft, chewy cookies packed with vibrant colors and fruity flair. Perfect for celebrations or just a happy snack break!

Prep Time
20 Minutes
Cook Time
12 Minutes
Total Time
32 Minutes
By: Mena

Category: Desserts & Baking

Difficulty: Easy

Cuisine: American

Yield: 24 Servings (24 cookies)

Dietary: Vegetarian

Ingredients

01 1 cup (225g) butter, softened and unsalted.
02 1 cup (200g) white sugar.
03 1/2 cup (100g) confectioners' sugar.
04 2 large eggs, at room temperature.
05 1 tsp vanilla flavoring.
06 2 1/2 cups (315g) plain flour.
07 1 tsp baking powder.
08 1/2 tsp baking soda.
09 1/4 tsp table salt.
10 Food gel in pink, orange, green, or your favorite blend of colors.
11 1/2 tsp lime flavor (optional).
12 1/2 tsp berry or strawberry flavor (optional).
13 1 cup (120g) confectioners' sugar for icing.
14 2-3 tbsp milk for icing.
15 1/2 tsp vanilla flavor for icing.
16 Extra food gel (optional, for colored icing).

Instructions

Step 01

Turn the oven on to 350°F (175°C) and get a baking tray ready with parchment paper.

Step 02

Using a large mixing bowl, whip the softened butter with the granulated and powdered sugars until it’s fluffy.

Step 03

Mix in one egg at a time, making sure it’s blended before adding the next. Stir in vanilla and optional extracts too.

Step 04

Combine flour, baking powder, soda, and salt in another bowl and give it a whisk.

Step 05

Little by little, add the dry mix to the wet mix, stirring gently until combined.

Step 06

Portion out the dough into 3-4 sections, depending on how many colors you want.

Step 07

Work food gel into each bit of dough, mixing until the color spreads evenly.

Step 08

Shape small dough balls for each color and stick them together to make colorful combos without blending the colors too much.

Step 09

Spread these vibrant dough balls across the lined tray, leaving them enough space to bake properly.

Step 10

Use your hand to gently press each dough ball down a bit.

Step 11

Let them bake for 10 to 12 minutes, just until the edges firm up and start to turn golden.

Step 12

Let the cookies cool off on the tray a little before transferring them to a cooling rack.

Step 13

Mix together powdered sugar, milk, and vanilla until smooth. Add some food gel if you want to tint it.

Step 14

Pour or drizzle icing over your cookies once they’re completely cool. Allow time for it to harden.

Notes

  1. Avoid overmixing the dough when adding colors to keep them clear and sharp.
  2. Try lime or berry extracts if you want a fruity flavor.
  3. Adjust the thickness of the icing with more milk or powdered sugar.

Nutrition Facts (Per Serving)

It is important to consider this information as approximate and not to use it as definitive health advice.
  • Calories: 150
  • Total Fat: 7 g
  • Total Carbohydrate: 22 g
  • Protein: 2 g