
 Save
Save
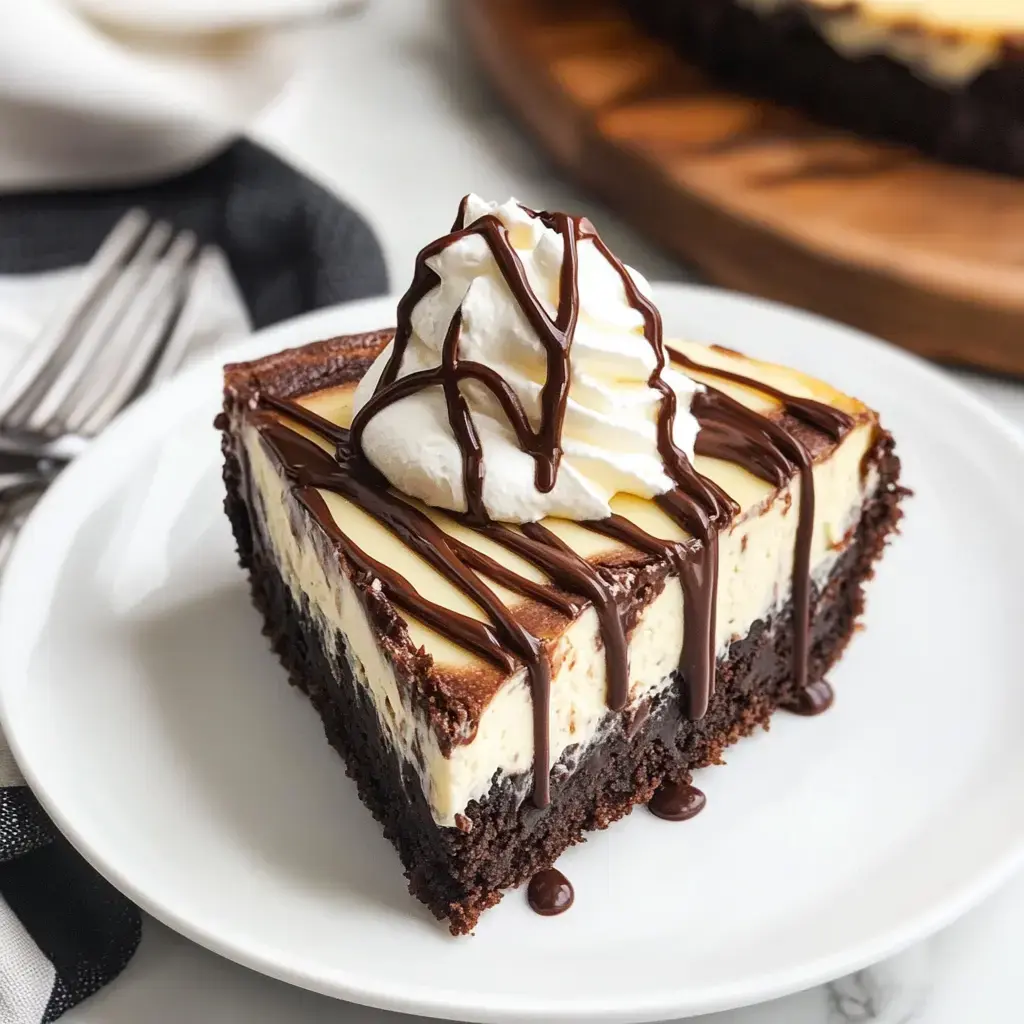
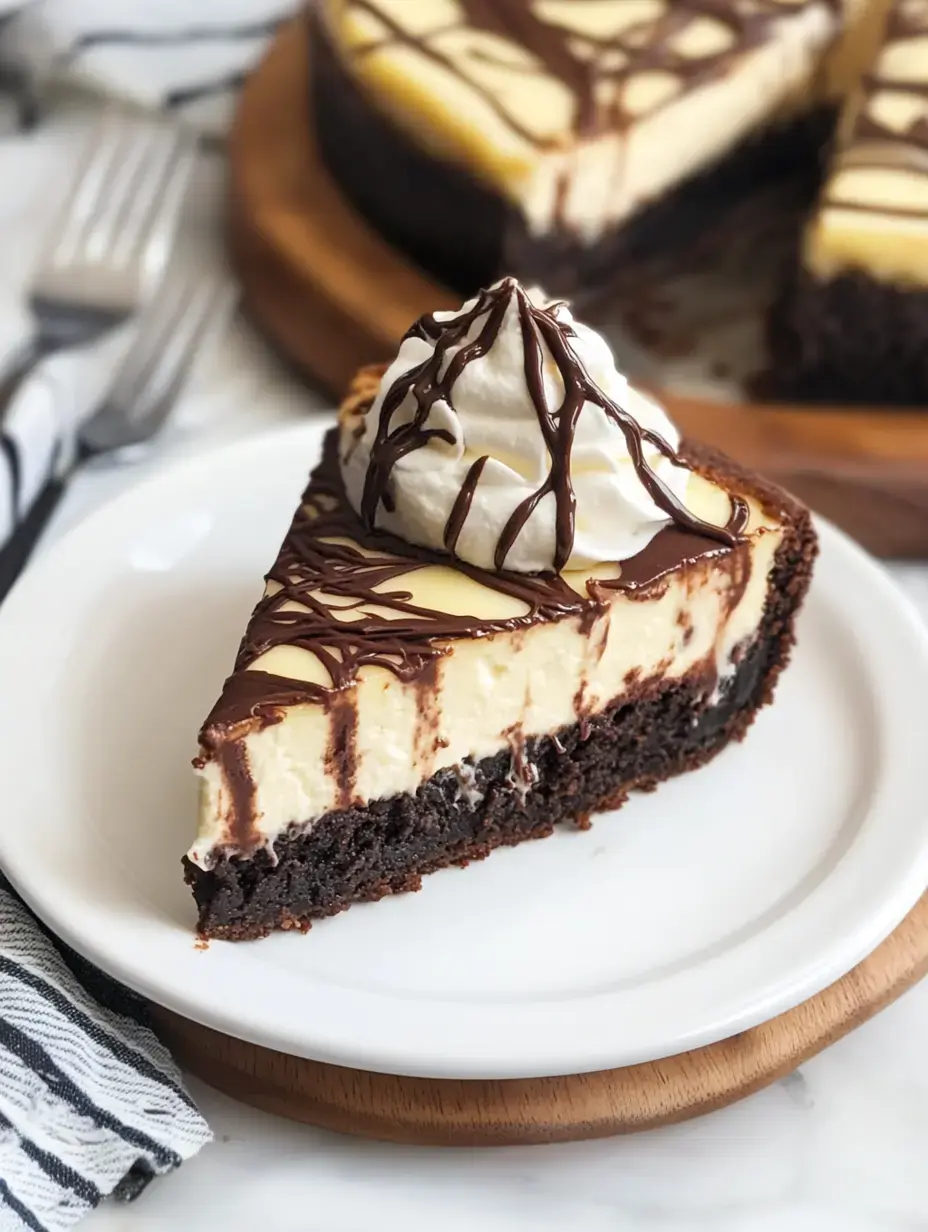
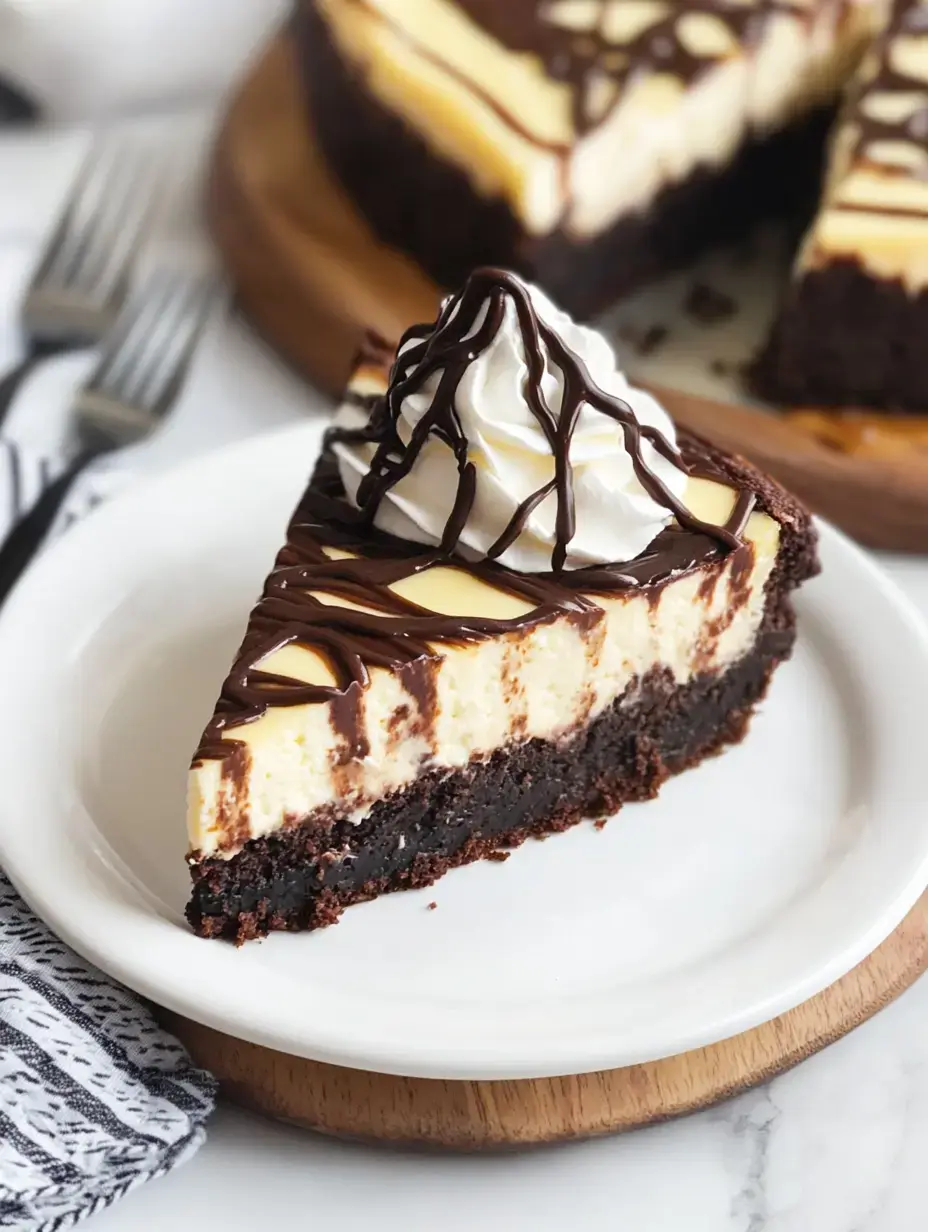
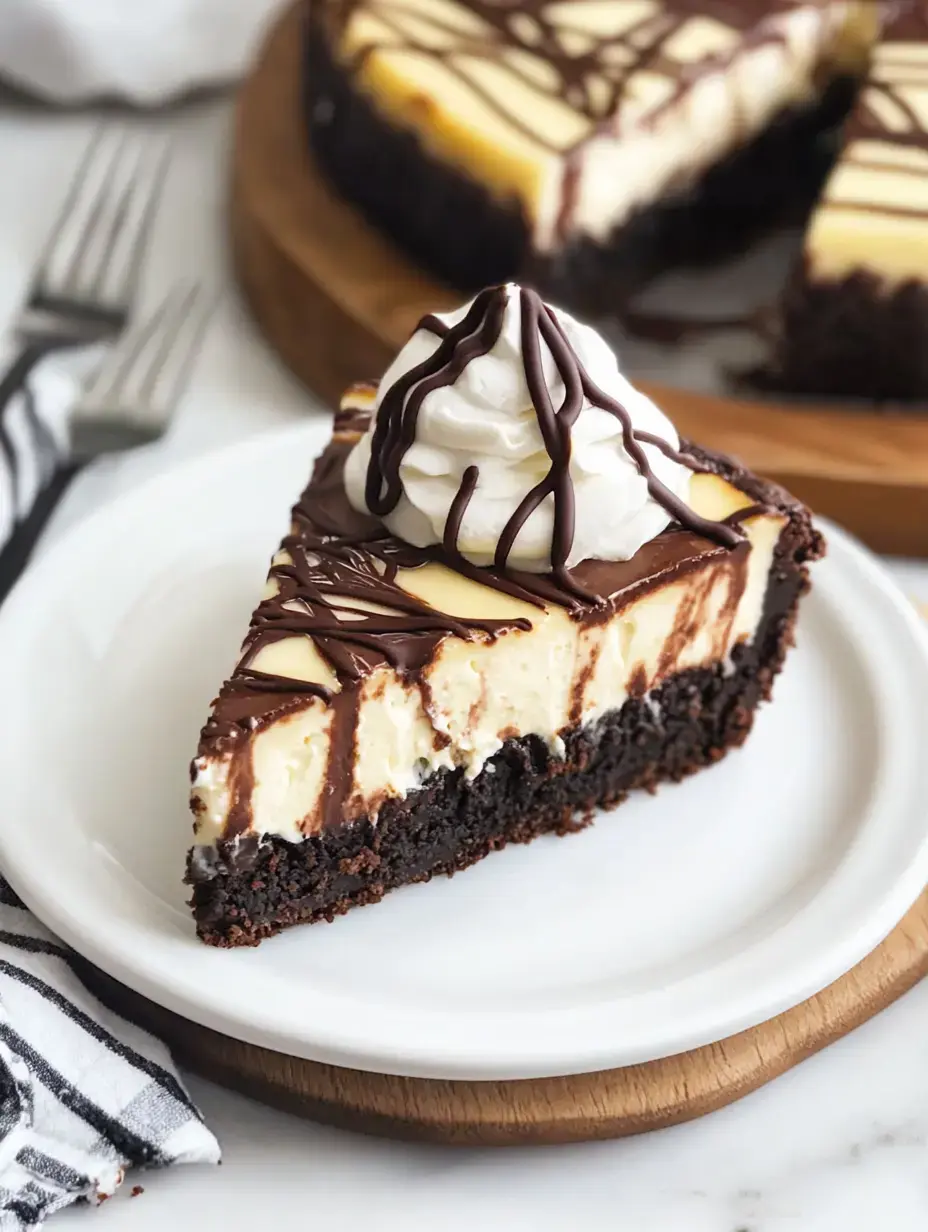
My double-layer treat features a fudgy base with a velvety cheese topping. I tweaked this combo for years, and now my family begs for it at every gathering. When those two textures meet - the dense chocolate bottom with that smooth, rich topping - you'll taste pure bliss in every mouthful.
Sweet Perfection Combined
I first tasted this duo at a local sweet shop and couldn't wait to make it myself. The bottom stays wonderfully rich while holding up that creamy top layer. My whole house fills with amazing smells during baking time.
Must-Have Tools
- Box Mix: Grab your go-to brand for a quick start
- Eggs: Set them out early for the best texture
- Cream Cheese: Pick full-fat blocks for ultimate creaminess
- Sugar: Plain white granulated does the trick
- Sour Cream: Adds that wonderful zing we need
- Heavy Cream: You'll need it for both inside and on top
- Vanilla: Real extract makes all the difference
- Flour: A small amount helps stop surface breaks
Prepping Your Dish
Don't skip this setup step. I cover my springform with parchment and slather butter around the edges. There's nothing worse than a stuck dessert, and this trick guarantees it'll slide right out.
Laying Down The Chocolate Foundation
Though I enjoy making things from scratch, a quality store-bought mix works wonders here. Just follow the box directions and smooth it into your dish. You'll soon have everyone wandering into the kitchen asking what smells so good.
 Save
Save
Mixing Up Creamy Wonder
The secret to an amazing filling is taking your time. Make sure your cream cheese is completely soft, then beat until totally smooth. Slowly add your sugar and other stuff bit by bit. I found out the hard way that rushing makes bumpy filling.
Careful Combining
Gently pour your creamy mixture over the partly cooked chocolate base. I like to bump the pan on the counter a couple times to pop any trapped air. This gives you that flawless surface everyone loves.
Cooking It Right
Gentle heat works best here. I set my oven to 325°F and don't open the door until time's up. Letting it cool down slowly inside the oven is super important for that perfect smooth look and feel.
Cooling Takes Time
Being patient really matters with this dessert. Let it cool bit by bit, then stick it in the fridge overnight. I usually make mine a day ahead. It actually tastes better after sitting for a while.
Cloud-Like Topping
Homemade whipped cream really makes this dessert shine. I whip mine until it just holds its shape. A little powdered sugar and vanilla turns it into something really special.
 Save
Save
Adding The Final Touch
Dressing it up is half the fun. I squeeze whipped cream around the edges and sometimes drizzle chocolate over the top. My children always want to help with this part, mostly so they can lick the leftovers.
Stopping Unwanted Splits
After tons of tries, I've found that soft mixing and slow cooling stop those annoying cracks. Don't beat the eggs too much and keep that oven door shut during cooking time.
Getting The Layers Just Right
That quick first bake of the bottom layer is key. It should be barely set but still gooey. This creates that amazing contrast between soft and firm we're aiming for.
Storage Smarts
If you somehow end up with extra slices, they'll stay tasty in the fridge for about five days. Just wrap it well to keep it moist. At my place, it's usually gone within a couple days.
Saving For Later
I sometimes bake an extra one to freeze. Wrap it tight without any topping and it stays good for a month. Just let it thaw in the fridge overnight when you want something sweet.
 Save
Save
Showing Off Your Creation
I love adding some fresh fruit when dishing this up. The tart berries balance out the richness perfectly. A splash of warm chocolate sauce is always welcome too.
Growing Through Mistakes
My early tries weren't always great, but I learned something new each time. Room temp ingredients and gentle mixing are absolutely crucial for that silky smooth result.
Knowing When It's Ready
The middle should wiggle slightly when done, kind of like Jello but not runny. Go with your gut here. A properly baked dessert deserves your close attention.
Handling The Pan Correctly
A decent springform pan is totally worth buying. Use a warm knife around the edges before you pop the sides off. This stops sticking and gives you those picture-perfect slices.
Time Well Spent
This two-layer treat takes some effort but totally pays off. Seeing everyone's happy faces after their first bite makes everything worthwhile. It's become our go-to celebration dessert for good reason.
Recipe FAQs
- → Why does cheesecake sometimes crack?
- Cracking happens if eggs are overbeaten or the cheesecake cools too fast. Gently mix eggs and let the cheesecake cool slowly to keep it smooth.
- → Is it okay to make this ahead?
- Sure, this can be prepped 1-2 days in advance. Keep it covered in the fridge. Add whipped cream and chocolate topping right before serving.
- → Can this be frozen?
- Yes, but freeze it without the topping. Wrap it up well, then store in the freezer for up to 2 months. Let it set overnight in the fridge before decorating.
- → Why bake the brownie layer first?
- Doing this locks in the fudgy texture. A short bake creates a firm base that stays soft while the cheesecake bakes.
- → Does pan size matter?
- Stick with a 9-inch springform pan. Changing sizes will mess with layer thickness and bake time. For best outcomes, use 9-inch.