
 Save
Save
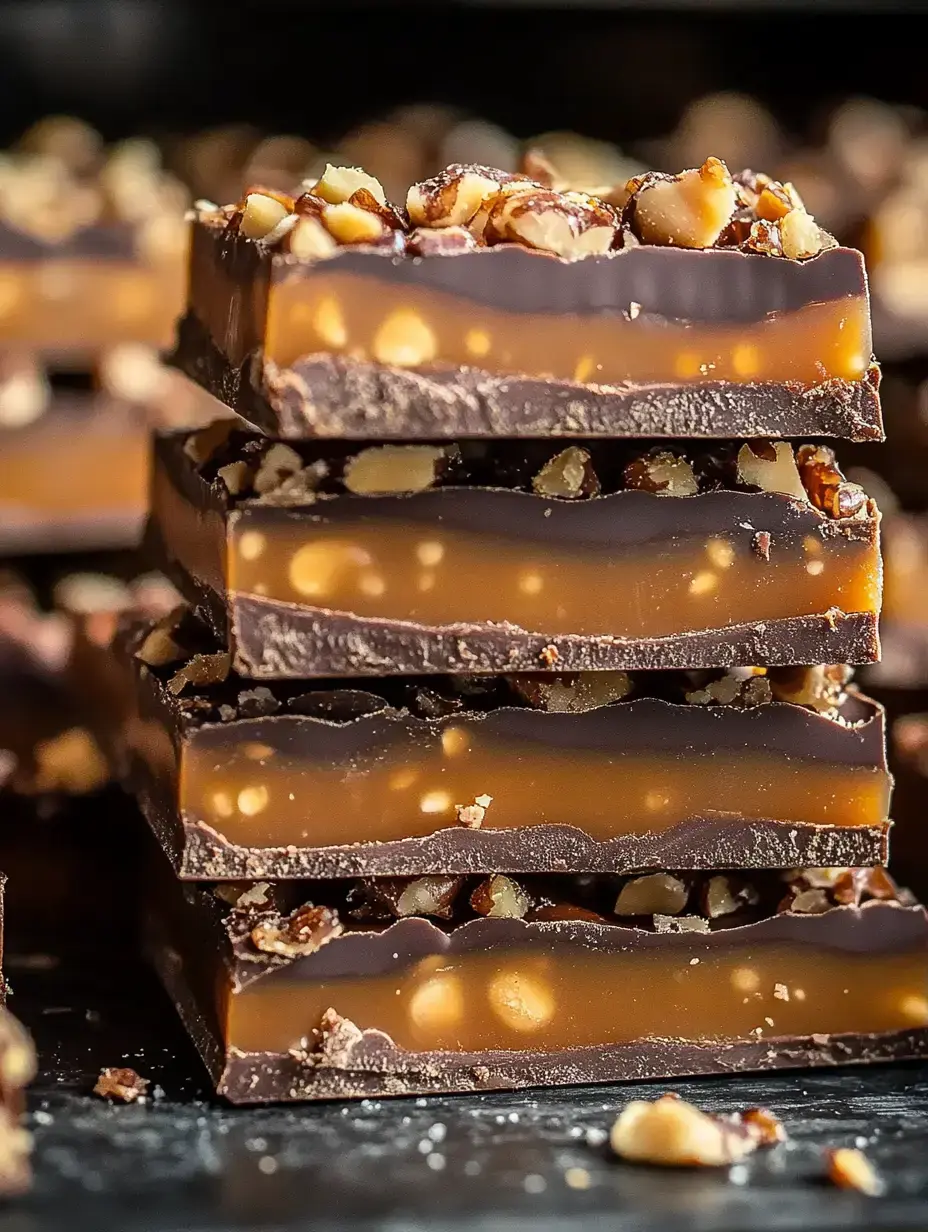
Every time I bake these Butterfinger caramel crunch bars, my place smells amazing. After tons of gatherings, I’ve realized folks can’t stop talking about this sweet treat. Melt-in-your-mouth buttery crust plus that chewy caramel layer? Total crowd-pleaser. The reactions after the first bite say it all—these bars are just flat-out awesome.
Unbelievable Layers Await
I made these for my sister’s shower last year, and now everyone begs for them. Each crunchy Butterfinger chunk goes so well with smooth caramel—it’s just pure happiness for your taste buds. I keep prep easy since delicious shouldn’t be complicated. Even my teenager—who says baking ain’t his thing—pulled these off perfectly first try.
Gear Up in the Kitchen
- Graham Cracker Crumbs: You’ll want one and a half cups, crushed real fine. A rolling pin and bag works great if you skip the processor.
- Browned Butter: Heat half a cup, but stop before it turns dark. Just needs to be melted.
- White Sugar: Only a fourth cup, just enough for a sweet bite.
- Caramel Bits: One cup gets your caramel layer extra gooey. Usually hangs near chocolate chips at the store.
- Heavy Cream: Pour in two tablespoons so your caramel stays soft.
- Butterfingers: Smash up three or four. I always grab more—snack tax, right?
- Semi Sweet Chips: Top off with a cup and a half for that final chocolate layer.
- Extra Butterfingers: Toss more on top. You really can’t have too much.
How to Build These Treats
- The Cool Down Comes Last
- Let everything sit till room temp, then chill in the fridge. Rushing just messes up those smooth layers.
- Finishing the Topping
- Melt your chocolate chips and butter together, then gently smooth over the top. Aim for a glossy look.
- Sprinkle Those Butterfingers
- Scatter crushed bars all over gooey caramel and press down softly.
- Caramel Next
- Toss caramel bits and cream into the microwave, stirring every half minute till it’s creamy, then pour on the crust while it’s warm.
- Start With the Crust
- Kick your oven to 350°F. Stir graham crumbs, sugar, and butter 'til it’s like wet sand. Pack into a lined pan nice and firm, pressing hard with a measuring cup. Bake about eight minutes till it turns golden.
Crust Done Right
Packed firm is crucial. If not, it just falls apart when you try slicing later. My grandma’s trick—use parchment sticking out both sides. That way, you just lift the bars out in one go. Couldn’t be simpler.
 Save
Save
Caramel Made Simple
Having some patience with caramel pays off. I’ve found those bagged bits melt way easier than the classic squares. The splash of cream keeps it cuttable—not tough and sticky. Nobody wants to wrestle with hard caramel.
Bashing Up Butterfingers
Rolling pin, zip bag, happy kids—let them help smash up the candy. Let a few bigger chunks sneak through for serious crunch. Quick, easy, and kind of fun, too.
Chocolate the Easy Way
Don’t rush the topping—go nice and gentle when melting chocolate with a pat of butter. Spread it out while it’s still warm for that pro-level shine everyone oohs and aahs over.
Let Them Chill
Resist cutting in too soon. Set them on the counter to fully cool, then move to the fridge for best slicing. No need to wreck those layers by hurrying!
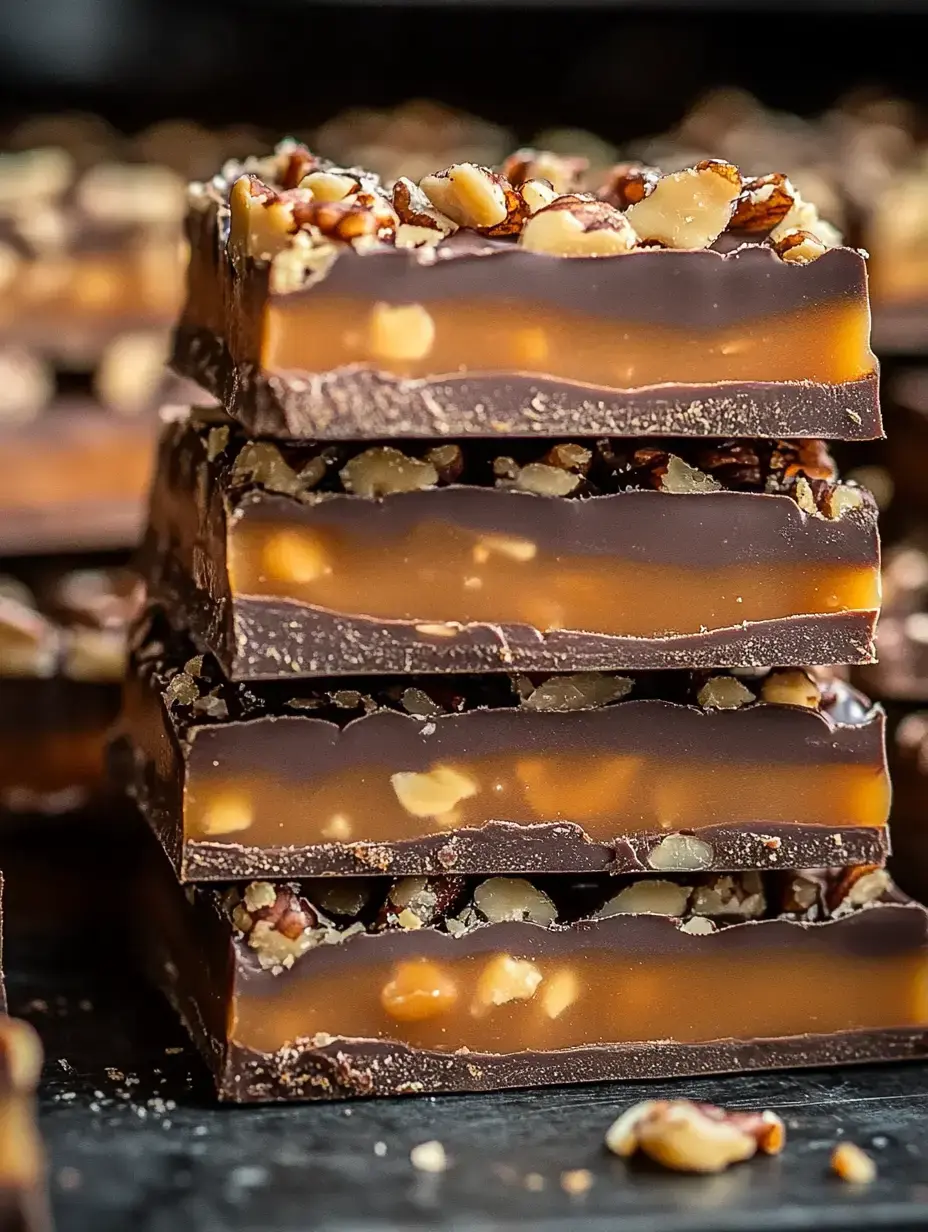
Just Add Extra Fun
I always sneak on more crushed Butterfinger while the chocolate’s soft. It takes looks up a notch and the extra crispy bits are the best surprise.
 Save
Save
Keep ‘Em Awesome
Pop these bars in an airtight container—they’ll hang around fresh for five days or so. Honestly, mine are always gone much faster. Hot kitchen? They’re fine stashed in the fridge.
Try a New Twist
I swapped Snickers for Butterfingers last time—total hit with my book group. Twix works great, too. Mix it up and make every batch totally yours.
Share With Friends
Whenever I show up with these, they vanish fast. All those colorful layers make your platter look fabulous and people always want to know how I made them. Perfect for those “I want to wow but don’t want a fuss” days.
Bundle Them Up
At the holidays, I cut squares, wrap each in parchment, tie with ribbon, and hand out. Sweetest little homemade treat. My neighbors can’t wait for their yearly bundles.
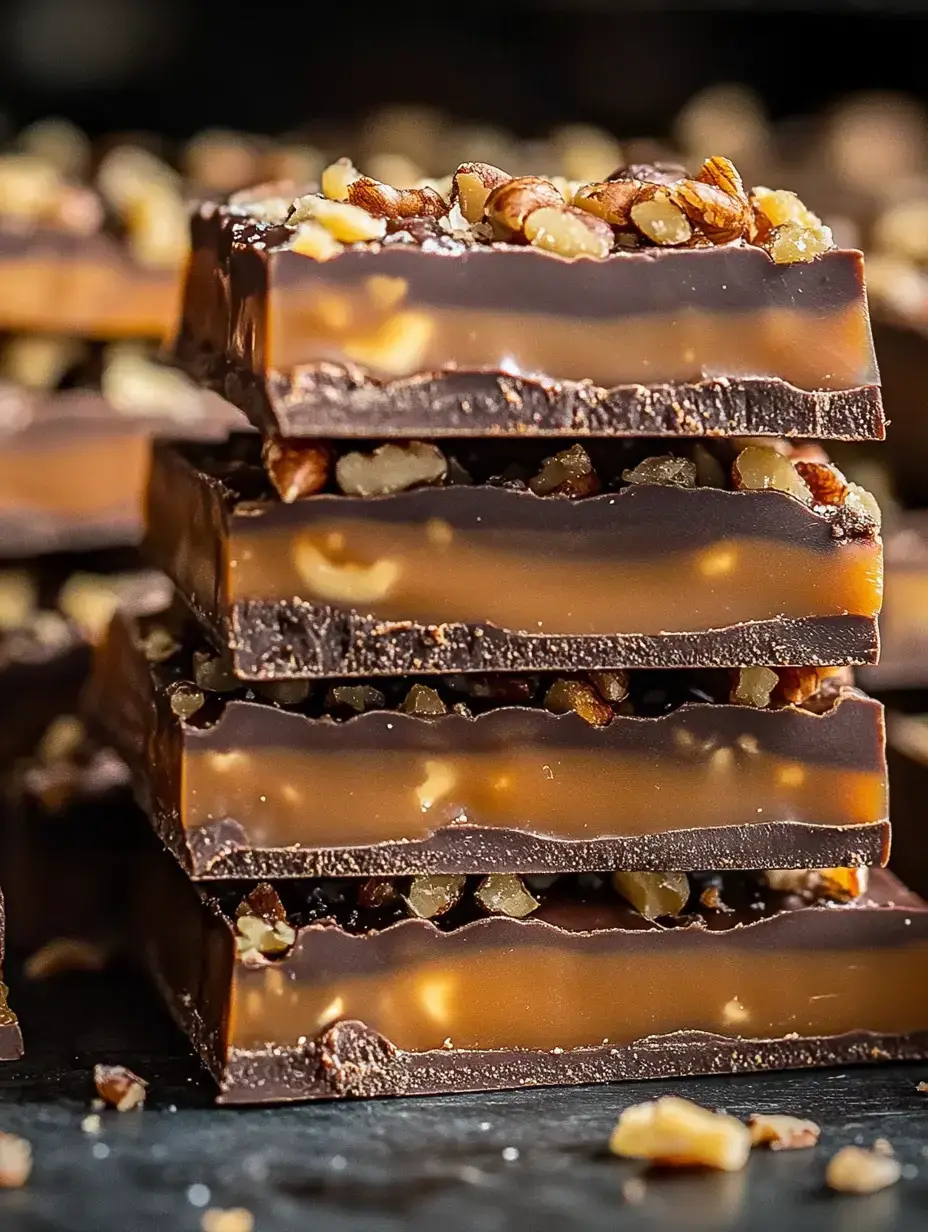
Guaranteed Smiles
There’s just something about these crunchy, creamy layers that brings a grin to everyone’s face. These always turn gatherings extra special. They’re now part of my family’s best moments—bet they’ll become yours too.
 Save
Save
Recipe FAQs
- → How should I store these bars?
Keep them in an airtight container at room temp for up to 5 days. For longer life, refrigerate and they'll stay fresh for around a week.
- → Can I make these ahead?
Yes, they’re a perfect make-ahead option. Let them set for at least 2 hours in the fridge, or better yet, leave overnight for improved flavor.
- → What’s the trick to cutting neat bars?
Chill the bars until firm. Use a sharp knife warmed under hot water, then wipe dry between slices. This helps make clean cuts.
- → Can I swap Butterfingers for another candy bar?
Butterfingers add unique crunch and flavor, but feel free to try other candy bars. Just make sure they pair with caramel and chocolate layers.
- → Why should I use parchment paper?
Parchment stops sticking and makes bar removal simple. The overhang is super handy for lifting everything out neatly for slicing.