
 Save
Save
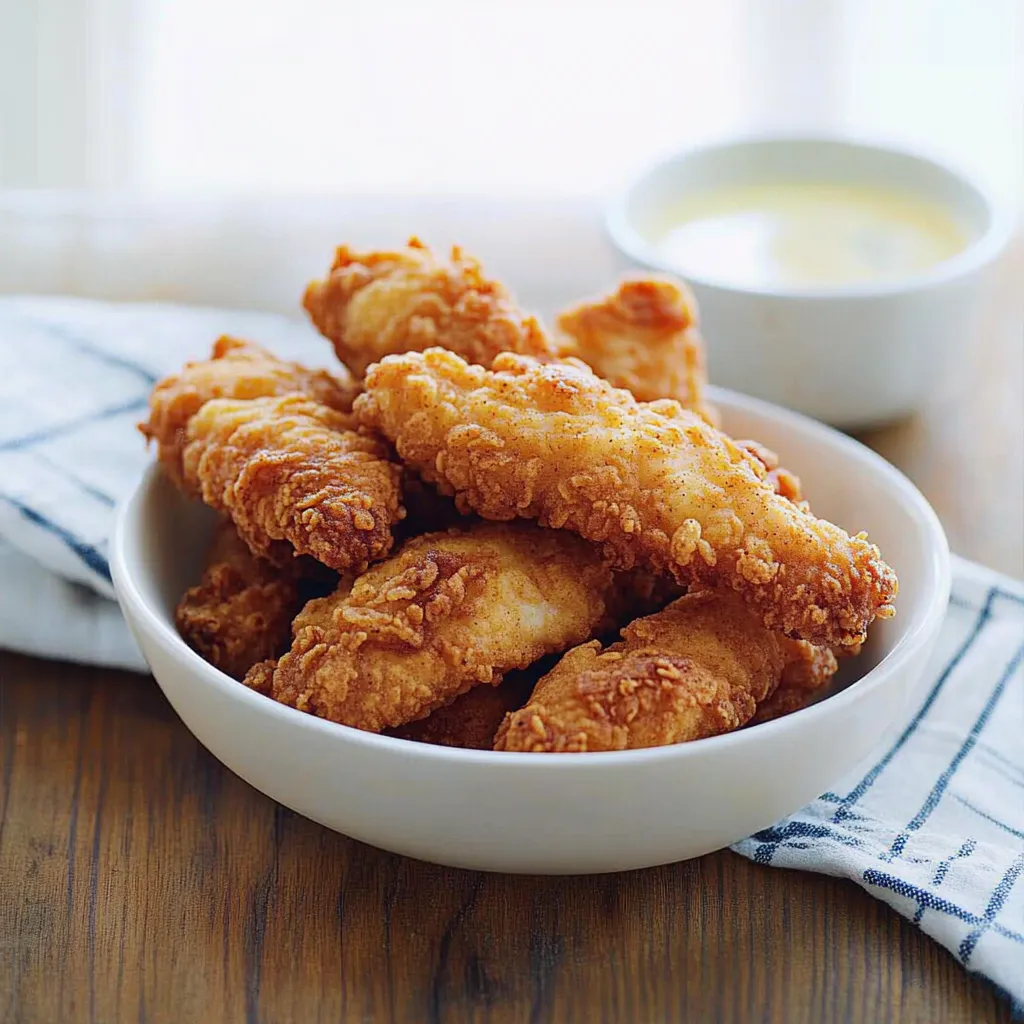
These homestyle chicken tenders trace back to countless Sunday afternoons spent perfecting the recipe in my farmhouse kitchen. After years of testing different techniques, I discovered the winning combination - a proper buttermilk marinade that tenderizes the meat beautifully, paired with a specially seasoned coating that creates an irresistibly crispy crust that holds its crunch.
Essential Ingredients
Select fresh chicken tenders that are firm to the touch with a pinkish color.
Traditional full-fat buttermilk provides the optimal marinade base - avoid substitutions.
Use unbleached all-purpose flour for the sturdiest, crispiest coating.
Fresh, aromatic garlic powder will give the best flavor profile.
Quality ingredients make all the difference - farm-fresh buttermilk especially transforms these tenders into something extraordinary.
 Save
Save
Preparation Method
- Buttermilk Marinade:
- Combine buttermilk and seasonings in a deep glass bowl, whisking until fully blended.
- Submerge chicken tenders individually in the marinade mixture.
- Cover and refrigerate overnight for optimal tenderness.
- Seasoned Coating:
- Prepare the flour mixture in a shallow dish for easy dredging.
- Add a small amount of buttermilk to create texture in the flour.
- Coat each tender thoroughly, pressing the breading firmly to adhere.
- Frying Technique:
- Heat oil to proper temperature in a heavy-bottomed pot.
- Carefully place breaded tenders in hot oil without overcrowding.
- Maintain consistent oil temperature throughout cooking.
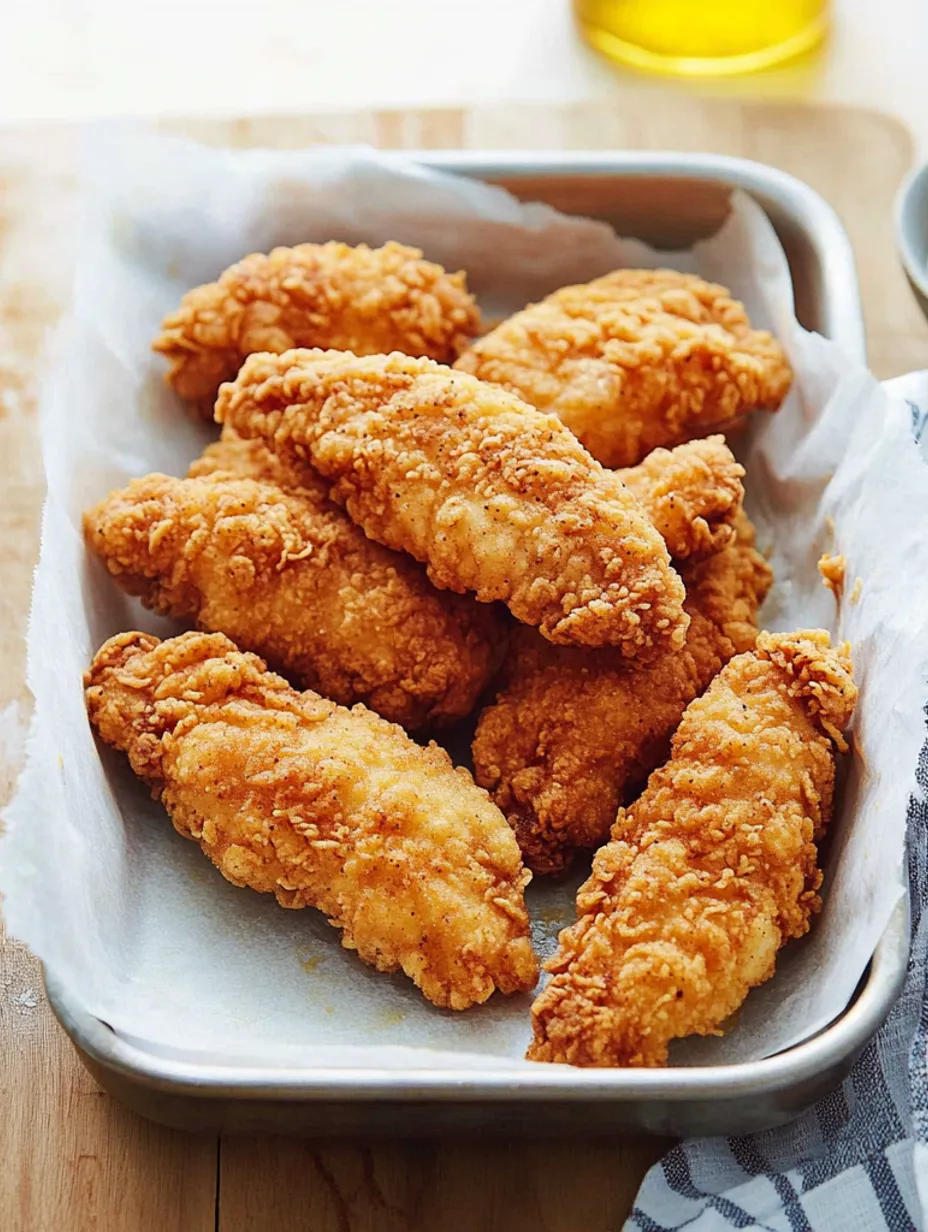
- Fry until golden brown, turning once.
Serving Suggestions
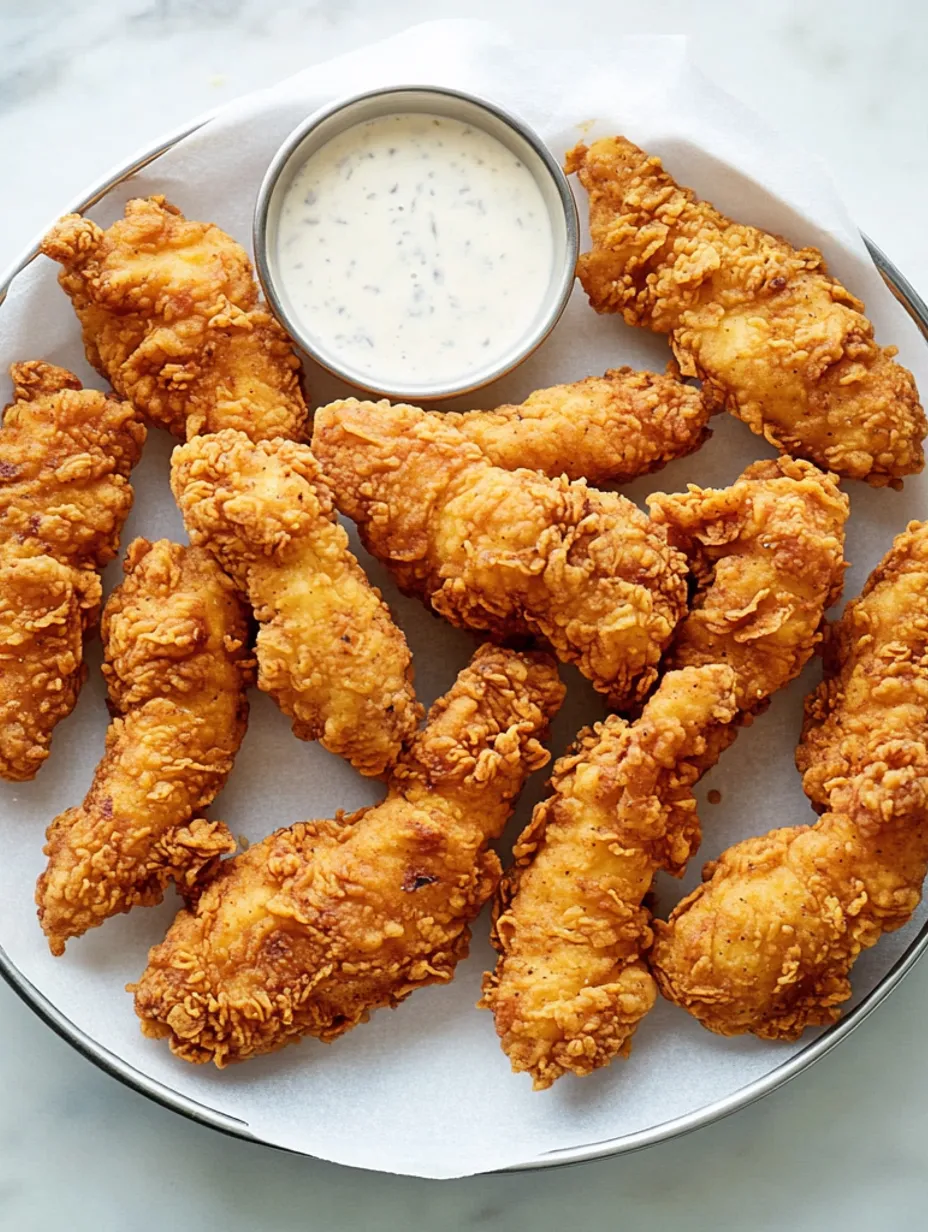
These versatile tenders pair beautifully with various sides and sauces. Dress them up with honey drizzle and fresh herbs for entertaining, or serve casually with classic dipping sauces. They complement summer spreads alongside potato salad and grilled vegetables, or winter comfort meals with mashed potatoes and roasted vegetables.
Recipe Variations
The basic recipe welcomes creative adaptations. Try adding grated parmesan and dried herbs to the coating for an Italian twist. Incorporate hot sauce in the marinade for a subtle heat. Ranch seasoning in the flour mixture creates a crowd-pleasing variation. Each adaptation adds a new dimension while maintaining the core technique.
Storage Solutions
Allow tenders to cool completely on a wire rack before storing. Layer with parchment paper to prevent sticking. Reheat in a 350-degree oven to restore crispiness, avoiding microwave reheating. Proper storage maintains texture and flavor for several days.
 Save
Save
Make-Ahead Tips
For meal prep, cool completely before packaging. When freezing, arrange in single layers initially to prevent clumping. Properly frozen tenders maintain quality for up to three months. They reheat beautifully when stored correctly.
Professional Insights
Verify oil temperature using the flour test method.
Season flour mixture generously as flavors mellow during cooking.
Use a wire rack for cooling to maintain crispiness.
This recipe represents years of kitchen experience, perfected through countless preparations for family meals and gatherings. The technique combines traditional methods with practical innovations, resulting in consistently excellent chicken tenders that honor classic comfort food traditions.
Recipe FAQs
- → How long should the chicken sit in the marinade?
- You need at least 4 hours, but leaving it up to a day makes the flavor amazing.
- → Can I store these in the freezer?
- Absolutely! Keep them frozen for up to 3 months. Use a 350°F oven and bake for 25 minutes to reheat.
- → What’s the sign that they’re cooked through?
- They should turn completely golden on both sides, even if they look pale while frying.
- → Why’s buttermilk part of the breading mix?
- It creates little clumps that crisp up for the perfect crunchy layer.
- → What’s the best frying oil to use?
- Go with vegetable oil heated to around 350°F for great results.