
 Save
Save
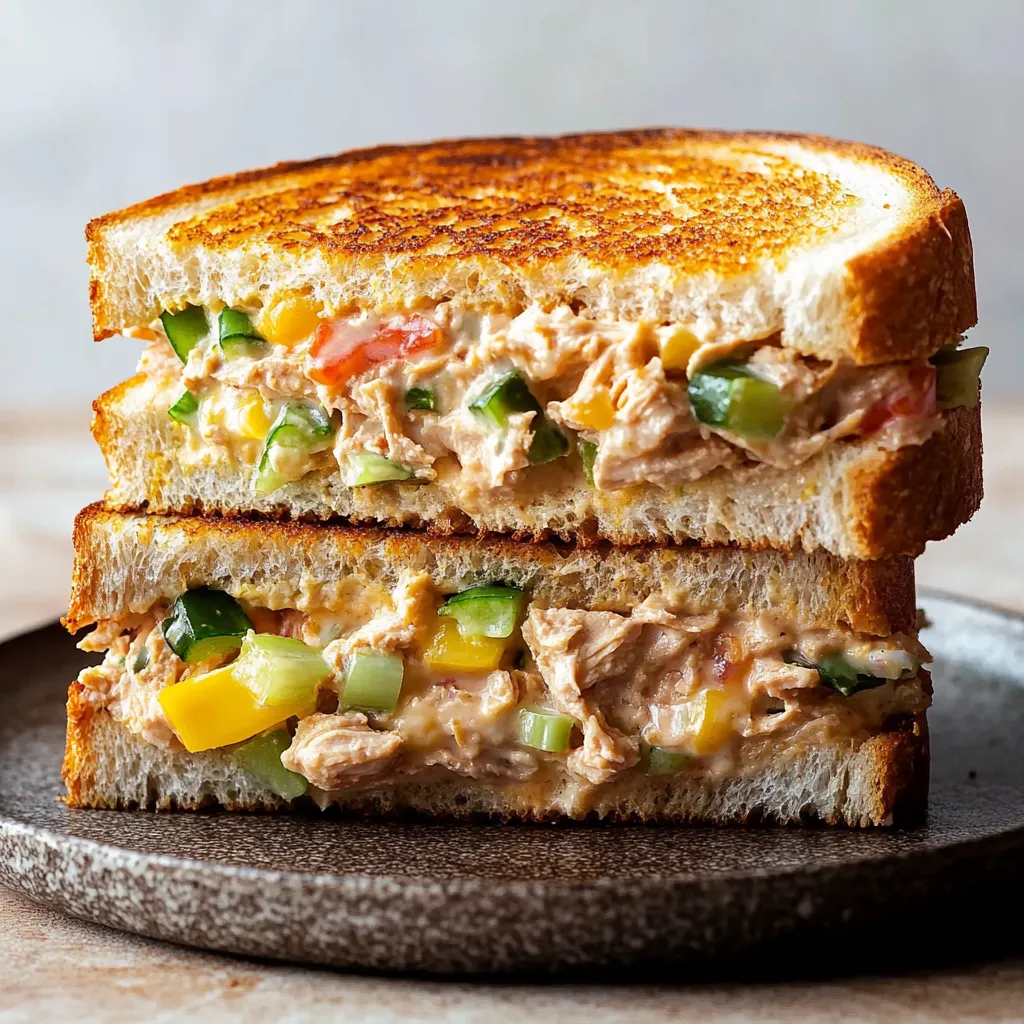
Those 10-minute tuna melts have rescued my midday meals countless times. This super-quick sandwich gives you that wonderful mix of crunchy bread and melty cheese wrapped around flavorful tuna mix, somehow being both nostalgic and practical. It's what I whip up when I'm craving something special but don't want to feel tired afterward.
I began crafting this lighter version after noticing my traditional diner-style melt left me sluggish for hours. This updated take gives all the same comfort without knocking me out—exactly what works best during hectic workdays.
Ingredients Needed
- Water-packed canned tuna forms the protein base without unnecessary fat
- Greek yogurt offers creaminess plus extra protein instead of using only mayo
- Celery delivers necessary crunch and brightness to your filling
- Roasted red peppers add gentle sweetness and juiciness
- Scallions provide mild onion flavor without being too strong
- Dijon mustard boosts taste without adding many extra calories
- Cheddar cheese creates that wonderful stringy stretch when hot
- Whole-grain bread supplies fiber and goodness plus stability
- Mayonnaise (just a small amount!) goes on the outside for golden crispiness
 Save
Save
Cooking Process
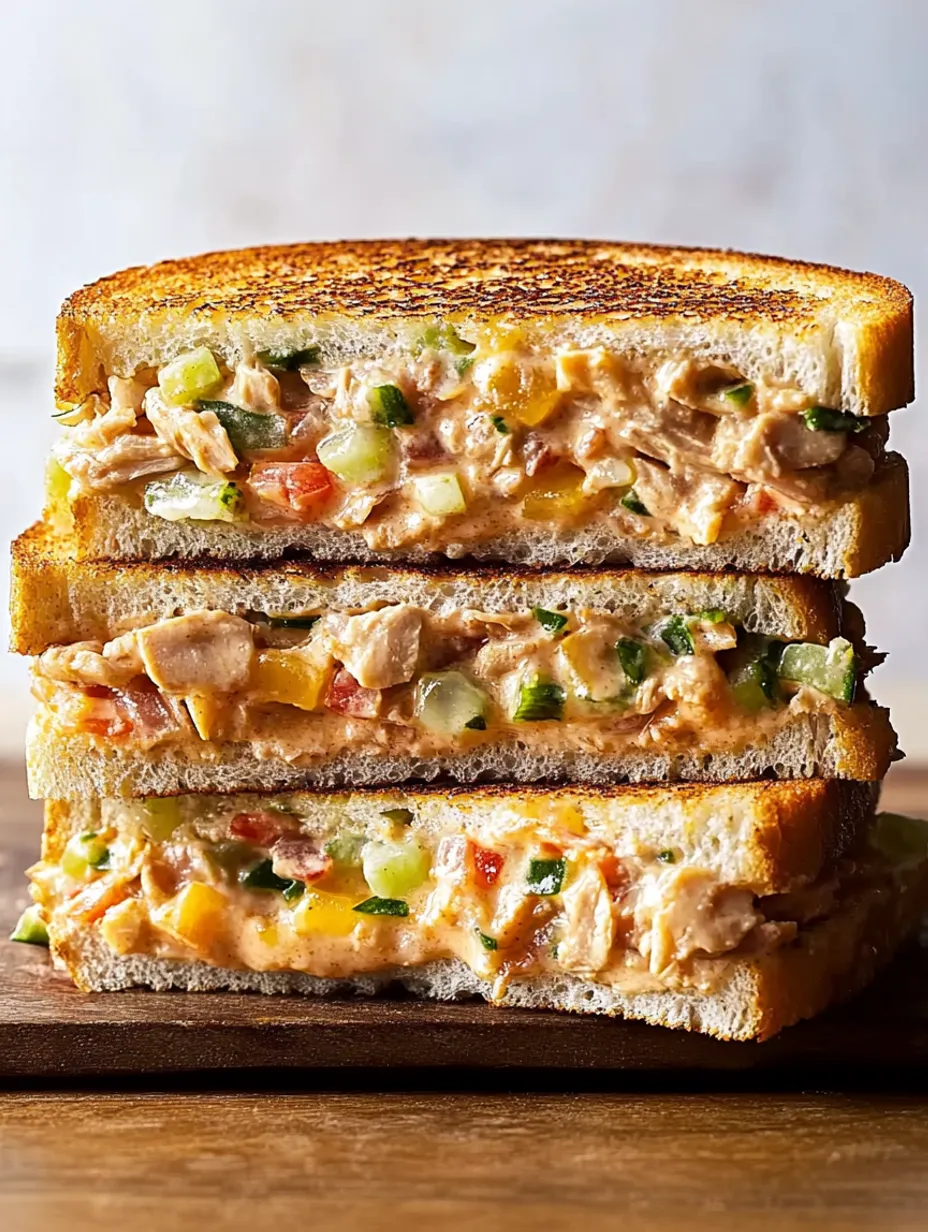
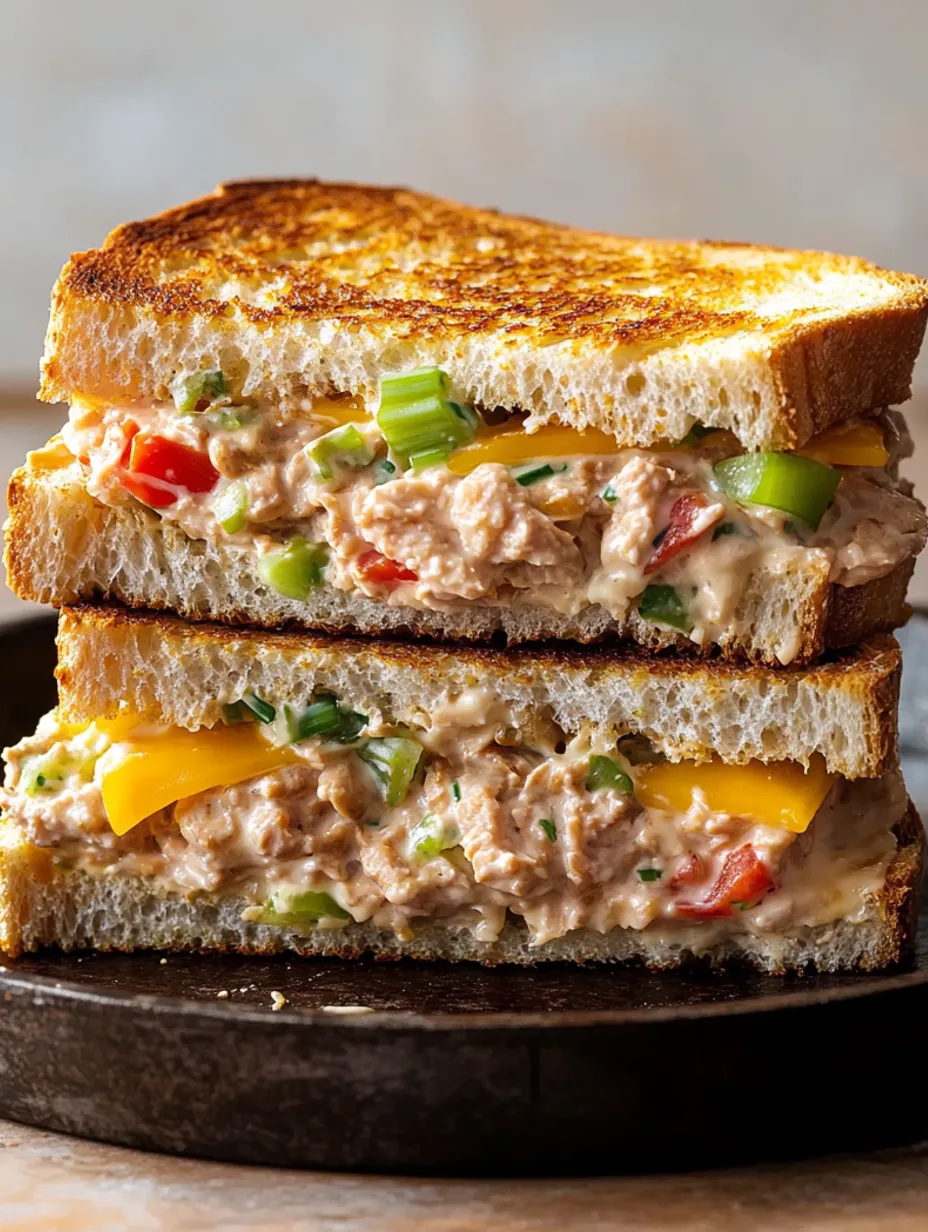
Fast Tuna Mix PrepTo start, I thoroughly drain the tuna and break it apart in a bowl using a fork. Then I mix in finely diced celery, chopped roasted red peppers, and sliced scallions. Next come the yogurt, mustard, and pepper, and I stir everything until it's well blended. The result is creamy but has nice bits of veggies for texture, making it way better than basic tuna salad.
Putting It TogetherNow for the smart trick—rather than buttering bread, I apply a thin coating of mayo on the outside of each slice. This creates that perfect golden crust in the pan. Then I flip two pieces over (mayo-side down), spread the tuna mixture on them, add a slice of cheddar on each, and top with the remaining bread, making sure the mayo-coated sides face outward.
Pan CookingA warmed pan on medium heat works perfectly for these sandwiches. I carefully place them in and let them cook without moving for about 3-4 minutes, until the bottom turns golden and crisp. Then I carefully flip them and cook the other side until the cheese inside gets all melty and both sides look beautifully browned.
Eat Right AwayThese taste absolutely best when you eat them straight from the pan, while you can still enjoy that wonderful difference between the crunchy outside and soft, melty inside. I usually cut mine corner to corner because it somehow makes everything taste better (that's real, right?).
When I first made these for my husband, who loves classic tuna melts, he wasn't sure about using yogurt. But after trying it, he said it was "actually better than the original" because it wasn't so heavy. Now we make them regularly, especially on days we're both working from home.
Tasty Variations
If you don't fancy tuna, this works great with canned salmon or even chicken. Sometimes I swap cheddar for Swiss or pepper jack to change things up. When available, I'll throw in some pickled red onions to the tuna mix for extra zip and bright color.
Good Side Options
I typically eat this with a basic green salad or some fresh apple slices to complete my meal. When I'm starving, adding a small bowl of tomato soup makes it feel like I'm at a cozy café without all the grease.
 Save
Save
Clever Time-Saving Tricks
Some Sunday evenings, I'll prepare a container of tuna salad to keep handy for fast lunches during busy weekdays. The mix stays good for roughly two days, meaning I can have a hot meal in just five minutes when work gets crazy—simply build and grill.
Smart Cooking Discoveries
- Lightly pressing the sandwich with your spatula helps create even browning
- Waiting just 60 seconds after cooking prevents the filling from spilling when you slice it
- Spreading mayo very thinly on the bread makes it brown more uniformly
This basic sandwich has become my favorite lunch when I want something good but can't spend ages cooking. It hits that perfect balance of effort versus reward—just enough hands-on time to feel like actual cooking, but quick enough that I don't mind making it. The bonus of it being healthier than standard tuna melts is just an added perk.
Recipe FAQs
- → Can I swap Greek yogurt for regular?
- Yep, but the texture may be thinner. Greek yogurt is thicker and adds more protein, but regular yogurt will still work. Use a bit less to avoid it being too runny.
- → How can I lighten this dish up?
- Use low-fat mayo or skip it, go with lighter cheese, and opt for thinner slices of whole grain bread. Adding more veggies to the tuna mix is another easy way to cut calories!
- → Can I prep the tuna mix early?
- Absolutely. Make the tuna mixture up to 2 days in advance and store it in the fridge. When you're ready to eat, just put the sandwich together and grill it.
- → What other veggies work in the mix?
- Try grated carrot, cucumbers, chopped pickles, or some diced avocado. Feel free to toss in what you’ve got or what you like.
- → Can I use a toaster oven or panini press?
- For sure! In a toaster oven, assemble the sandwich and toast until crispy and melty. With a panini press, butter the bread lightly, then press and cook until golden.
- → What pairs well with this tuna melt?
- A side salad, veggie soup, or baked chips go great with it. If you're feeling hungrier, vegetable soup or a pickle spear makes it a bigger meal.